Once you have received your receipt printer and unboxed it, you will need to set it up. Please refer to the setup manual that comes in the box as each receipt printer differs slightly with manual set up. Once that is done, you will be able to use the receipt printer with our pos.
If you are using a Mac and you want to connect an USB receipt printer, there is an additional step that you need to take:
Open your System Preferences and click on Printers & Scanners.

Then click on the + on the bottom left to add your new printer.

Select you printer from the list and then click "Choose a Driver..."

Click "Select Software..."

You can select either EPSON TM Thermal (180dpi) or EPSON TM Thermal (203dpi) and then click "OK".

Then click "Add" to add your printer.

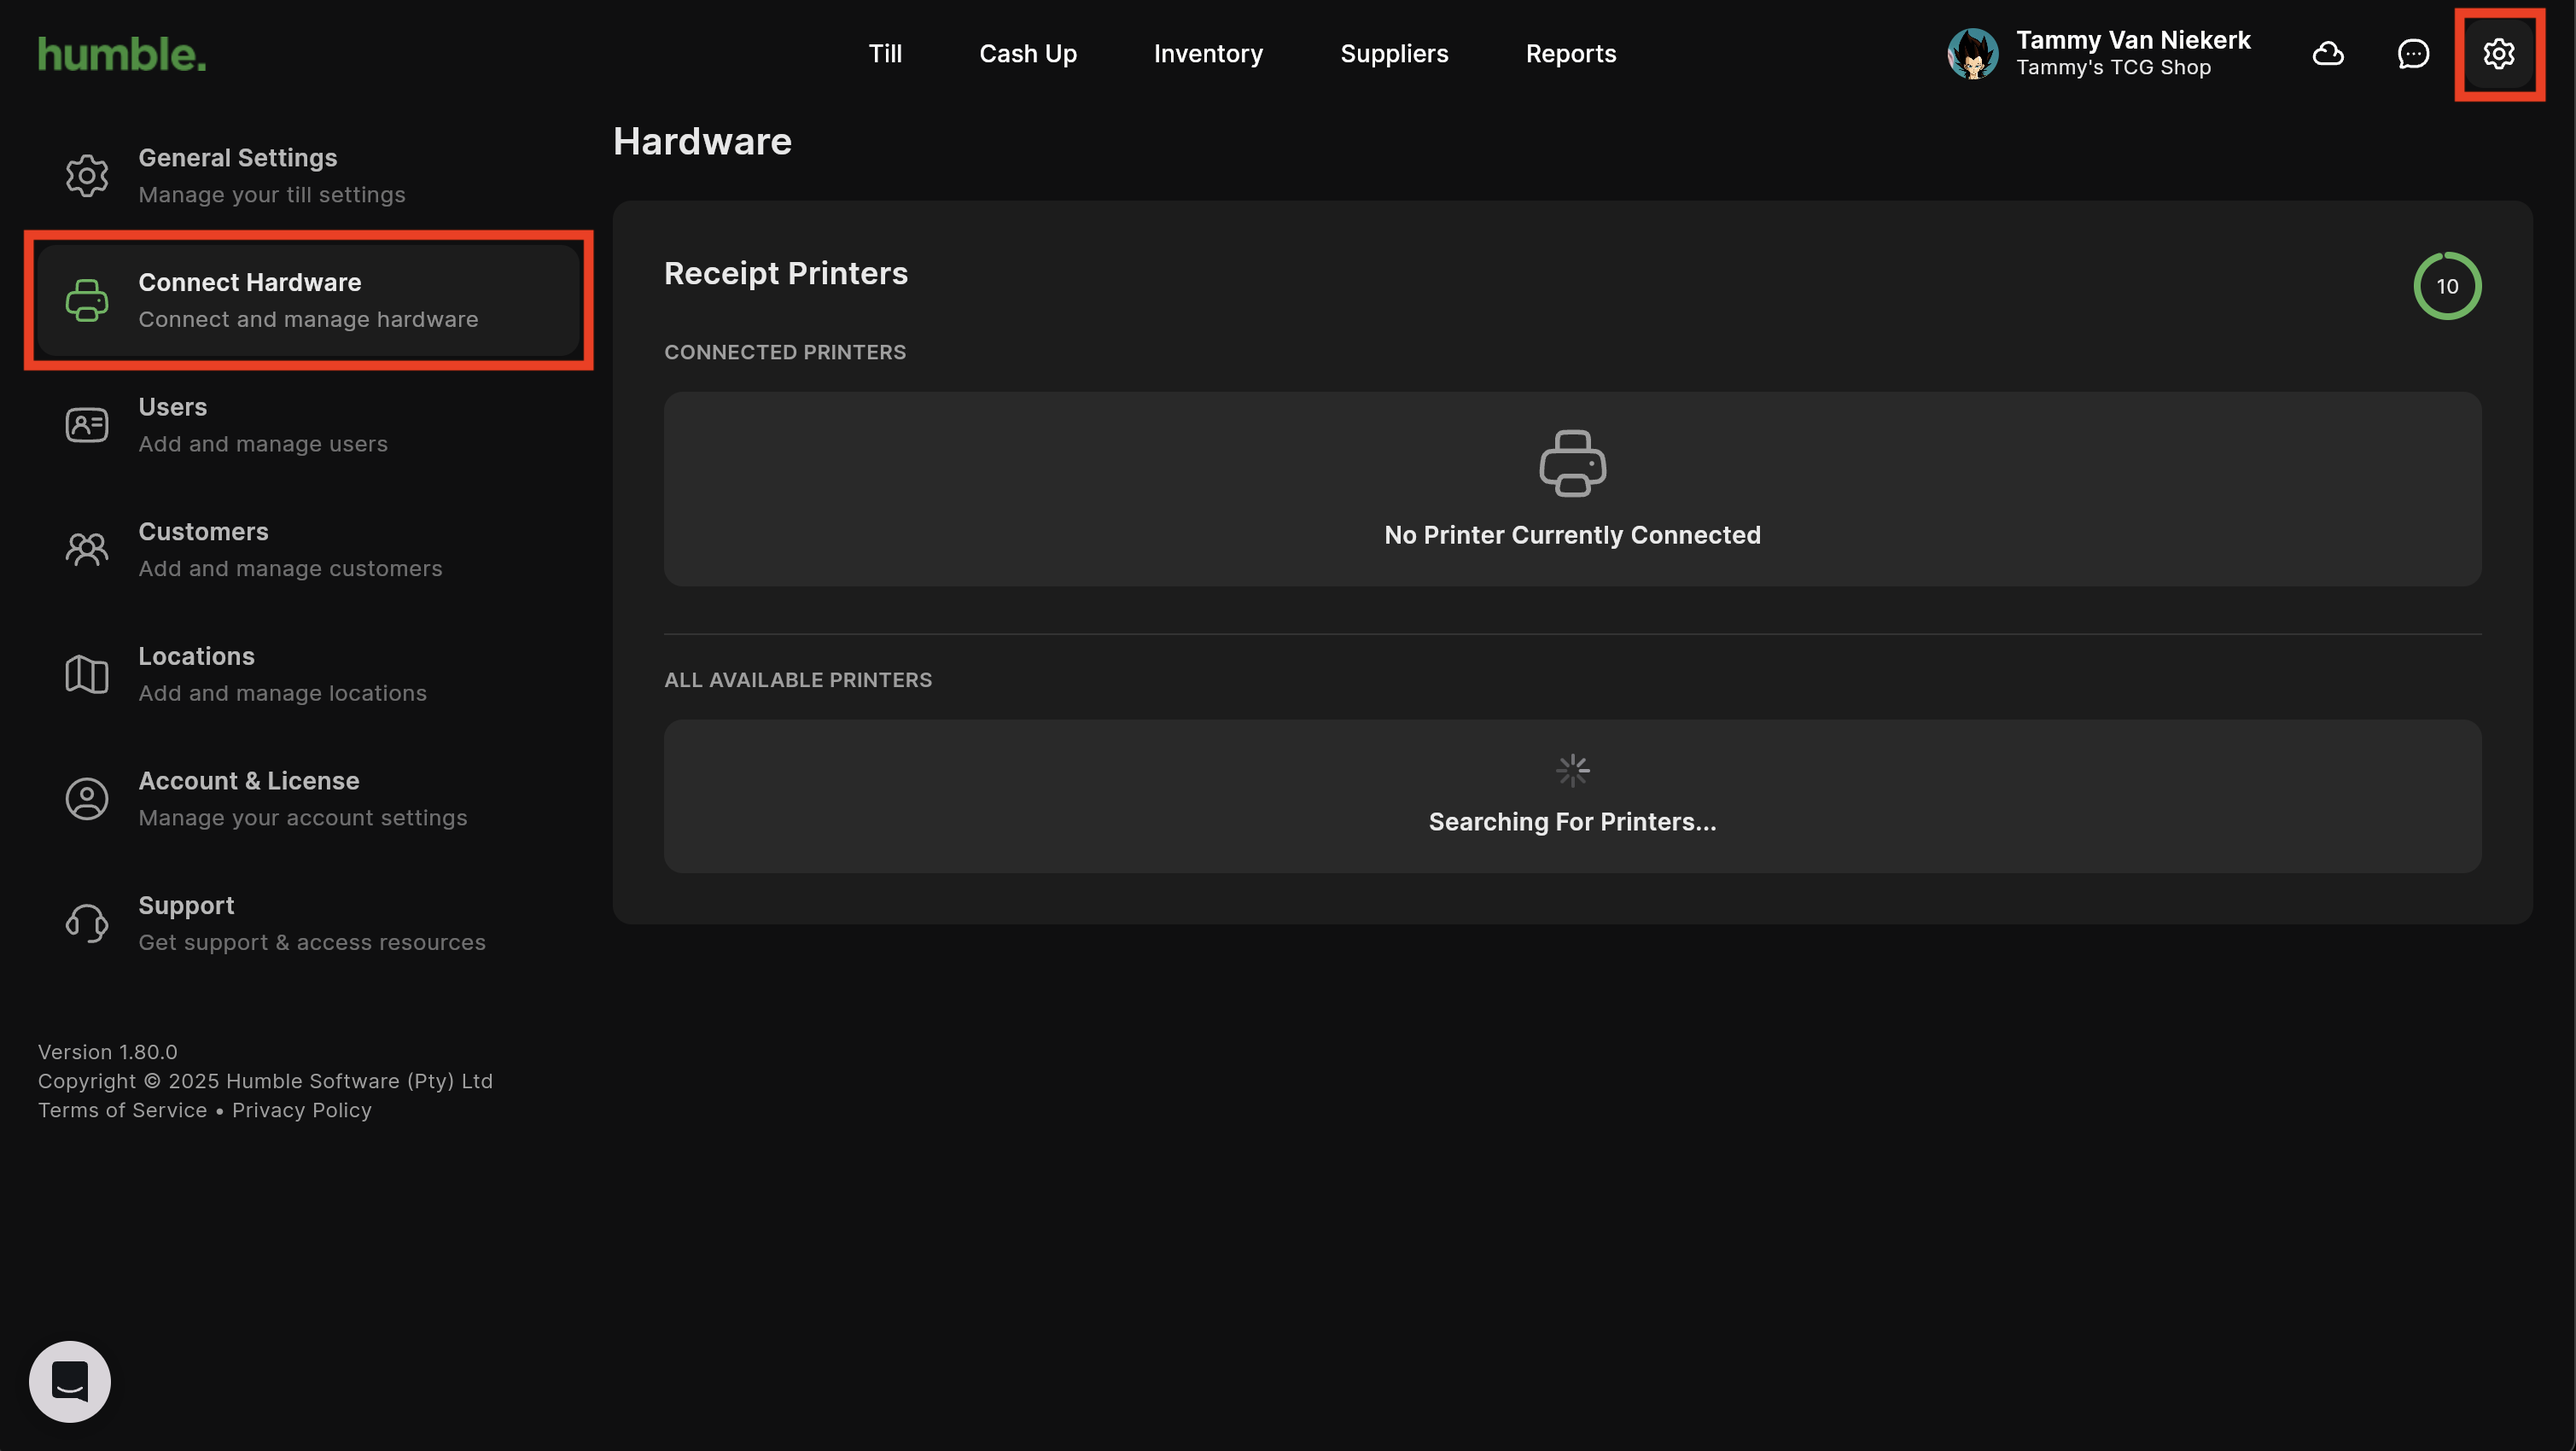
To set up your receipt printer in 2.0, go to Settings (the cog on the top right next to your name). You will be taken to the General Page. Click on Connect Hardware.
When you first land on the Hardware section, the pos will automatically search for any receipt printers they may be connected via usb or connected to the same network as your computer/device.
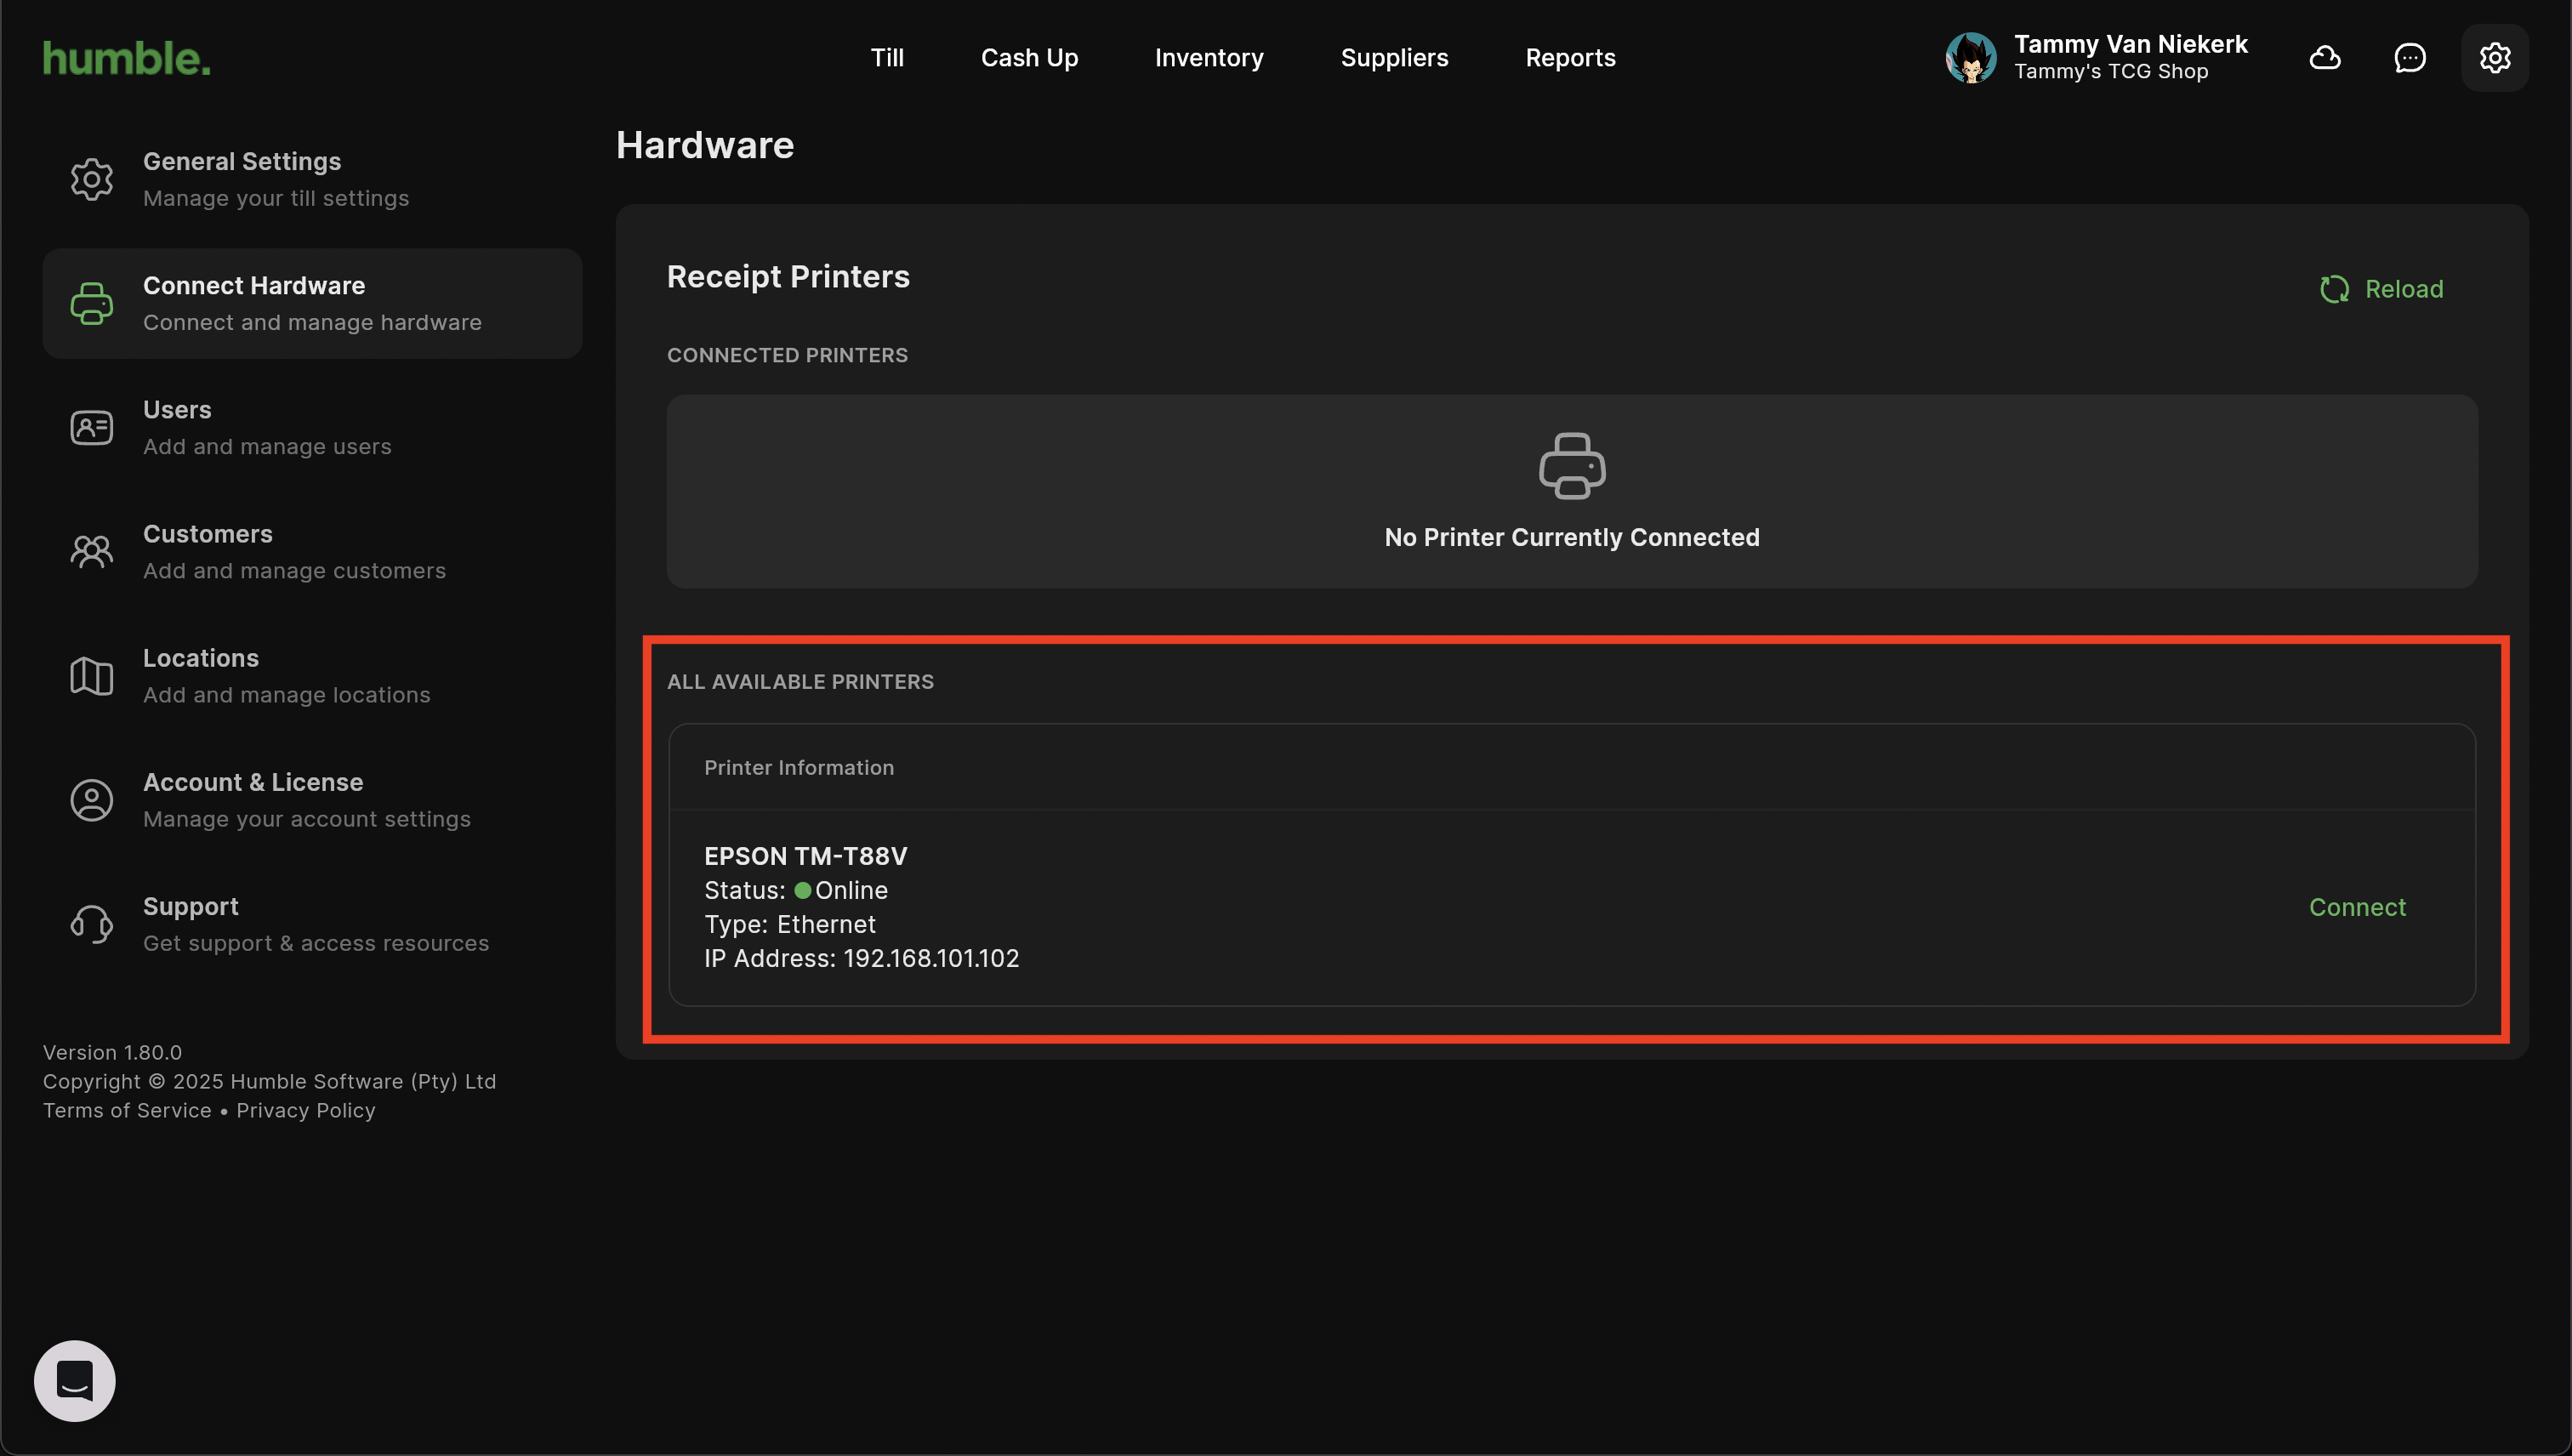
Once the search has concluded, you will see you printer under All Available Printers.
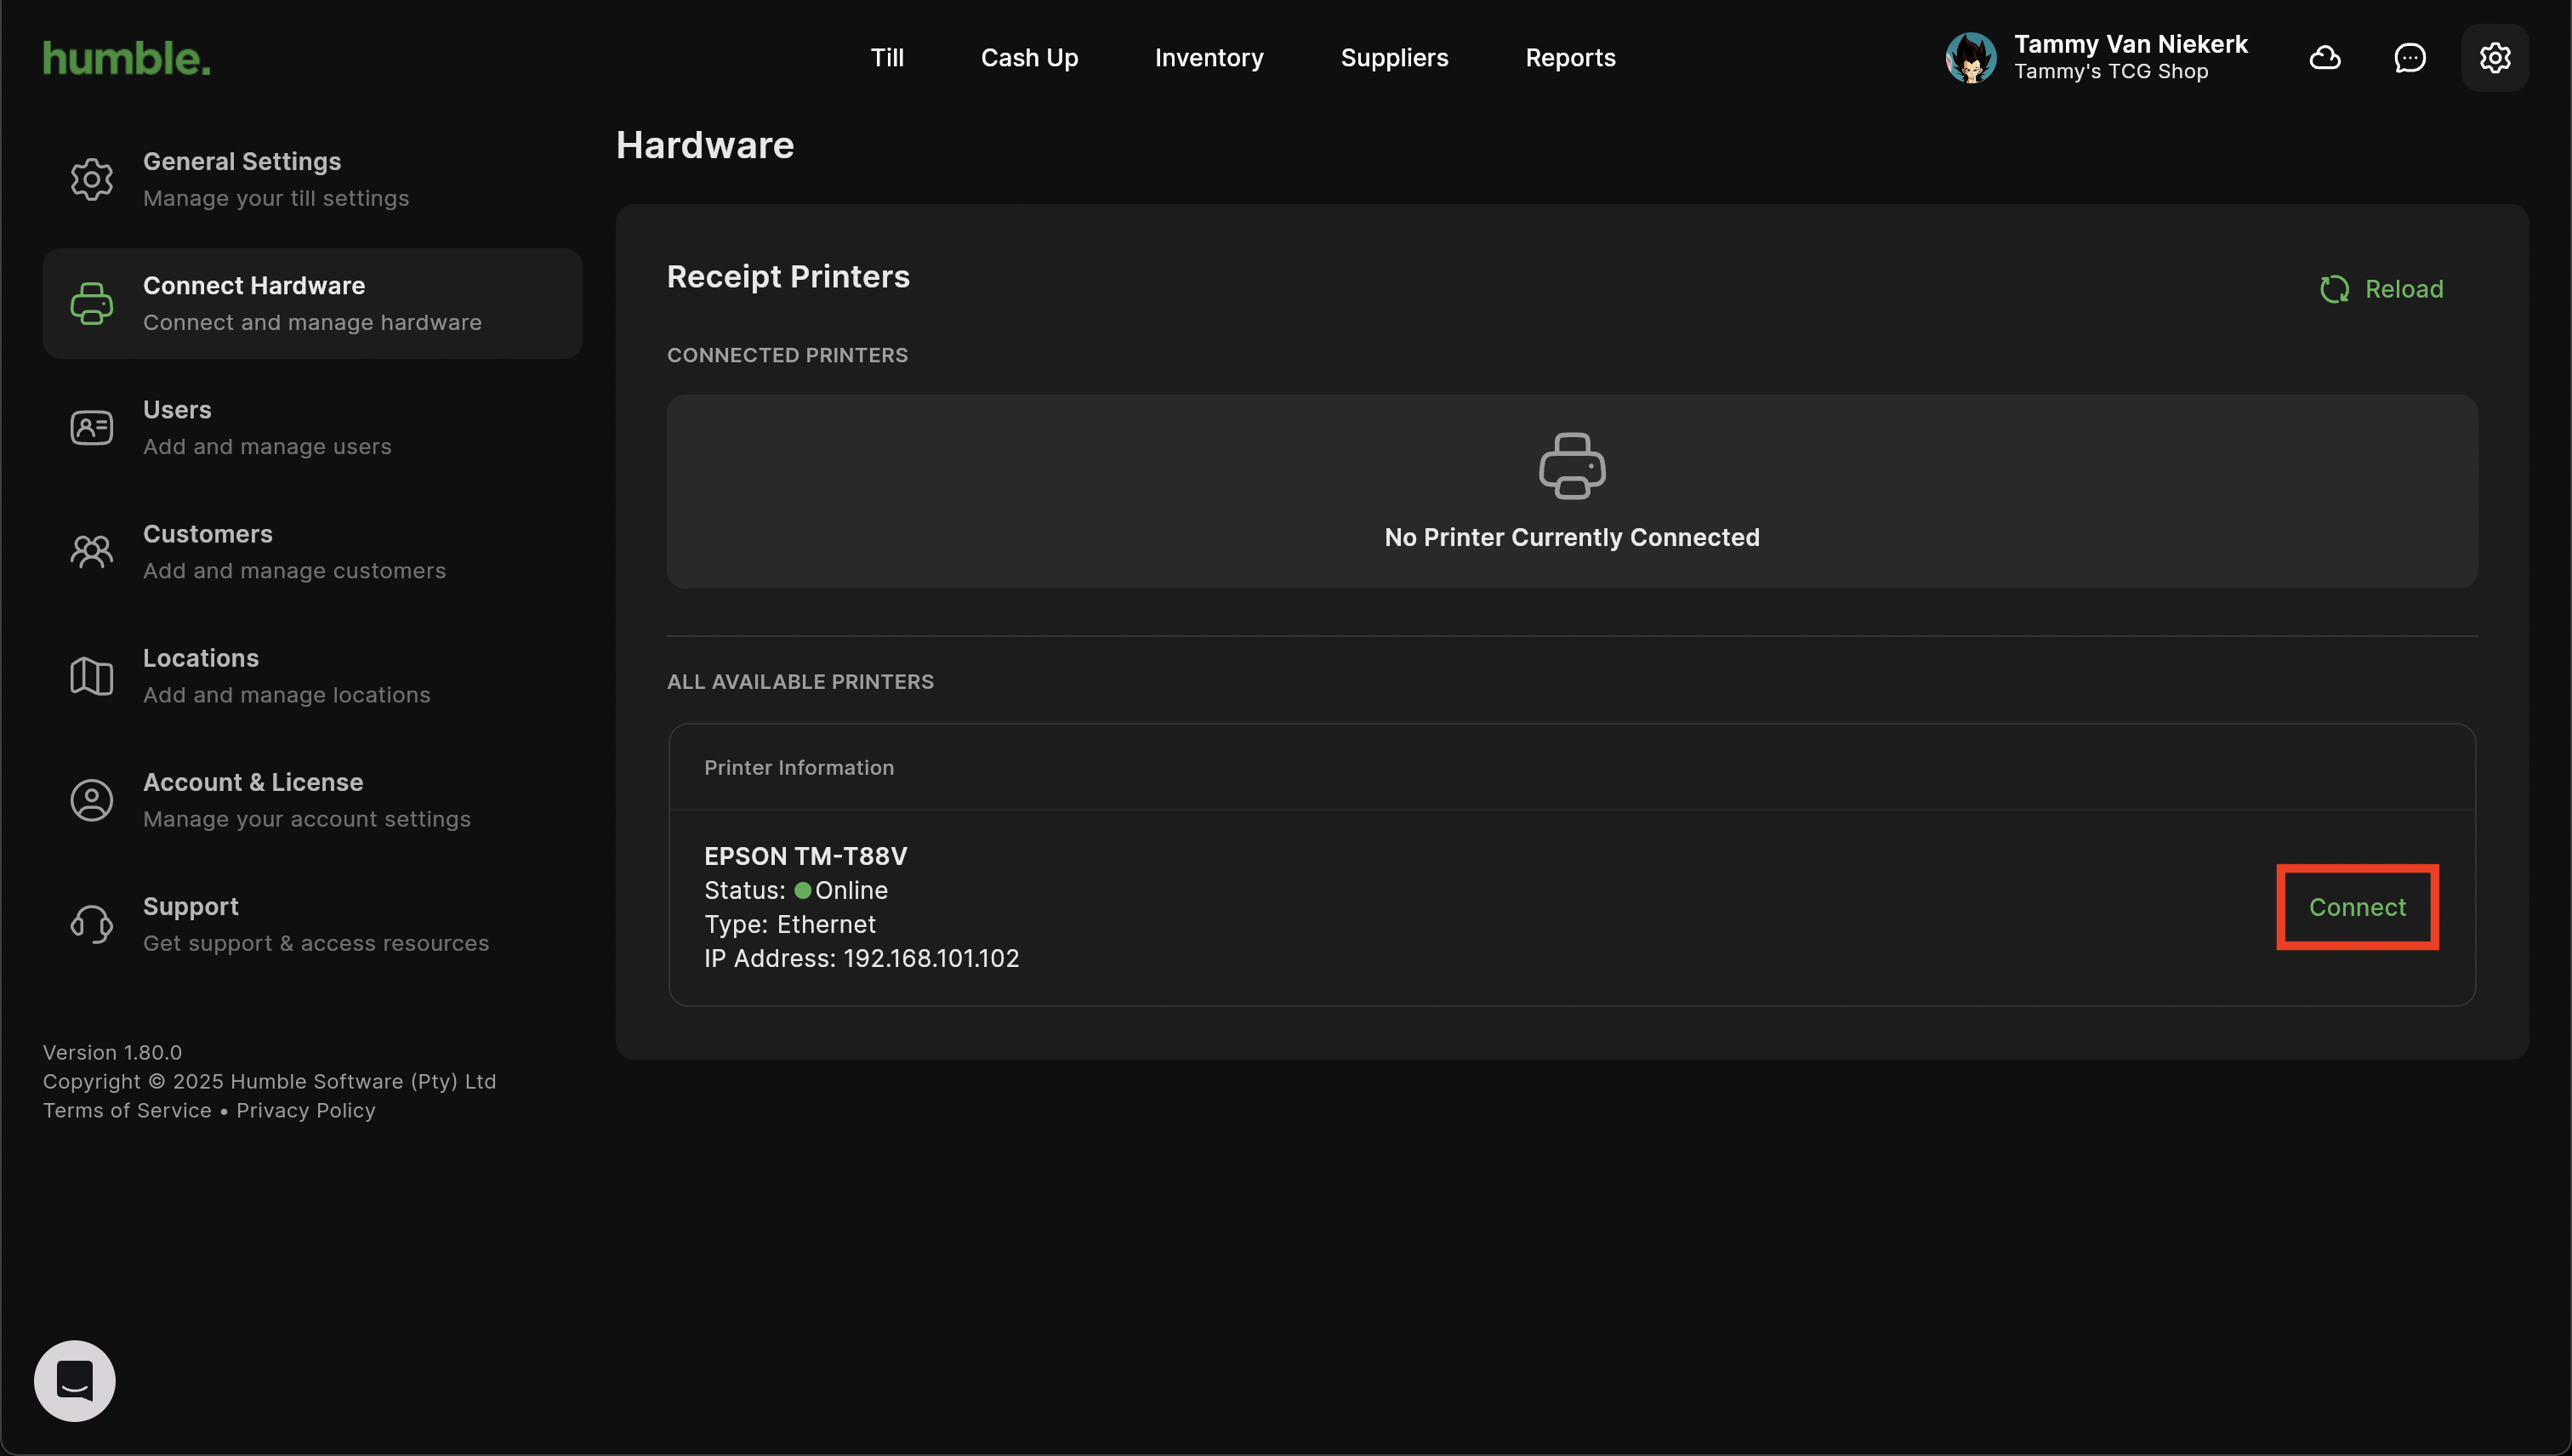
Click Connect.
Your printer will now be in the Connected Printers section.
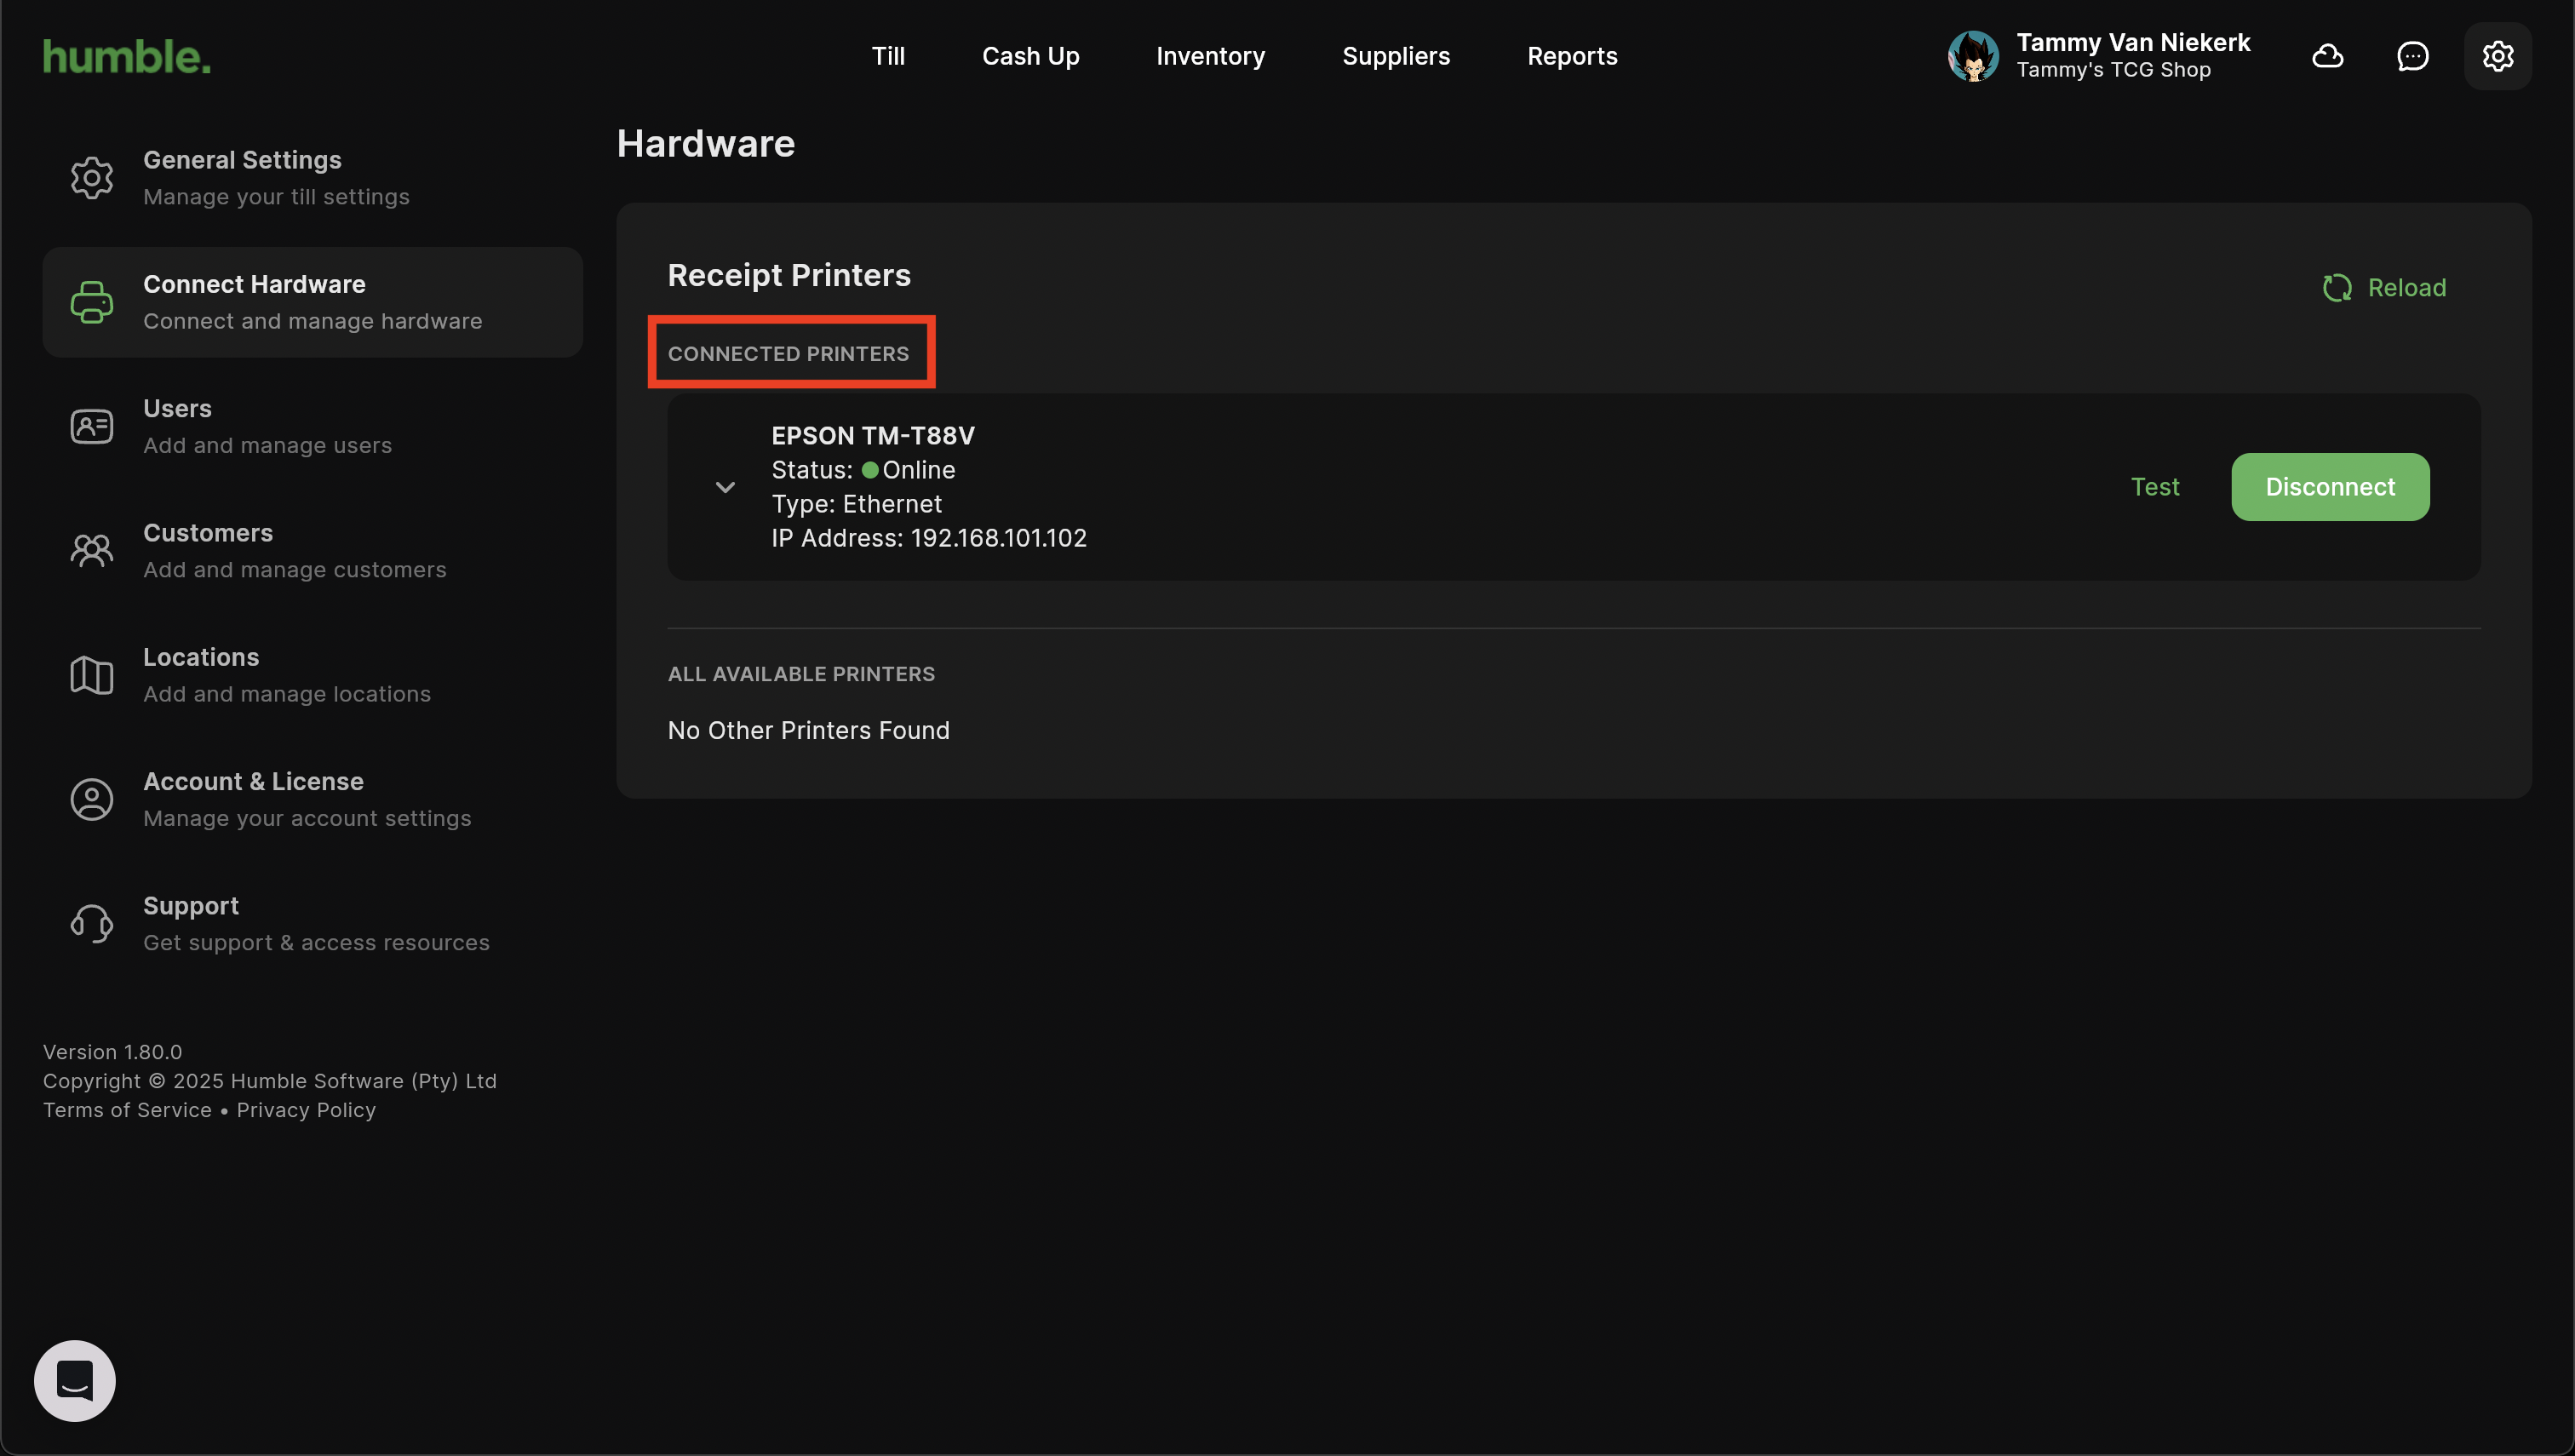
You will be able to select the width of the paper, as well as print a Test page to confirm which is the correct width. If you have selected the incorrect printer, click Disconnect and then select the correct printer that you wish to print your receipts to.
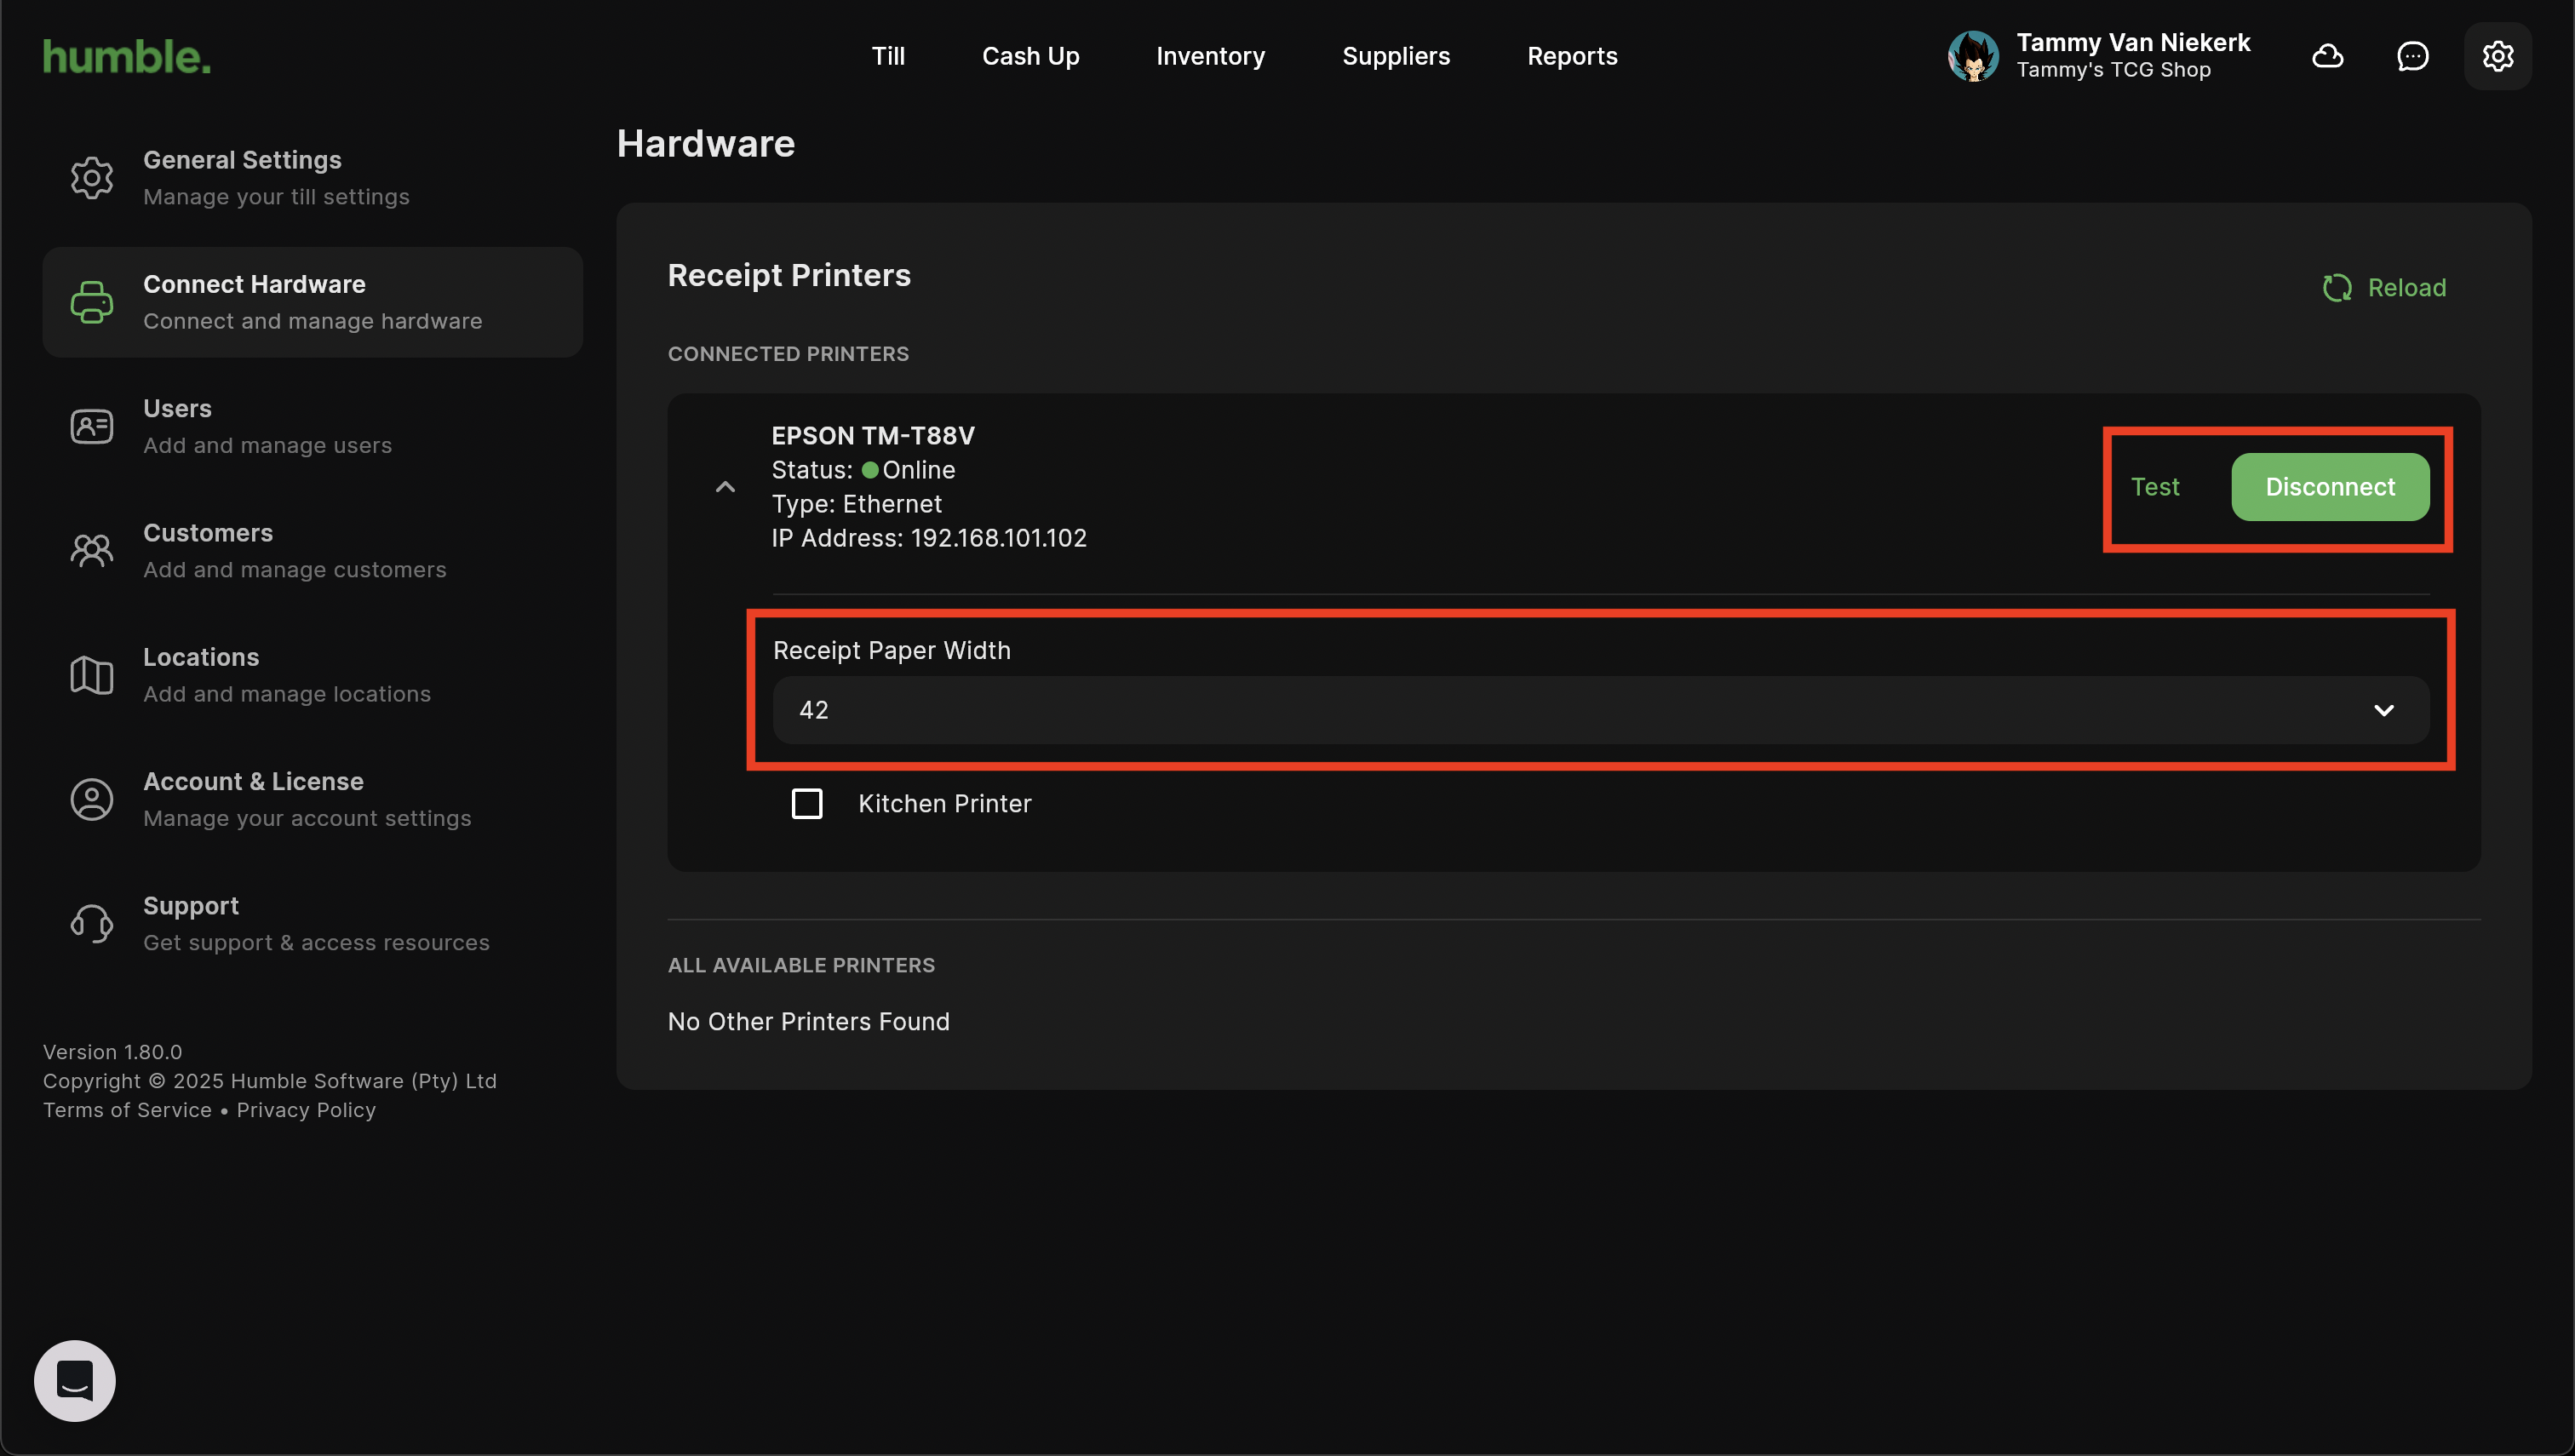
Clicking Disconnect, will disconnect the printer and remove it from the Connected Printers section, but it will still show under All Available Printers.

Once the correct printer is connected, navigate to Till and complete a sale.
The Receipt Printer will print for the following:
Pro Forma
Tax Invoice/Receipt
Petty Cash
Customer Payment
Was this article helpful?
That’s Great!
Thank you for your feedback
Sorry! We couldn't be helpful
Thank you for your feedback
Feedback sent
We appreciate your effort and will try to fix the article