To use a barcode scanner, simply connect the scanner to the computer. The scanner will connect to your computer’s USB port.
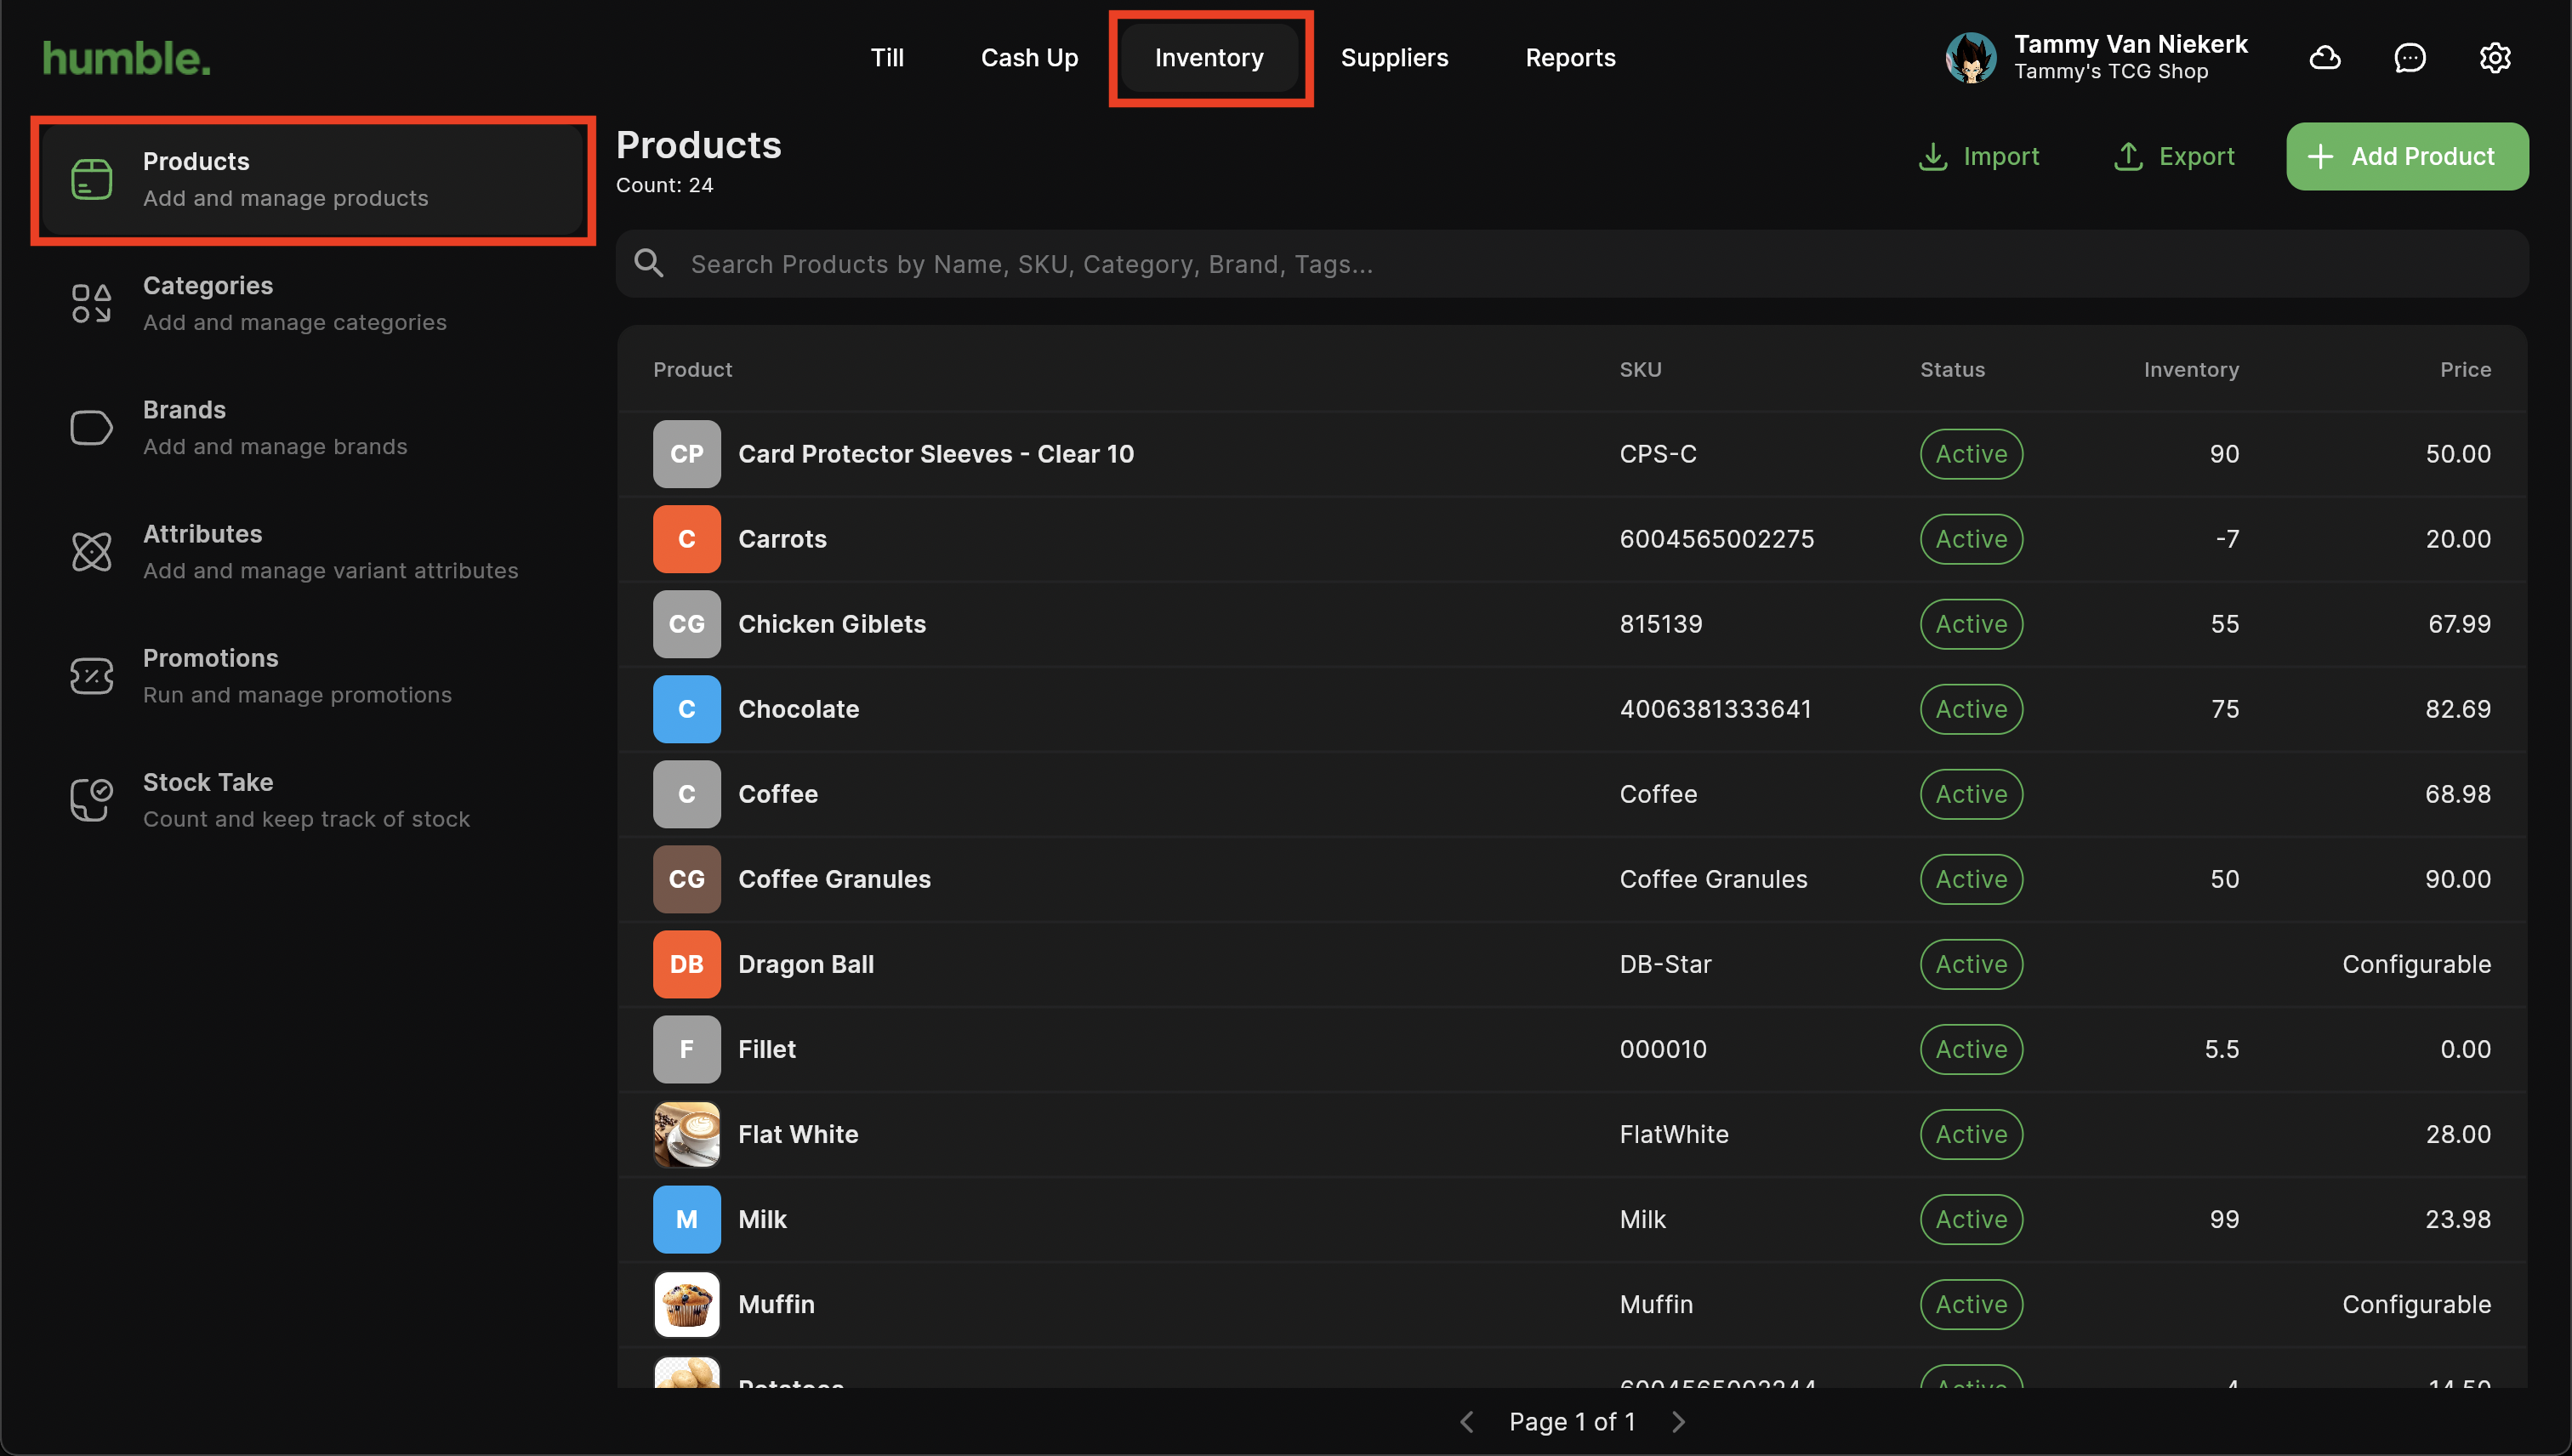
Once the scanner is connected, navigate to Inventory. You will be taken to the products screen.
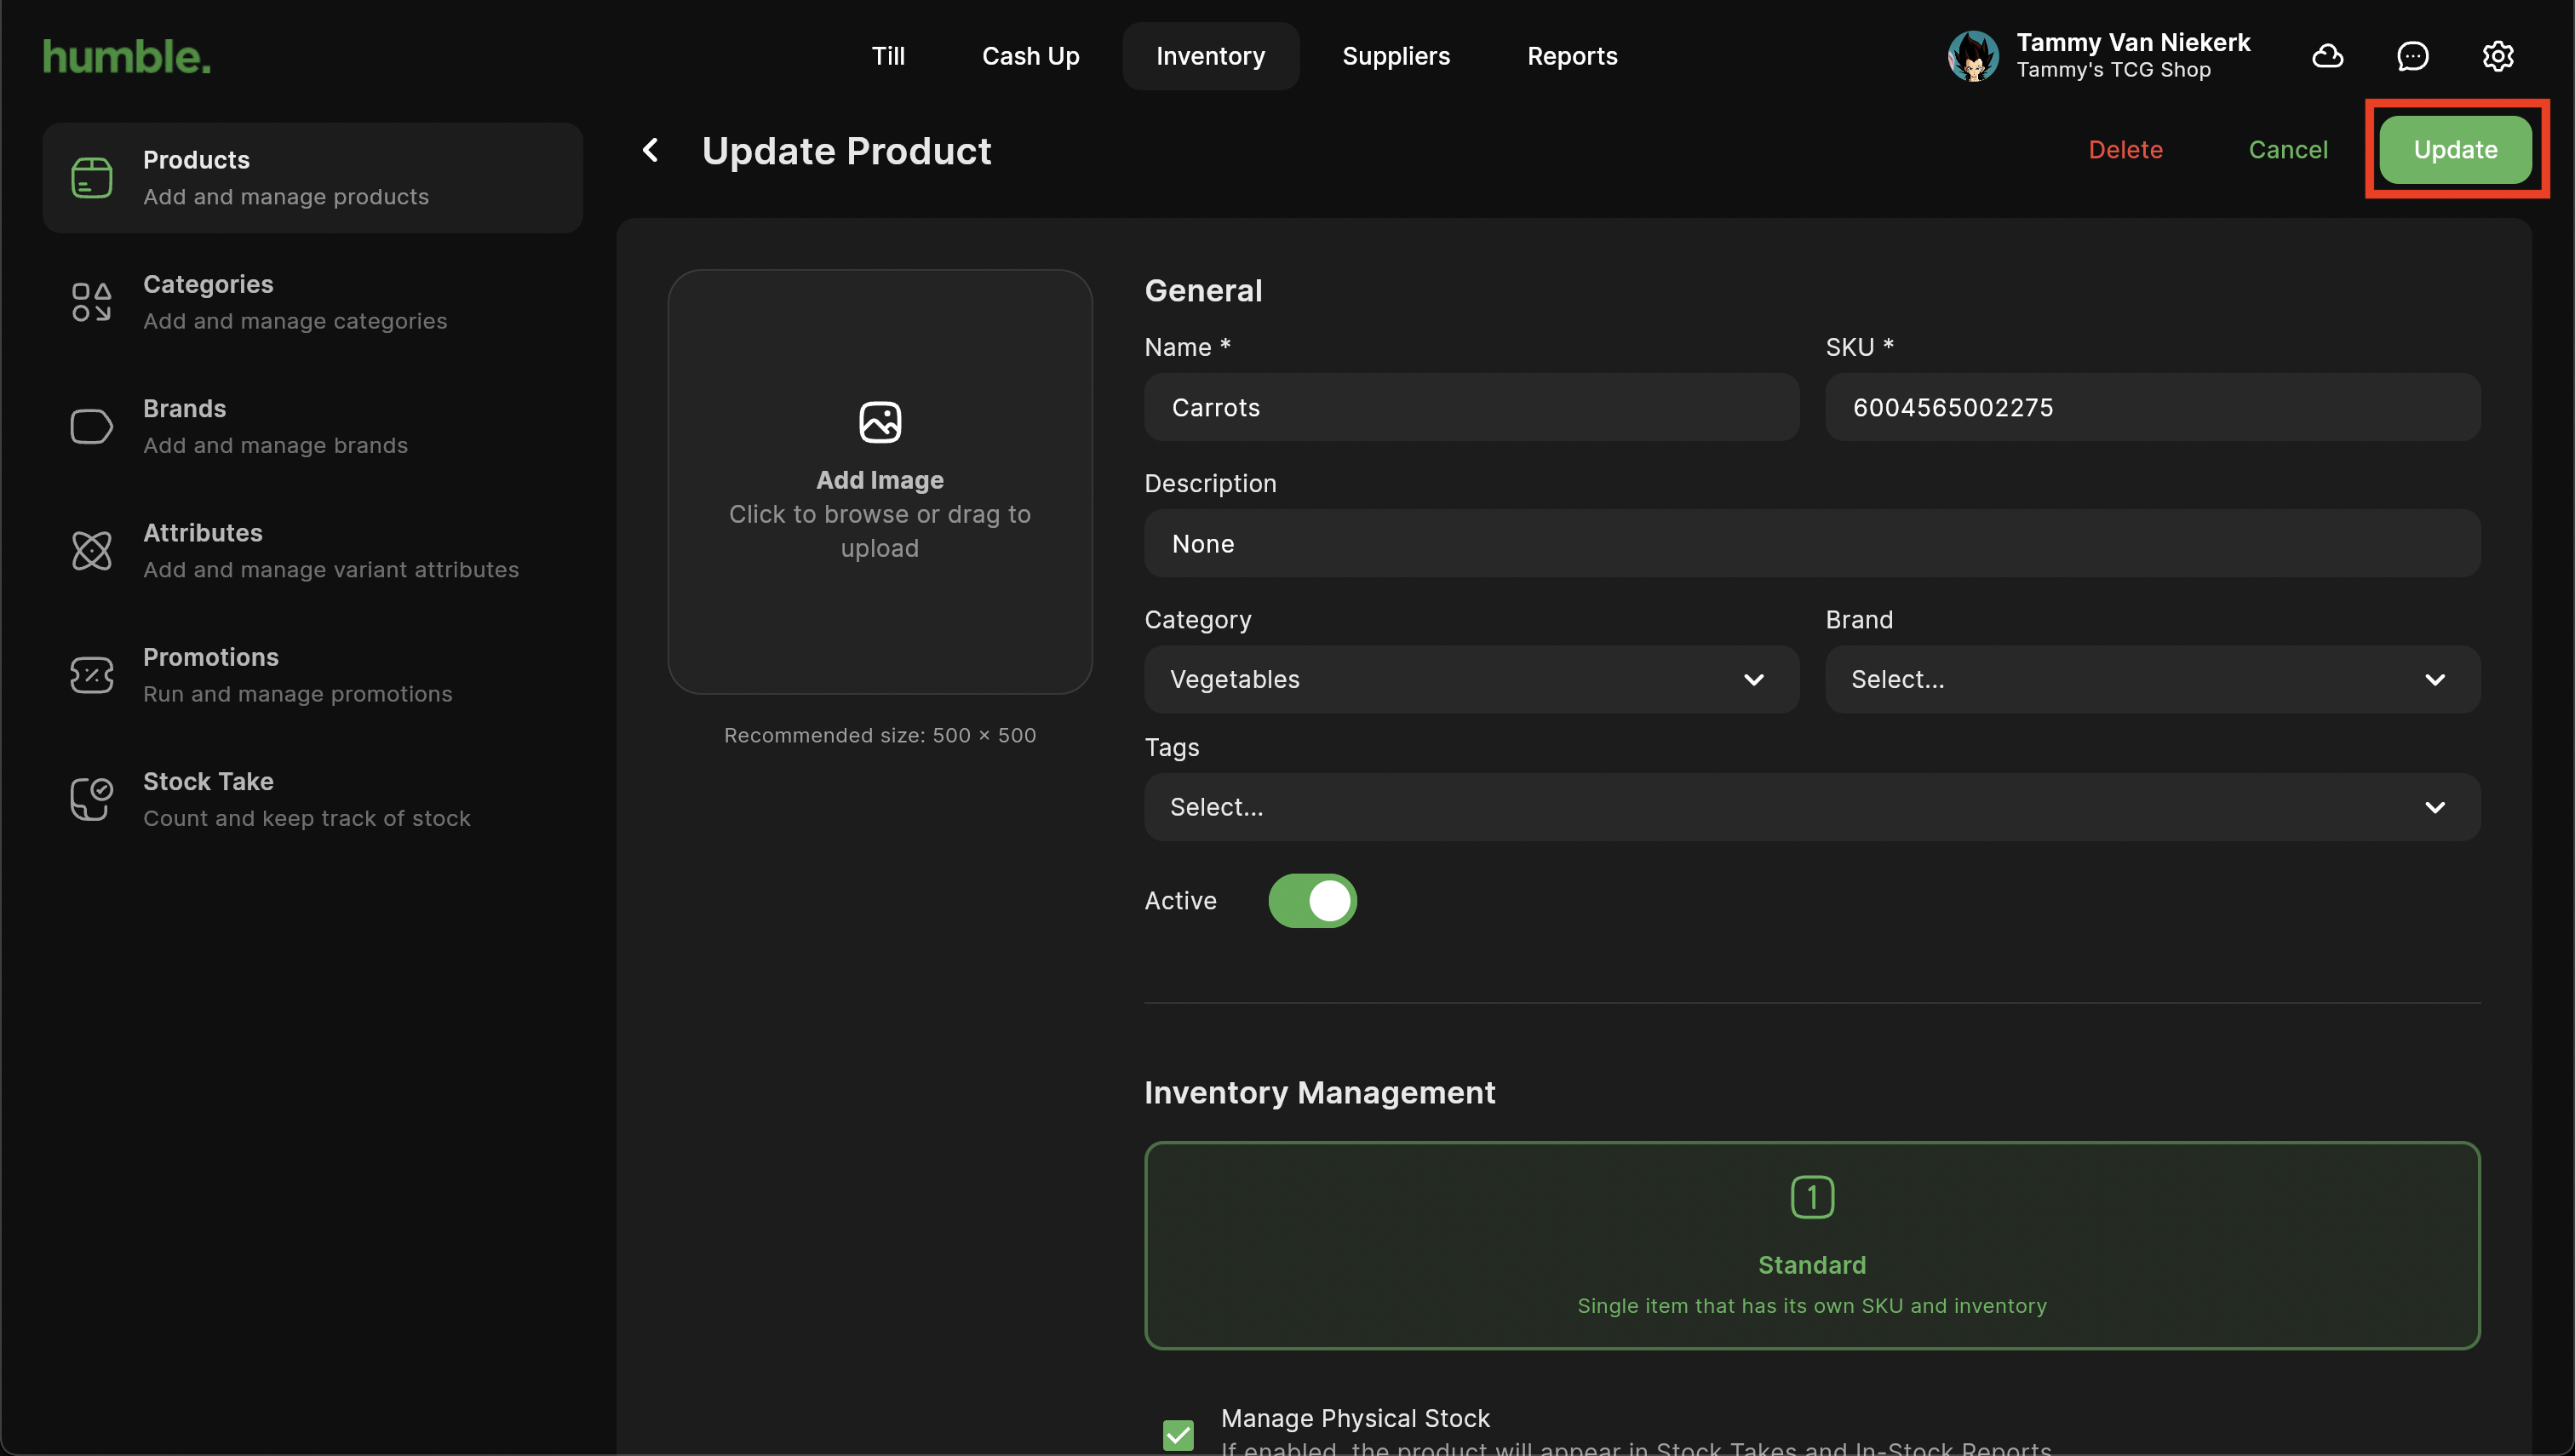
Select a product that you wish to add a barcode to.
You can add the barcode in one of two places:
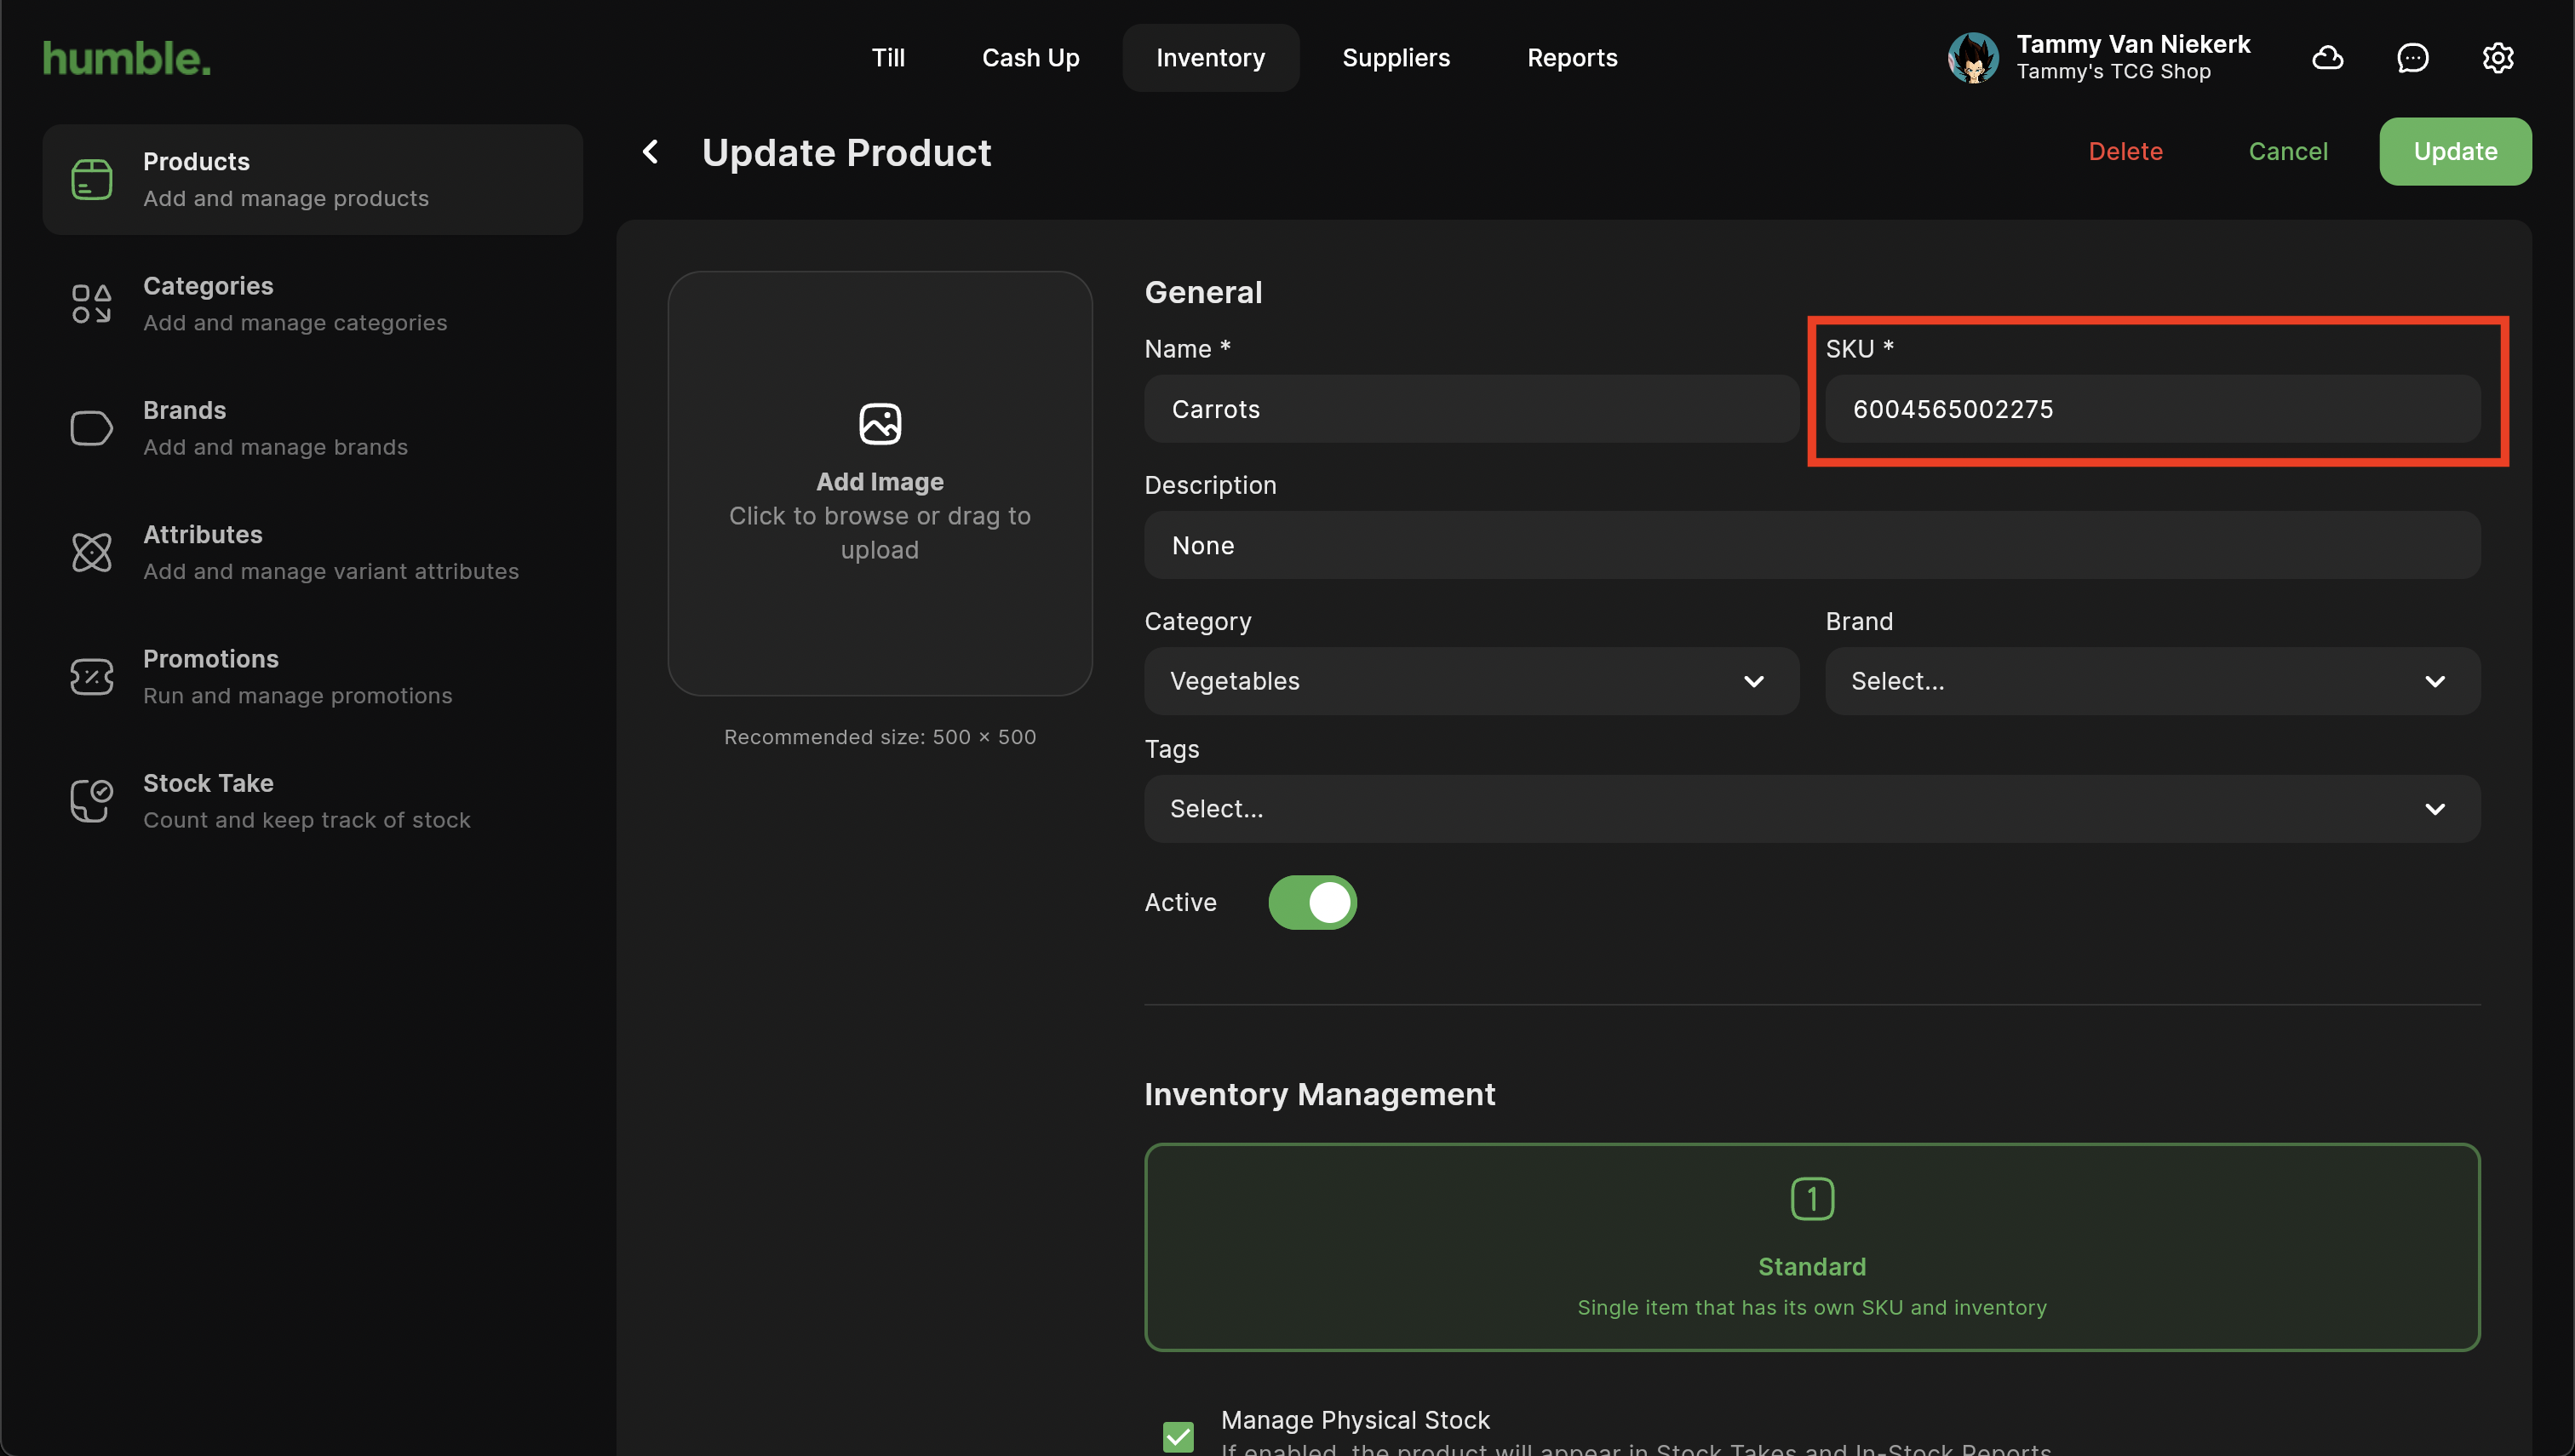
The SKU field
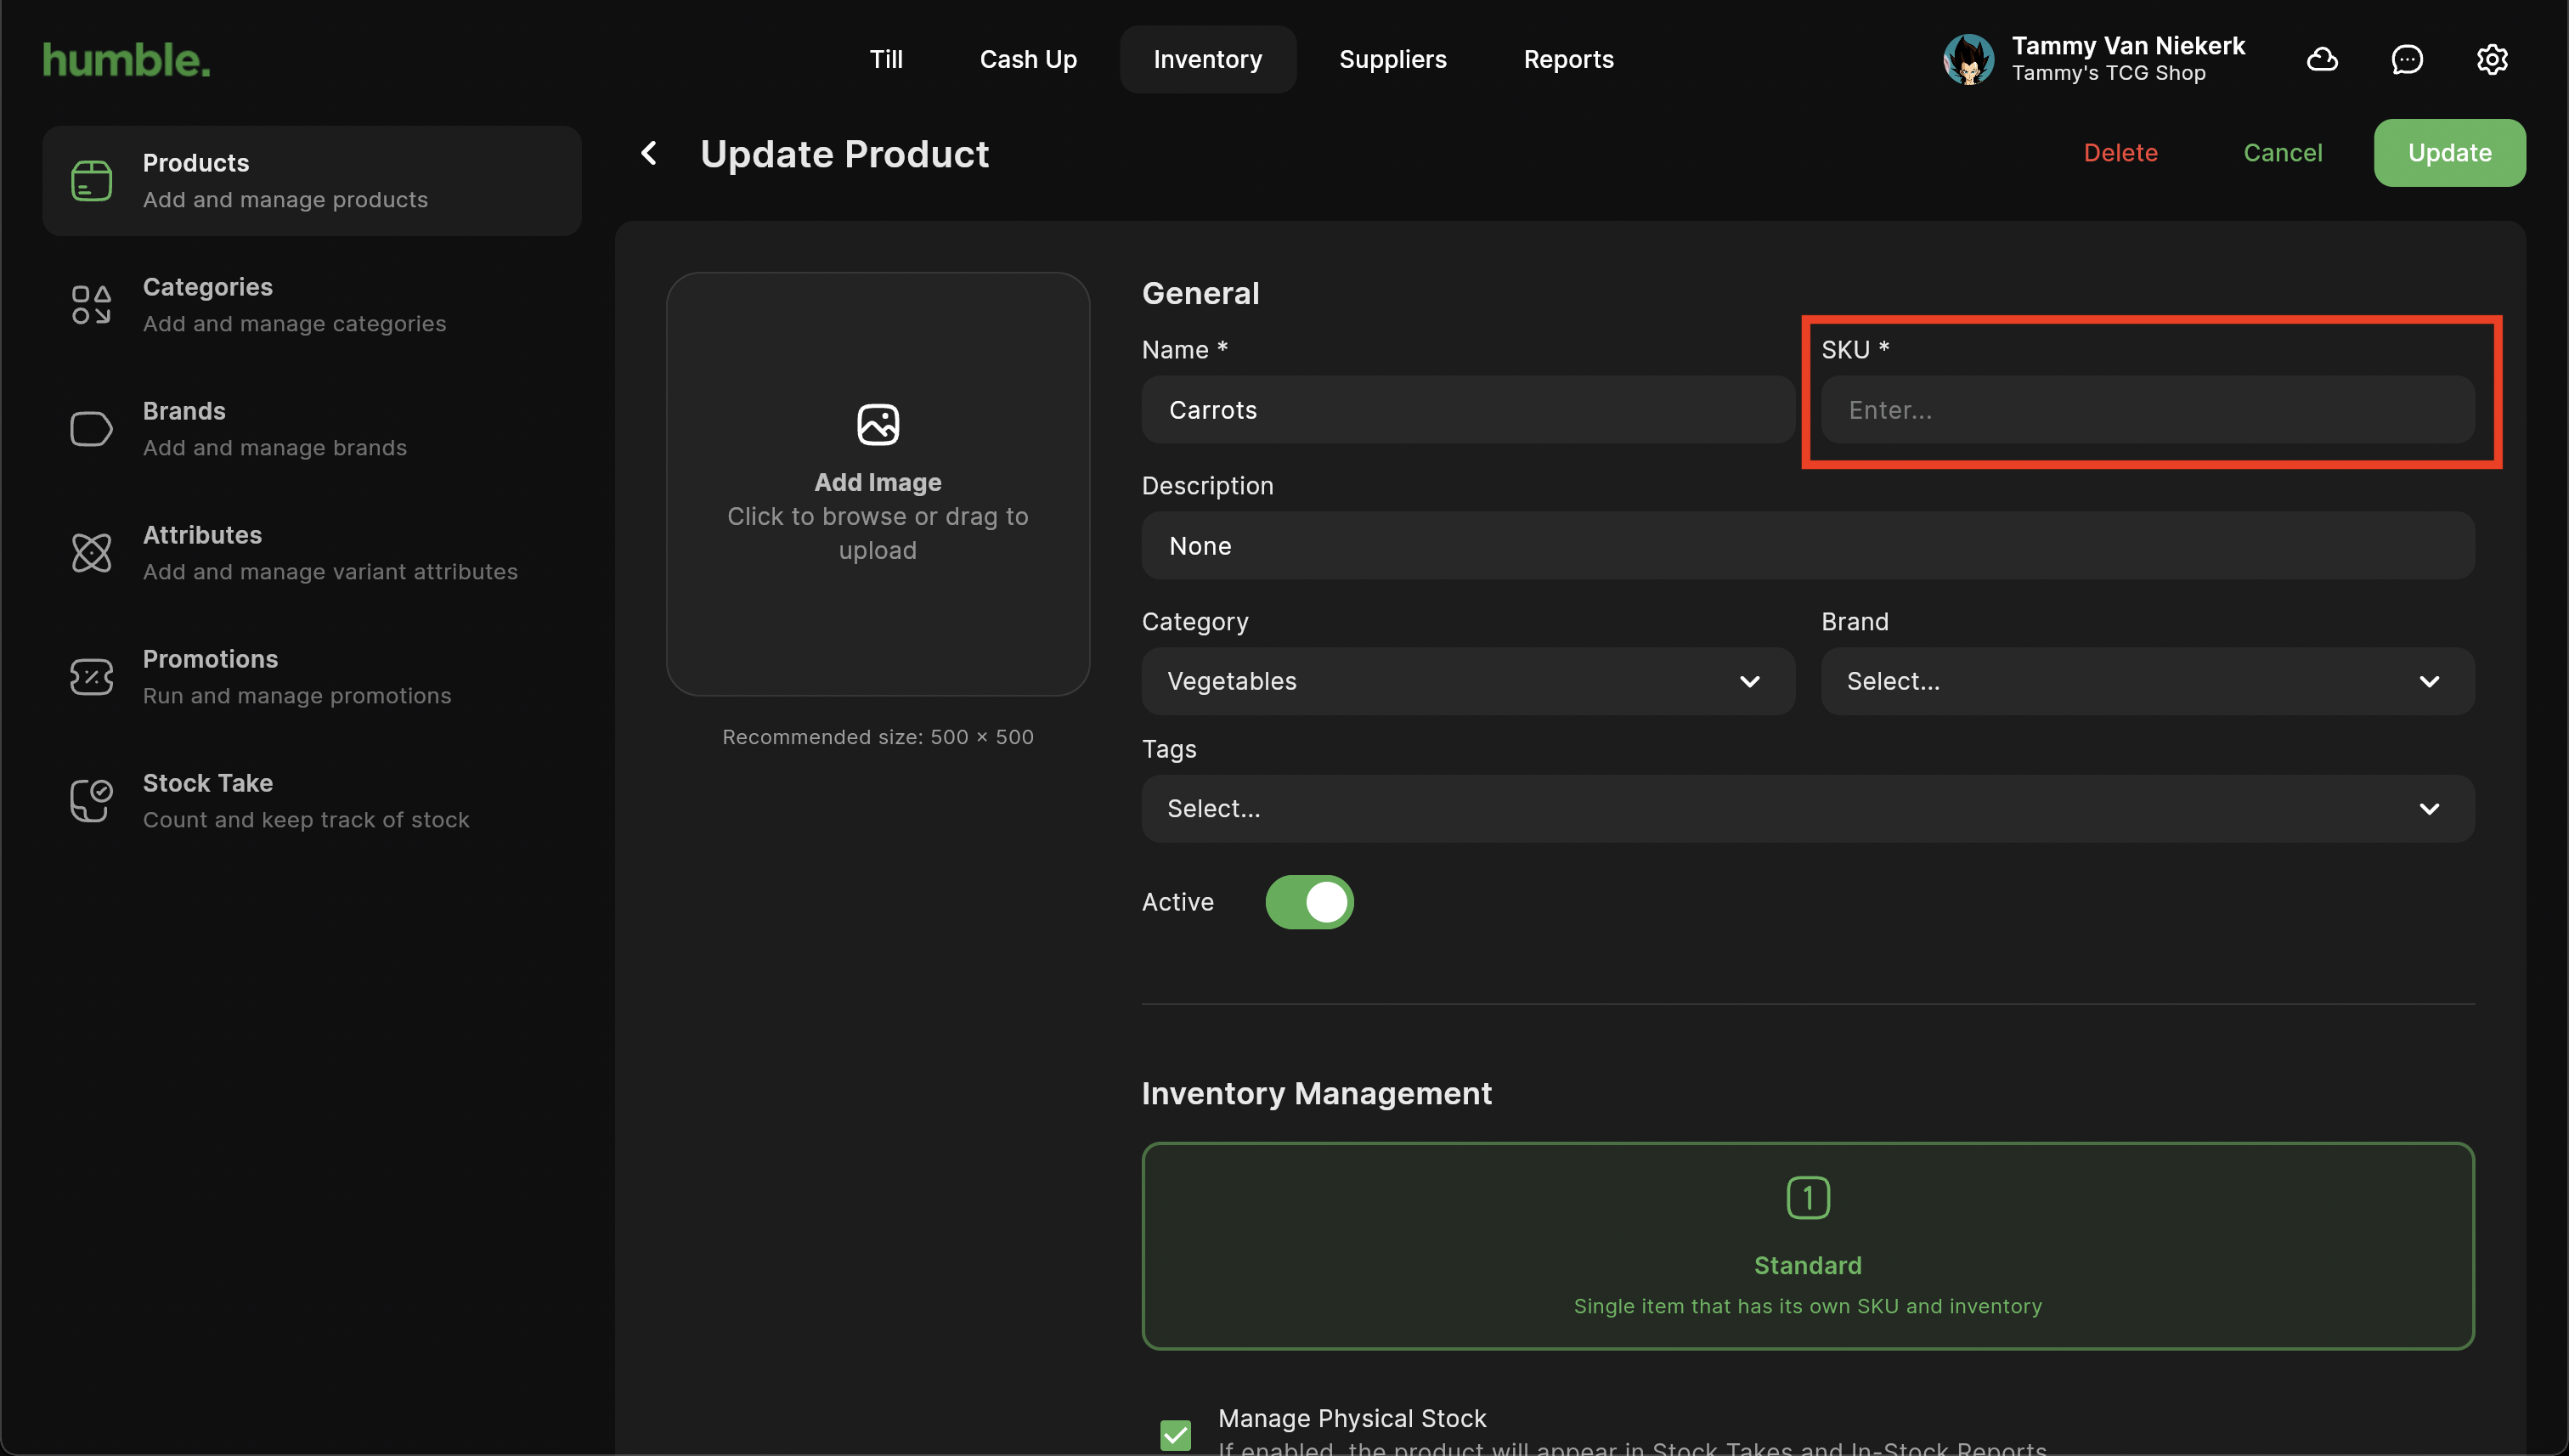
Once the SKU field is empty, scan the barcode that you would like to use for this product. It will automatically enter it in for you.
The Barcode field
First, click on the Add barcode button
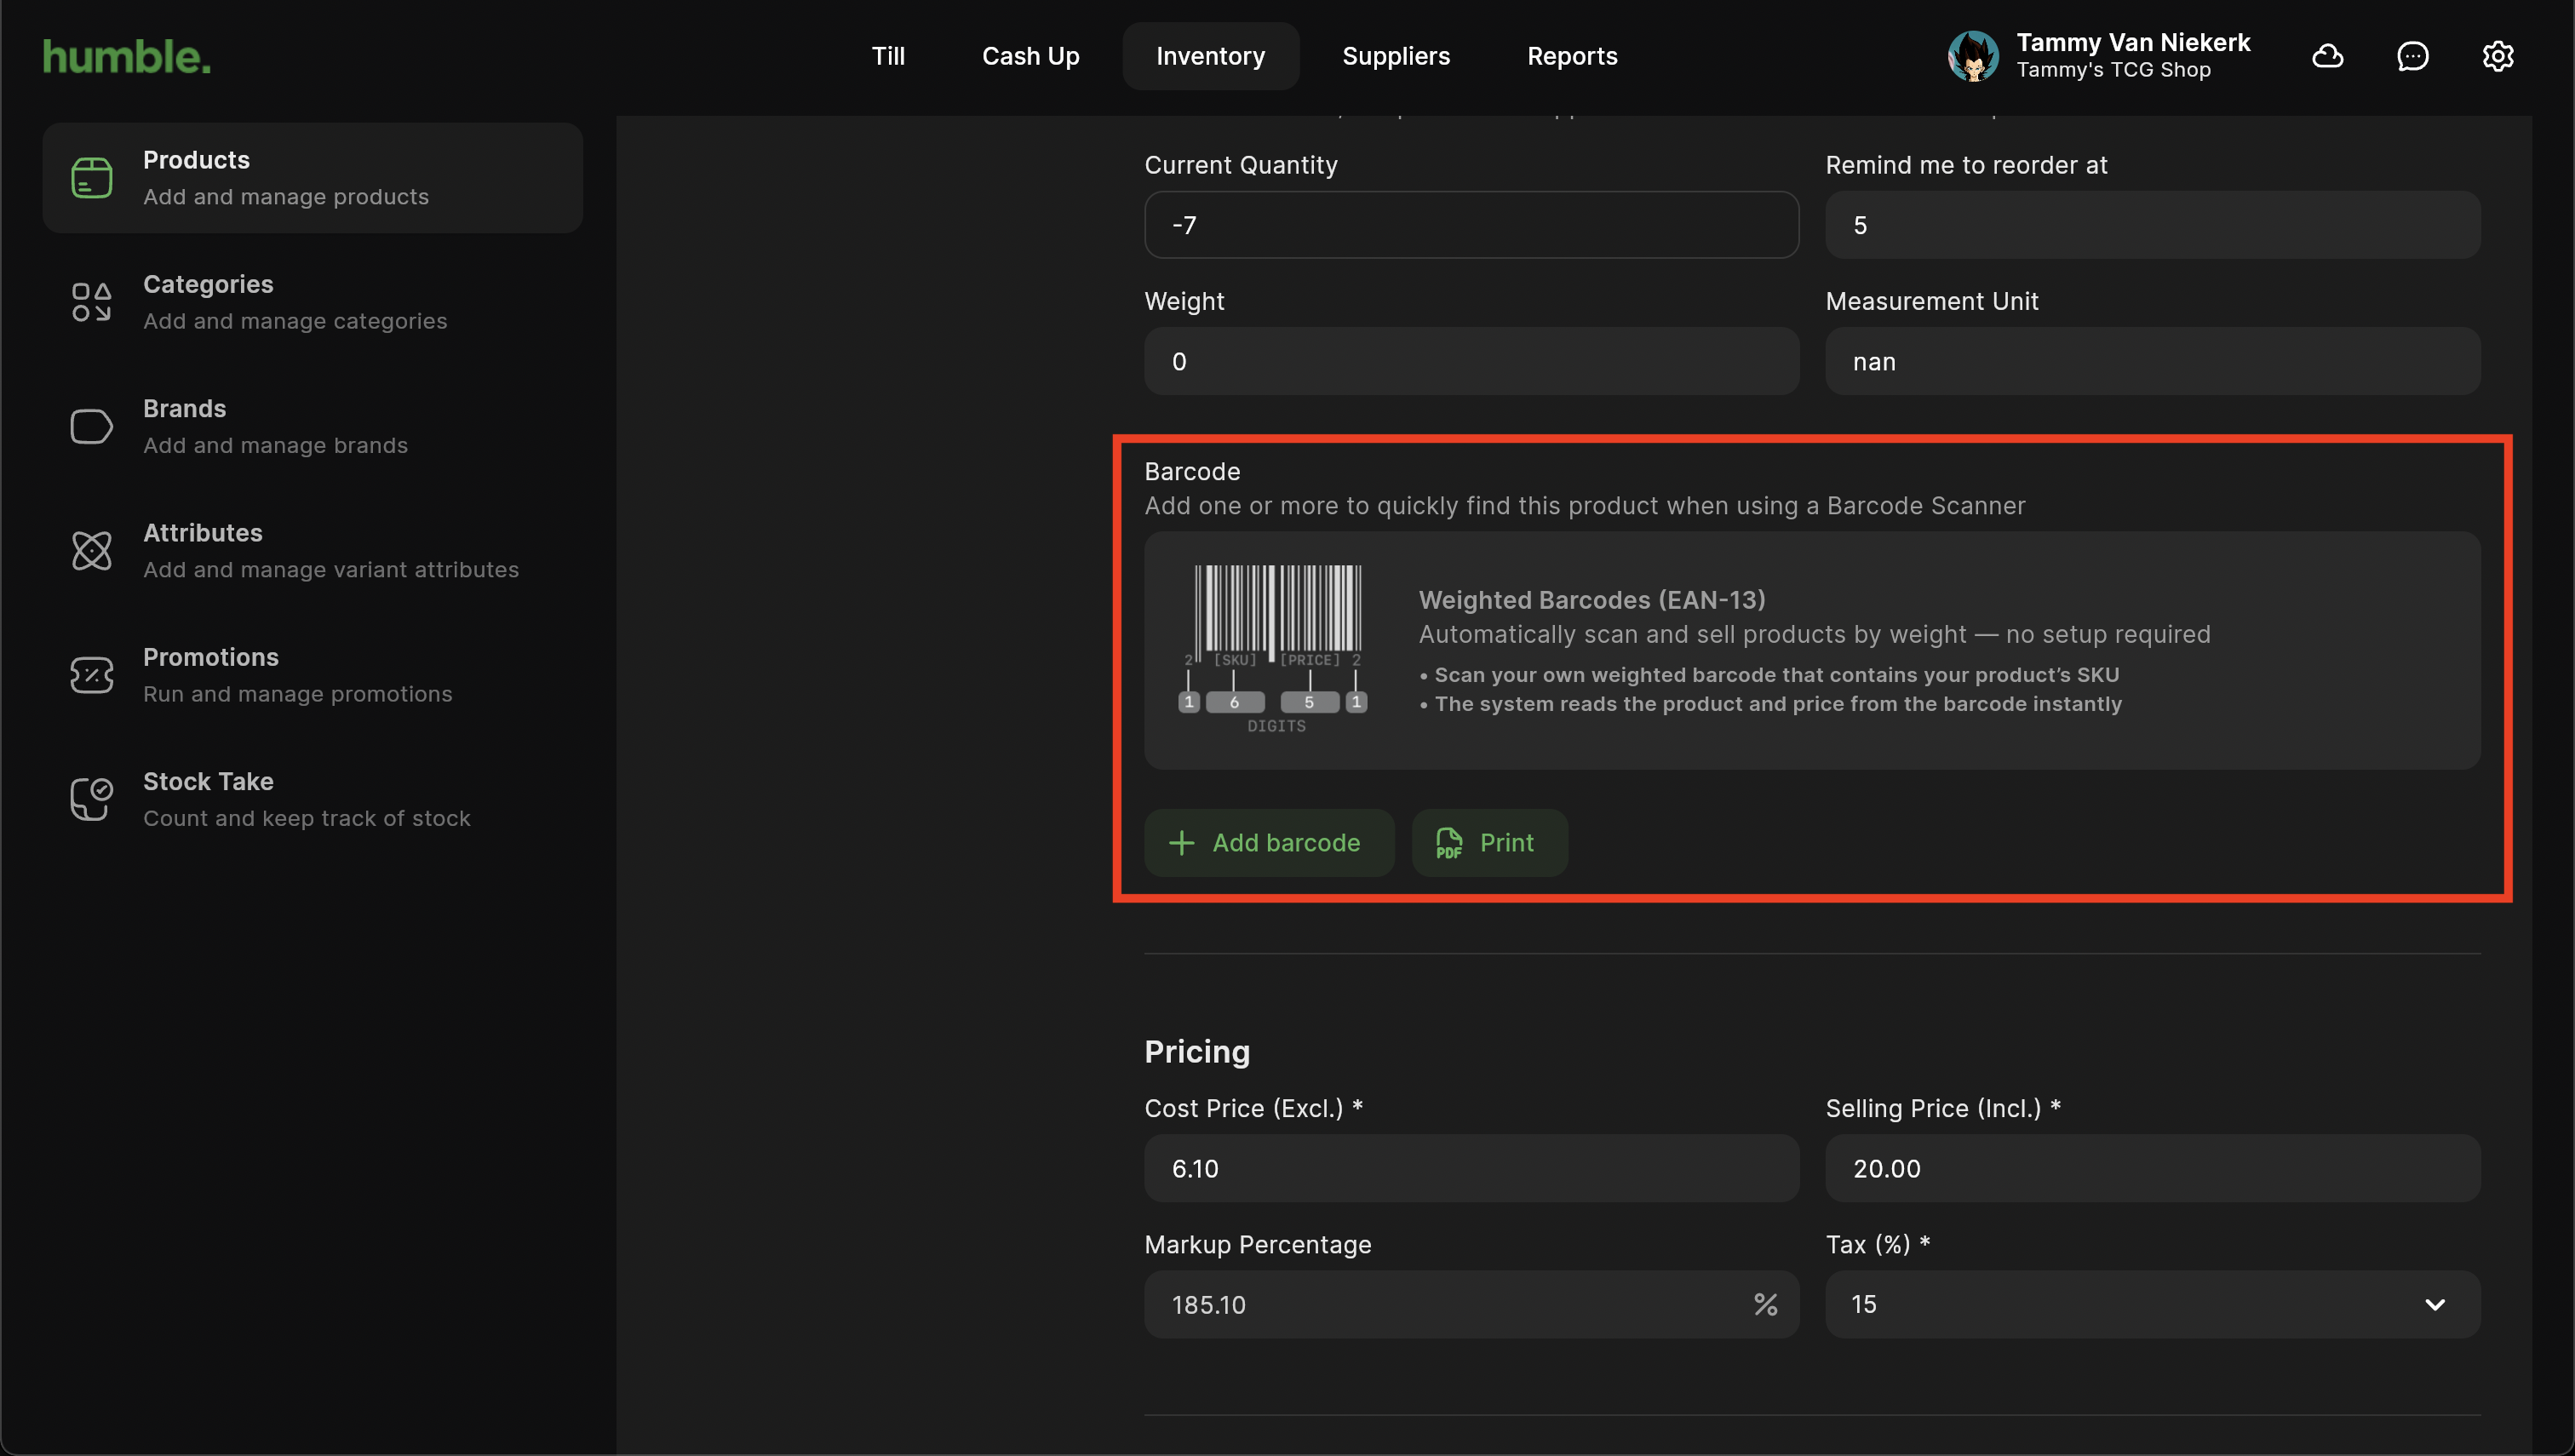
b. The barcode field will then appear

Scan the barcode that you would like to use for this product. It will automatically enter it in for you.
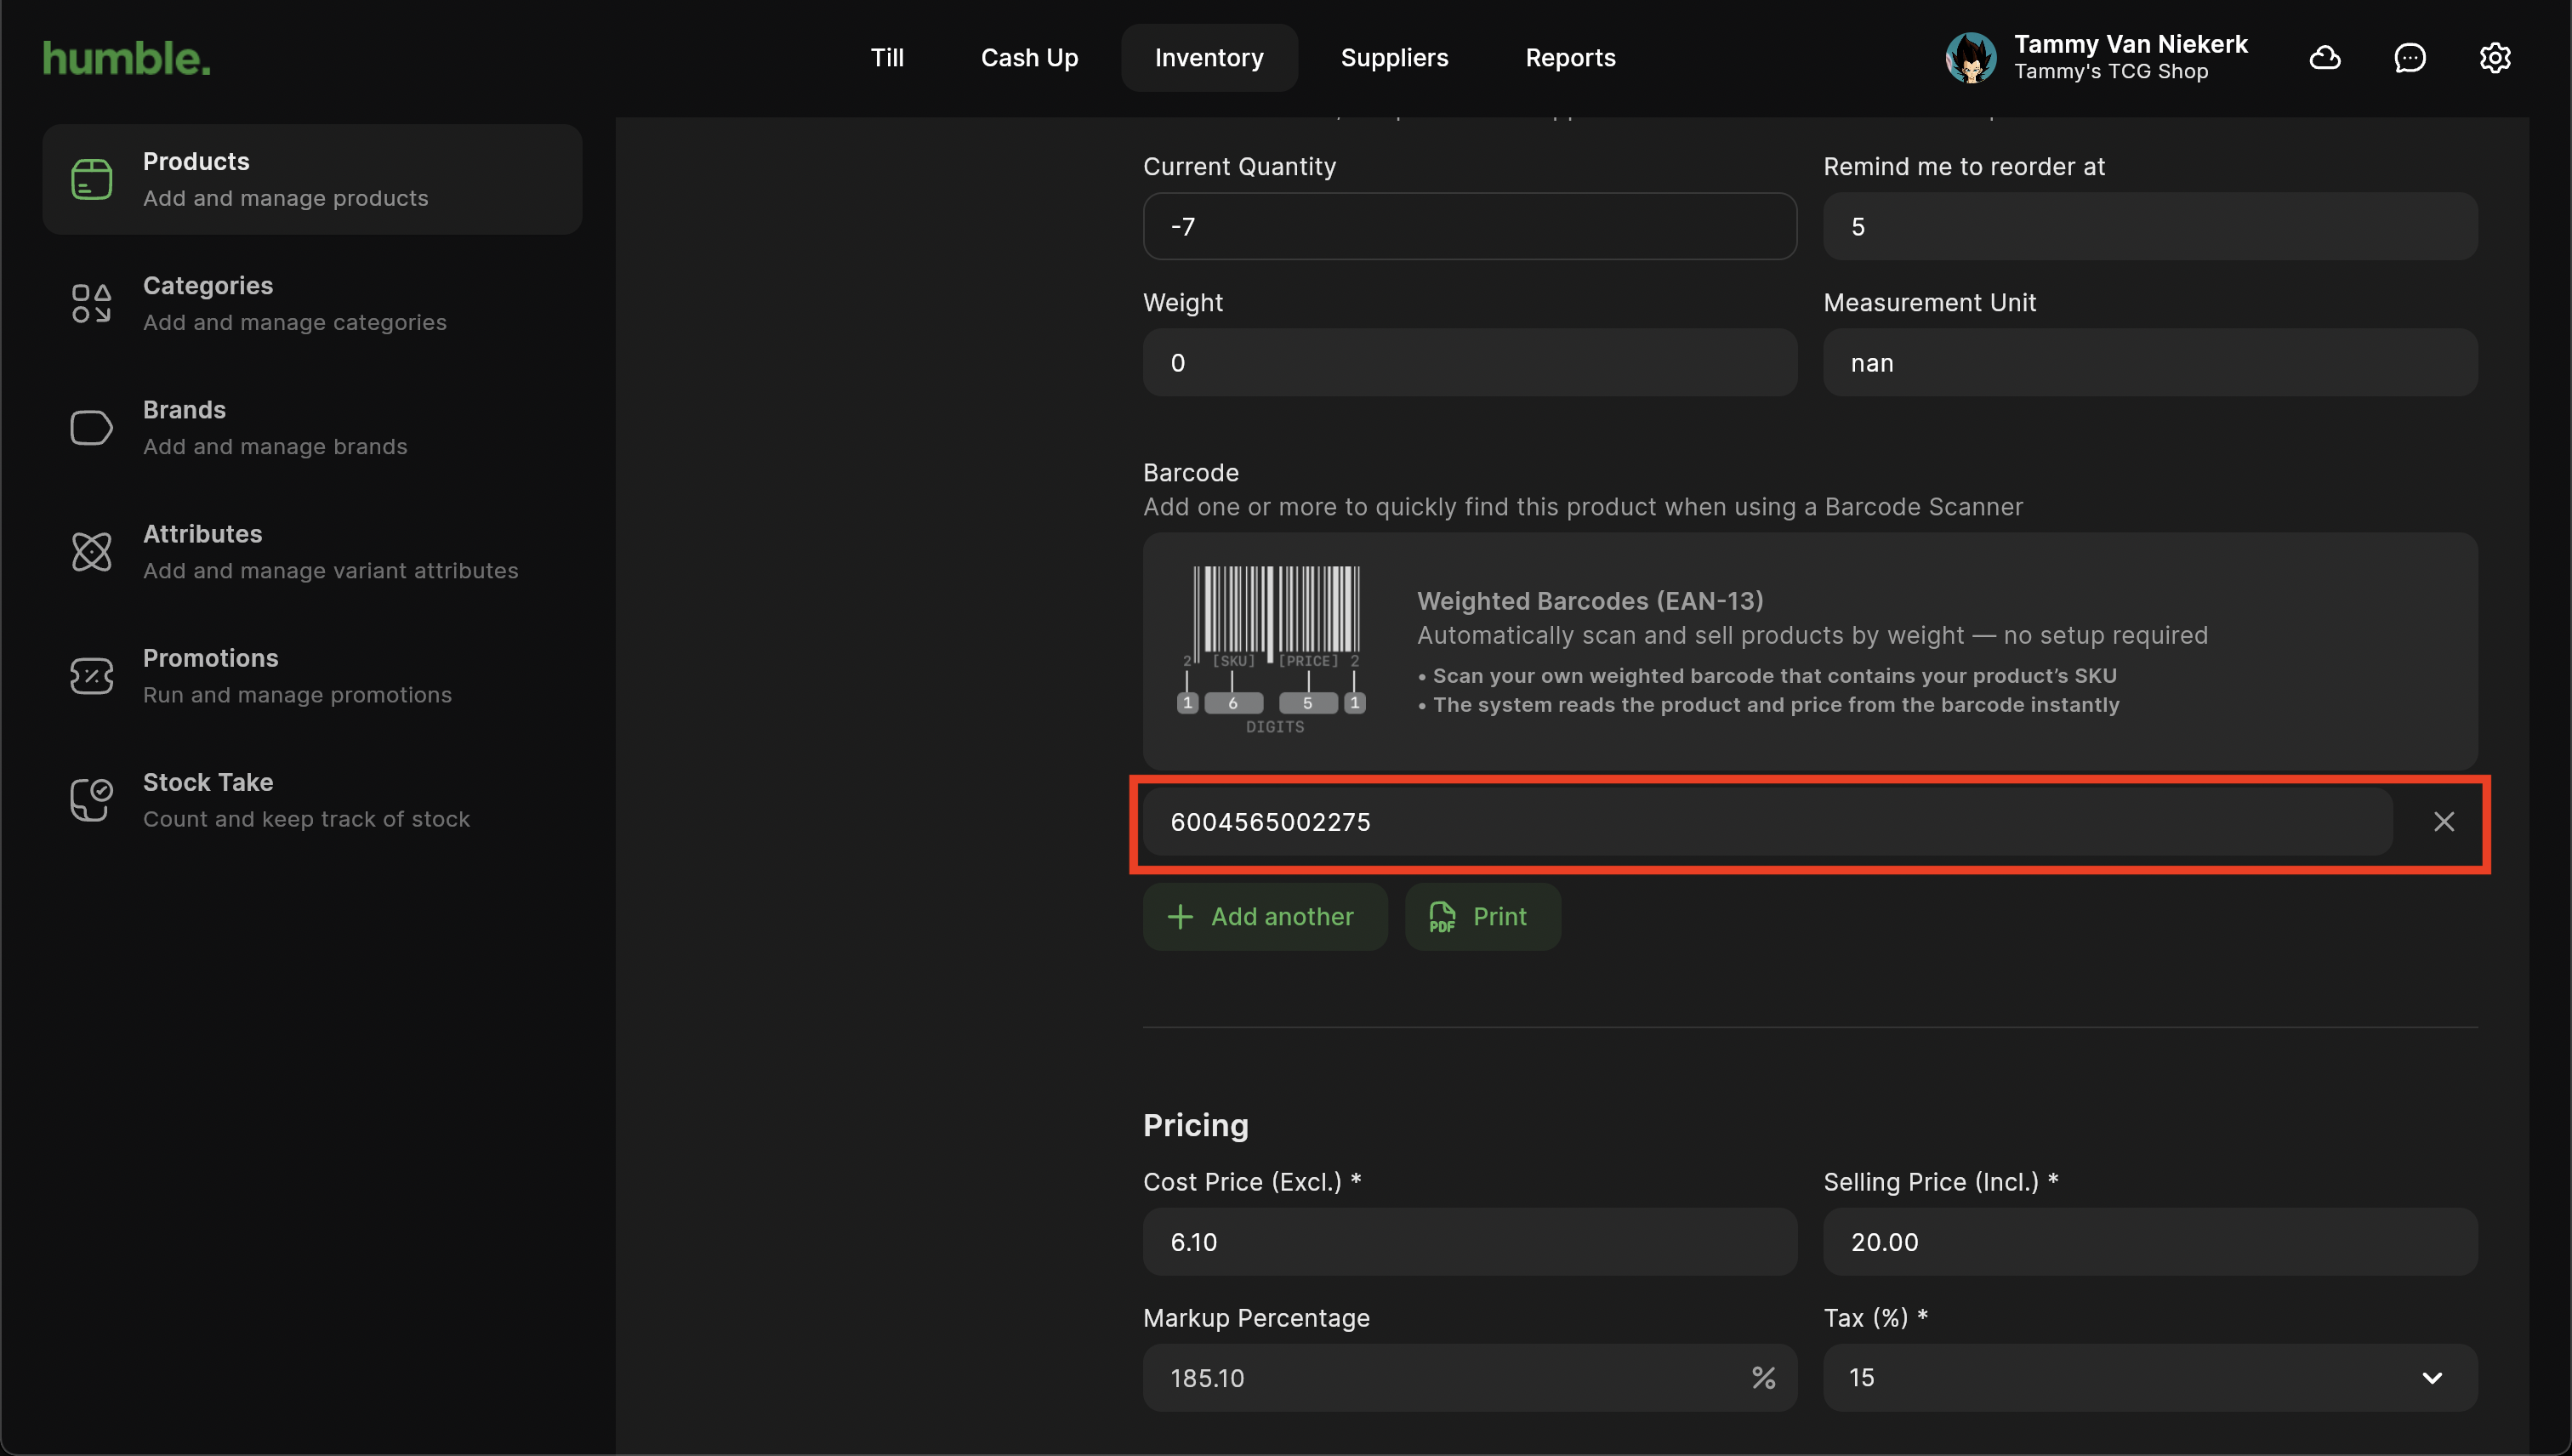
Once scanned, click Update.
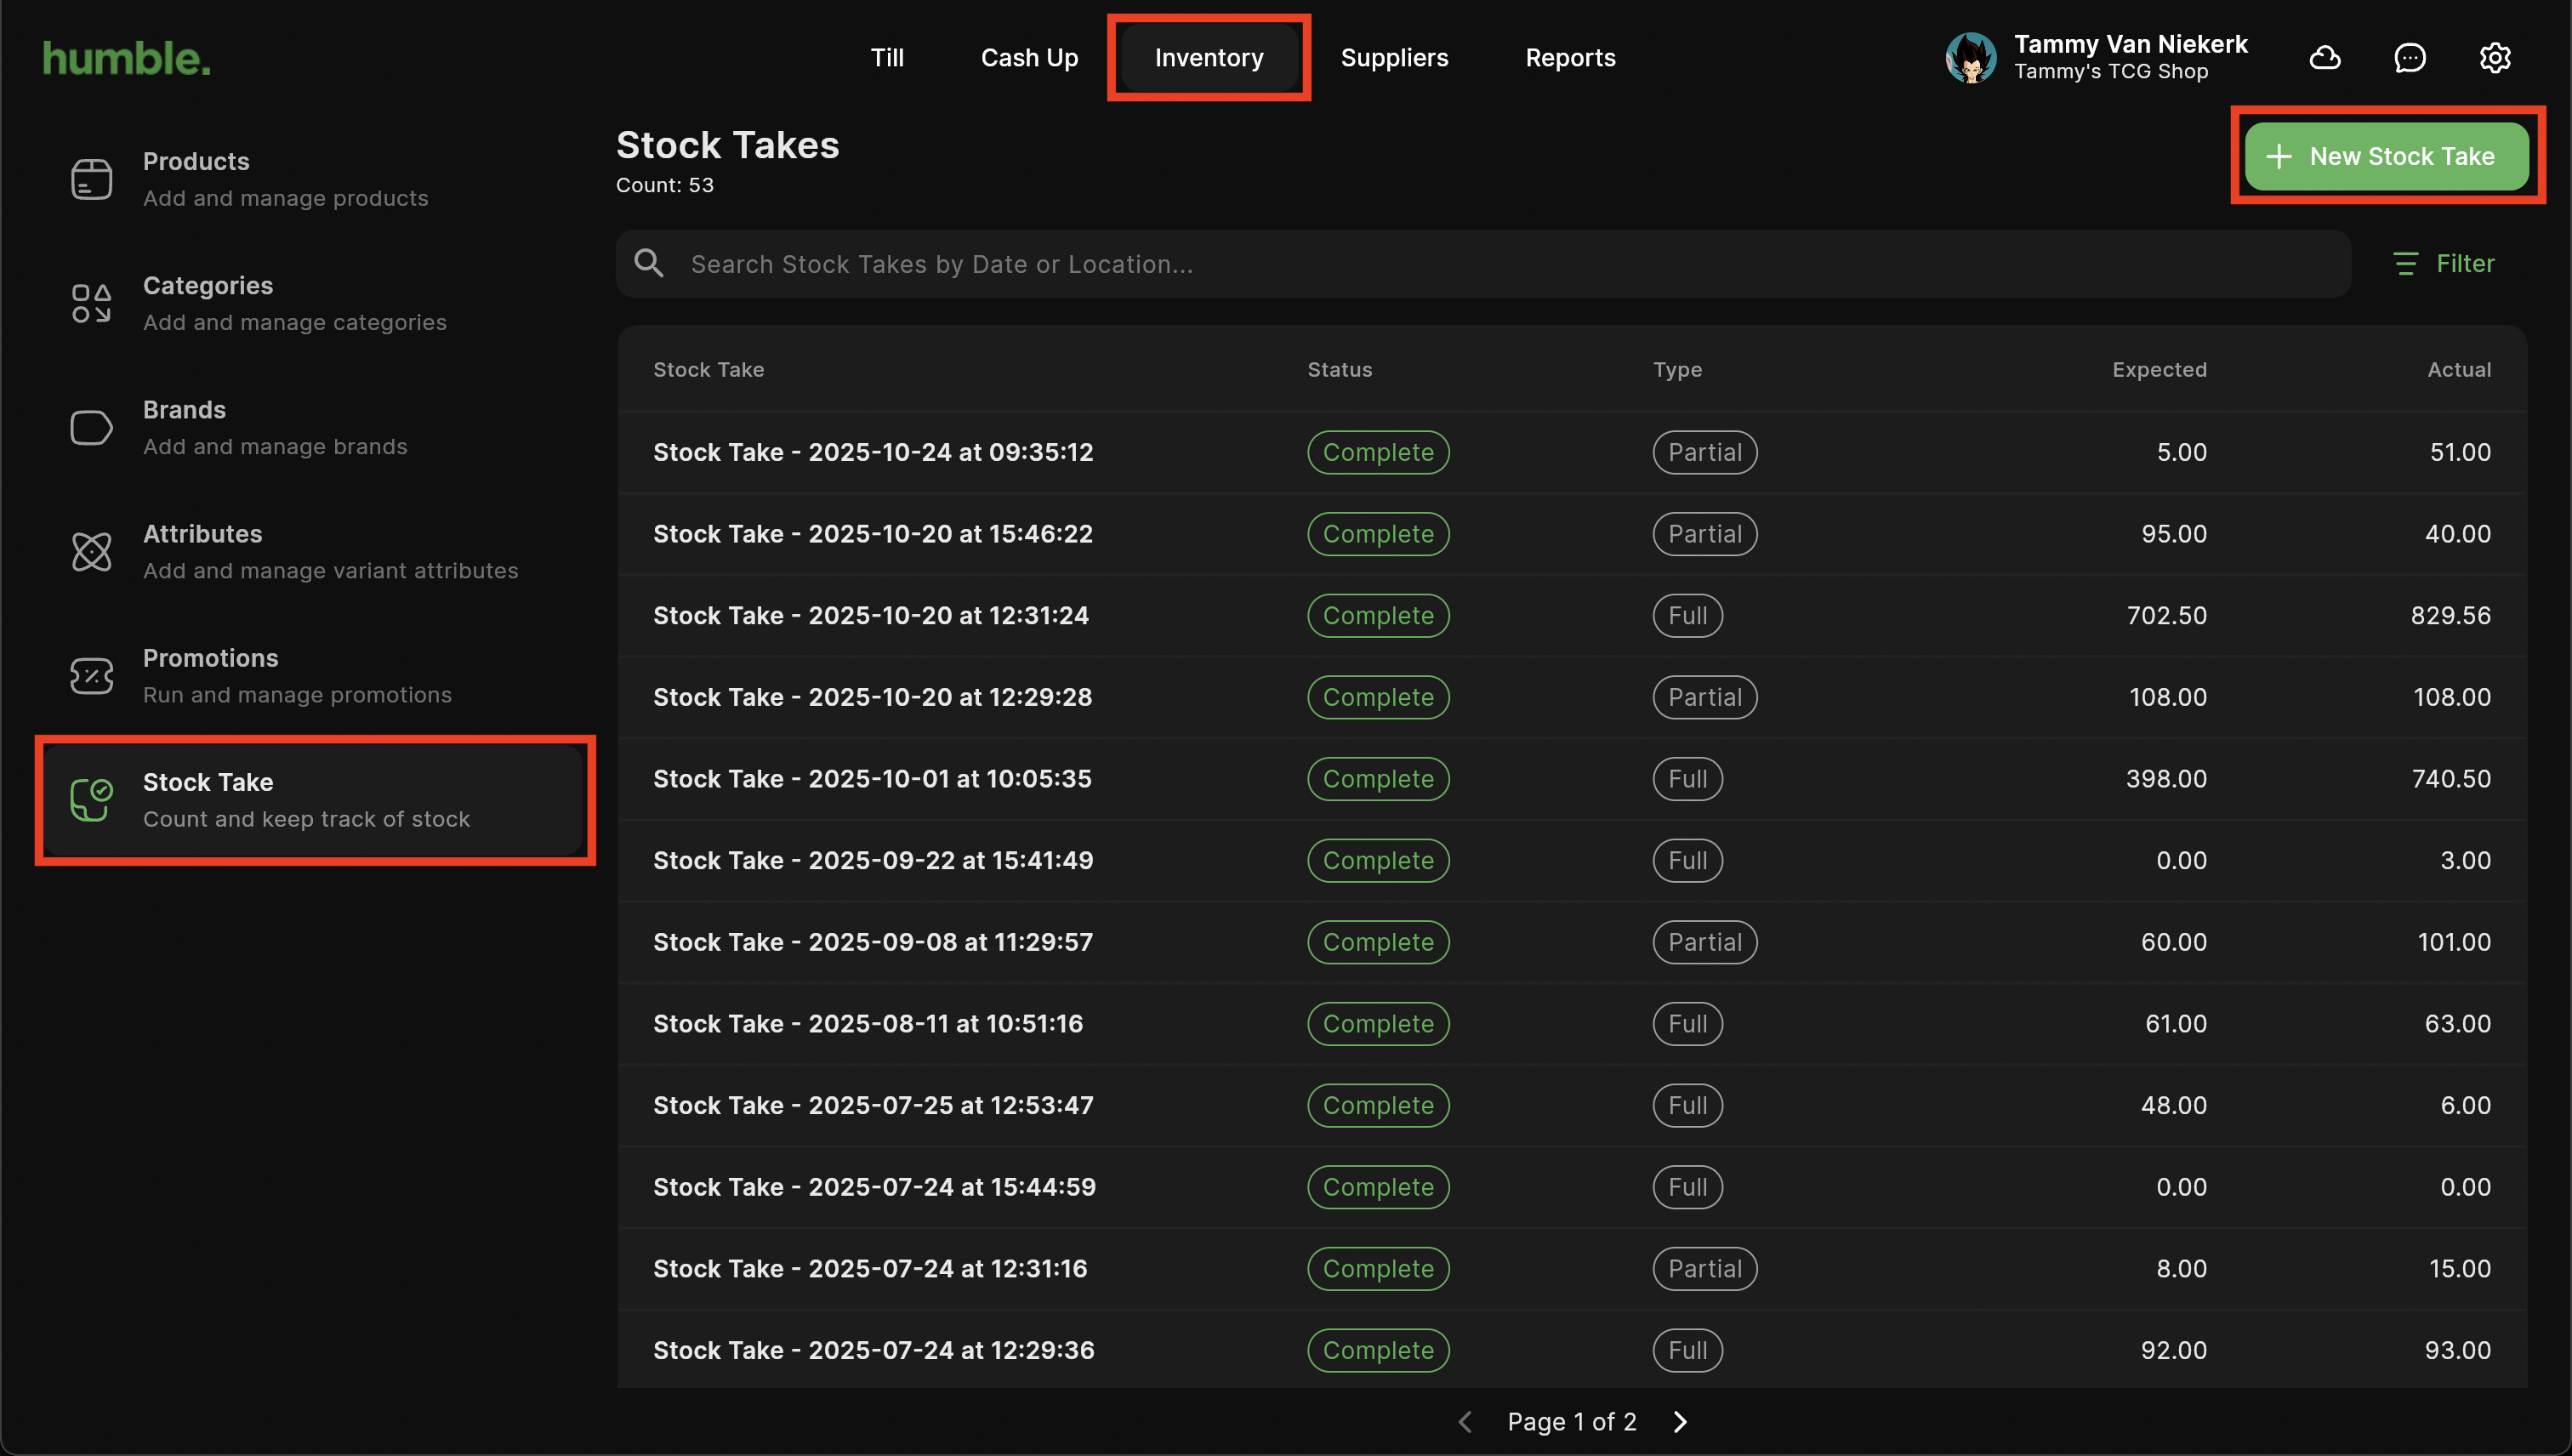
Navigate to Inventory. You will be taken to the products screen. Click on Stock Take, then click on New Stock Take.
Add in a Name for the Stock Take and select if you want to do a Full or Partial Stock Take, then click on Start.

Once you are in the the Stock Take, scan the barcode once, this will highlight the Actual field of the product.
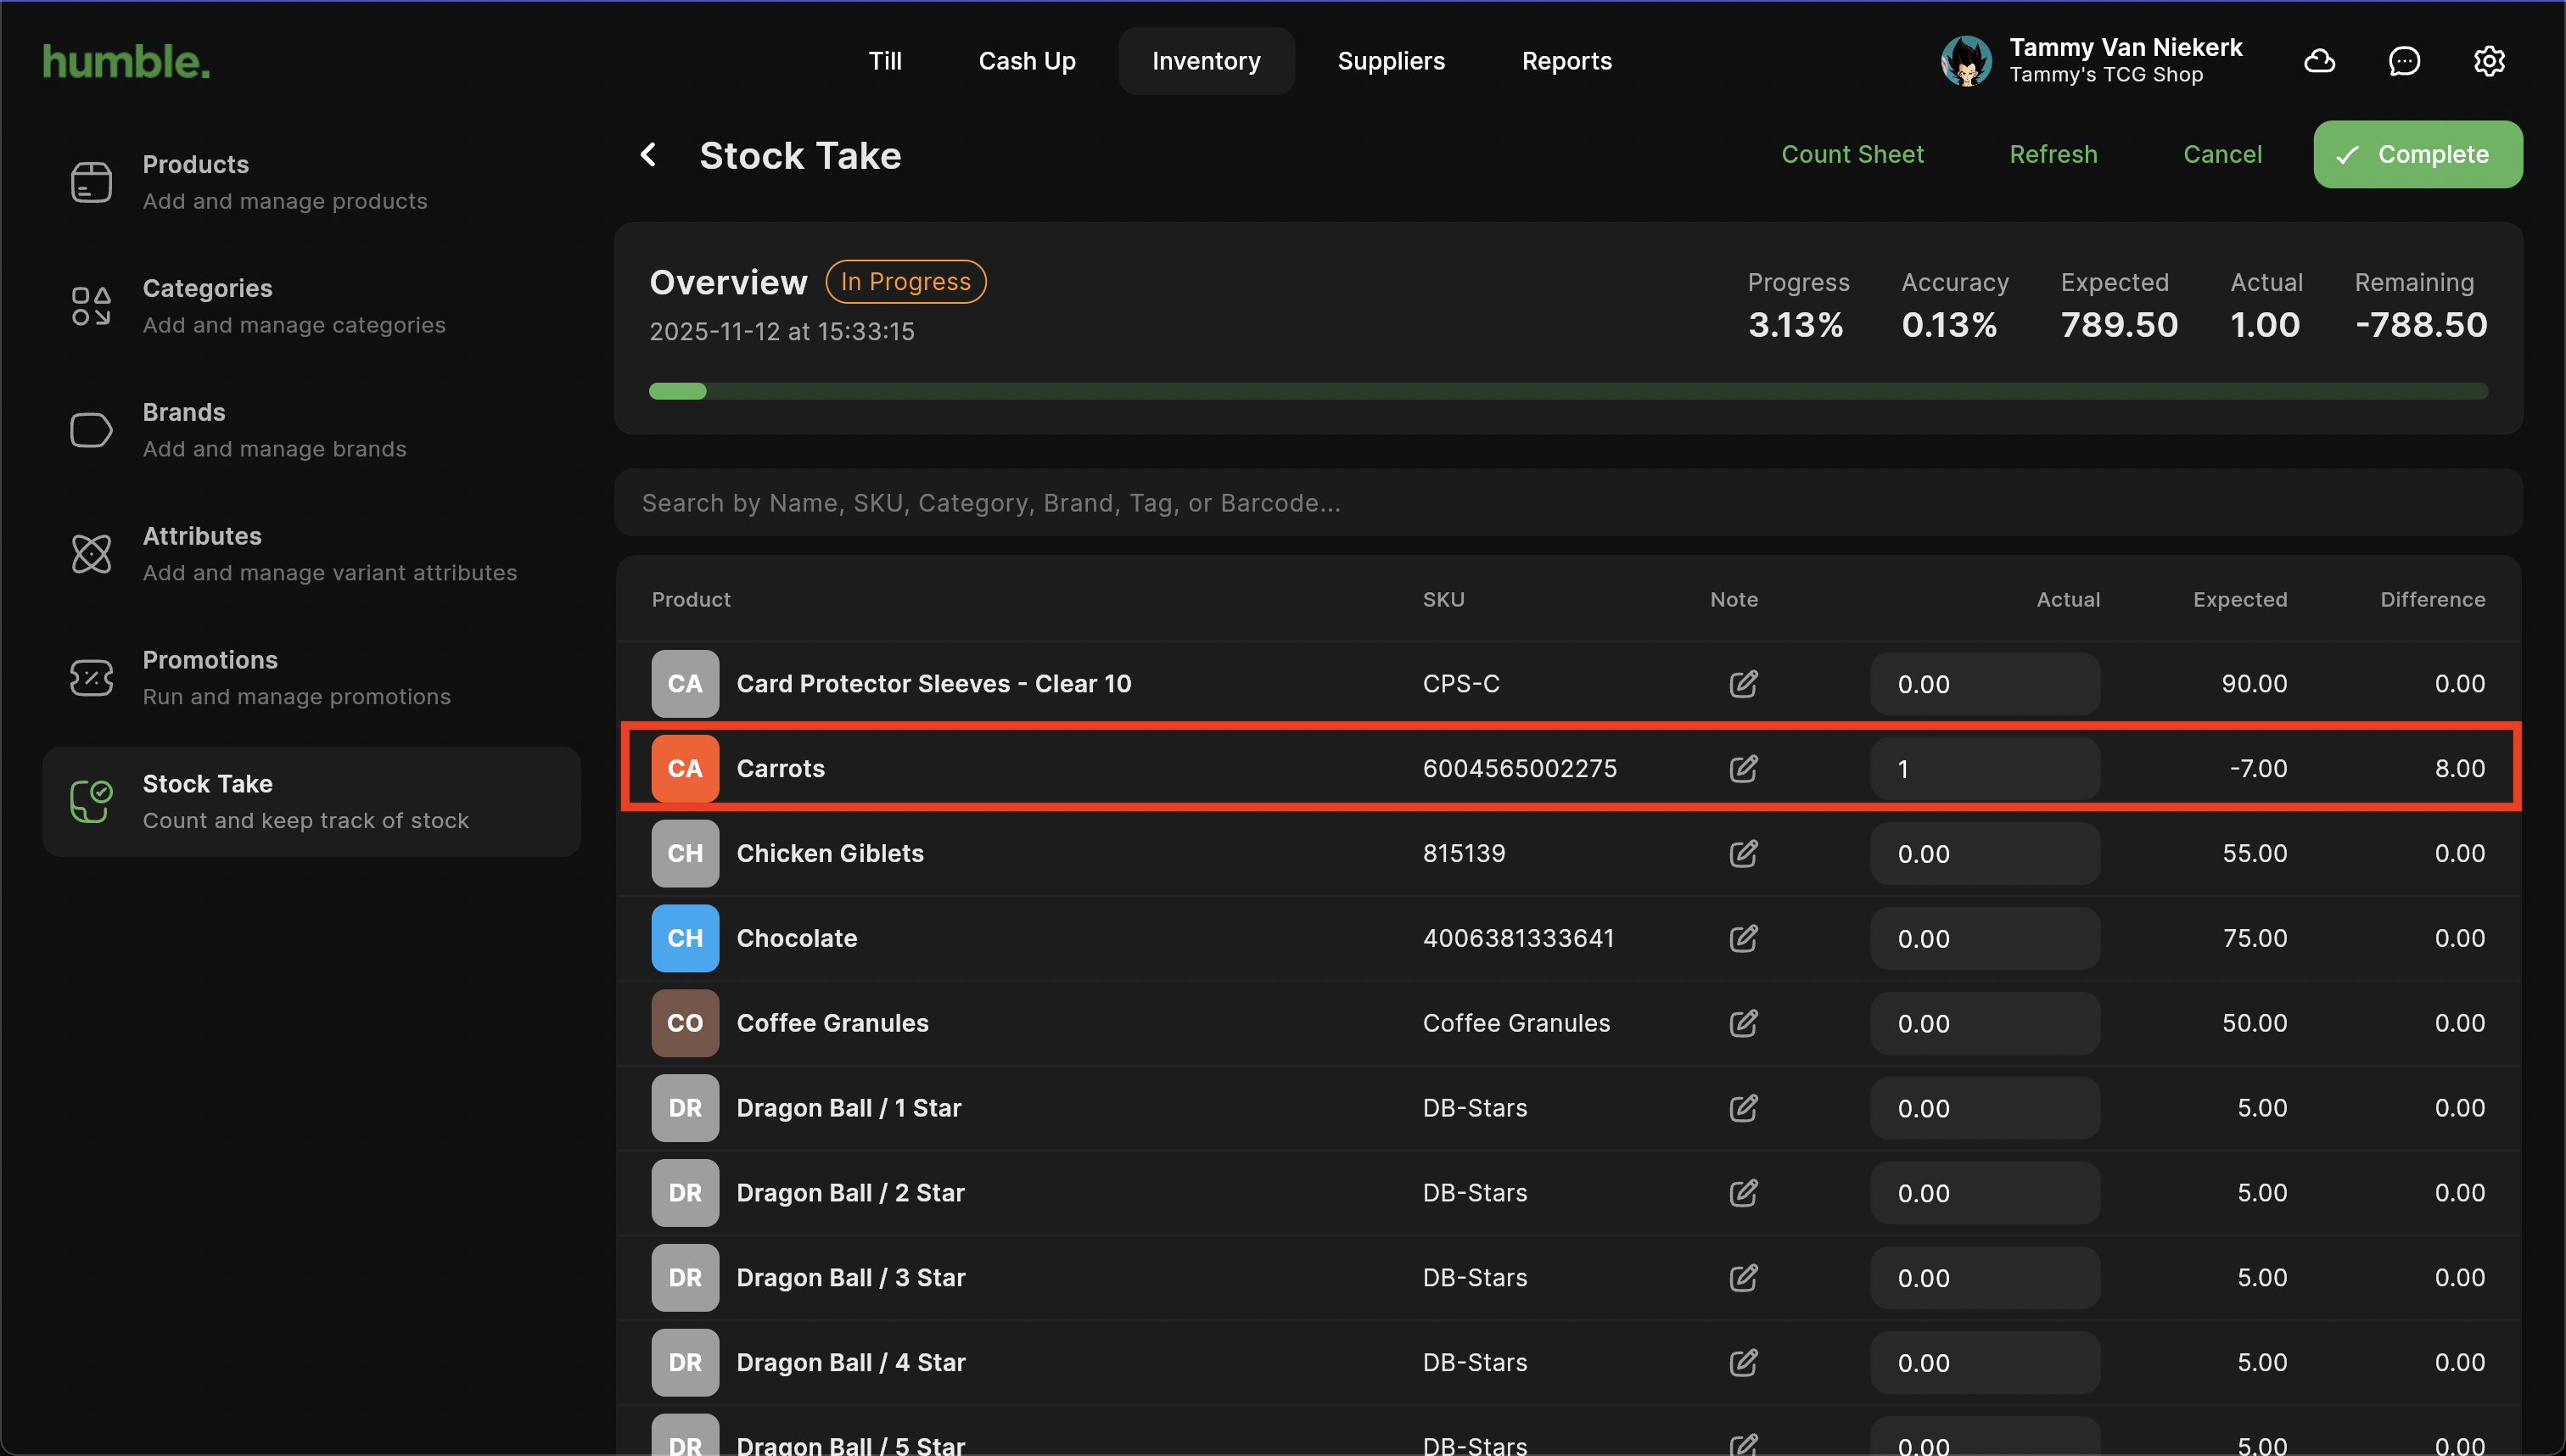

You will then be able to add in the actual amount of stock for this product.
Was this article helpful?
That’s Great!
Thank you for your feedback
Sorry! We couldn't be helpful
Thank you for your feedback
Feedback sent
We appreciate your effort and will try to fix the article