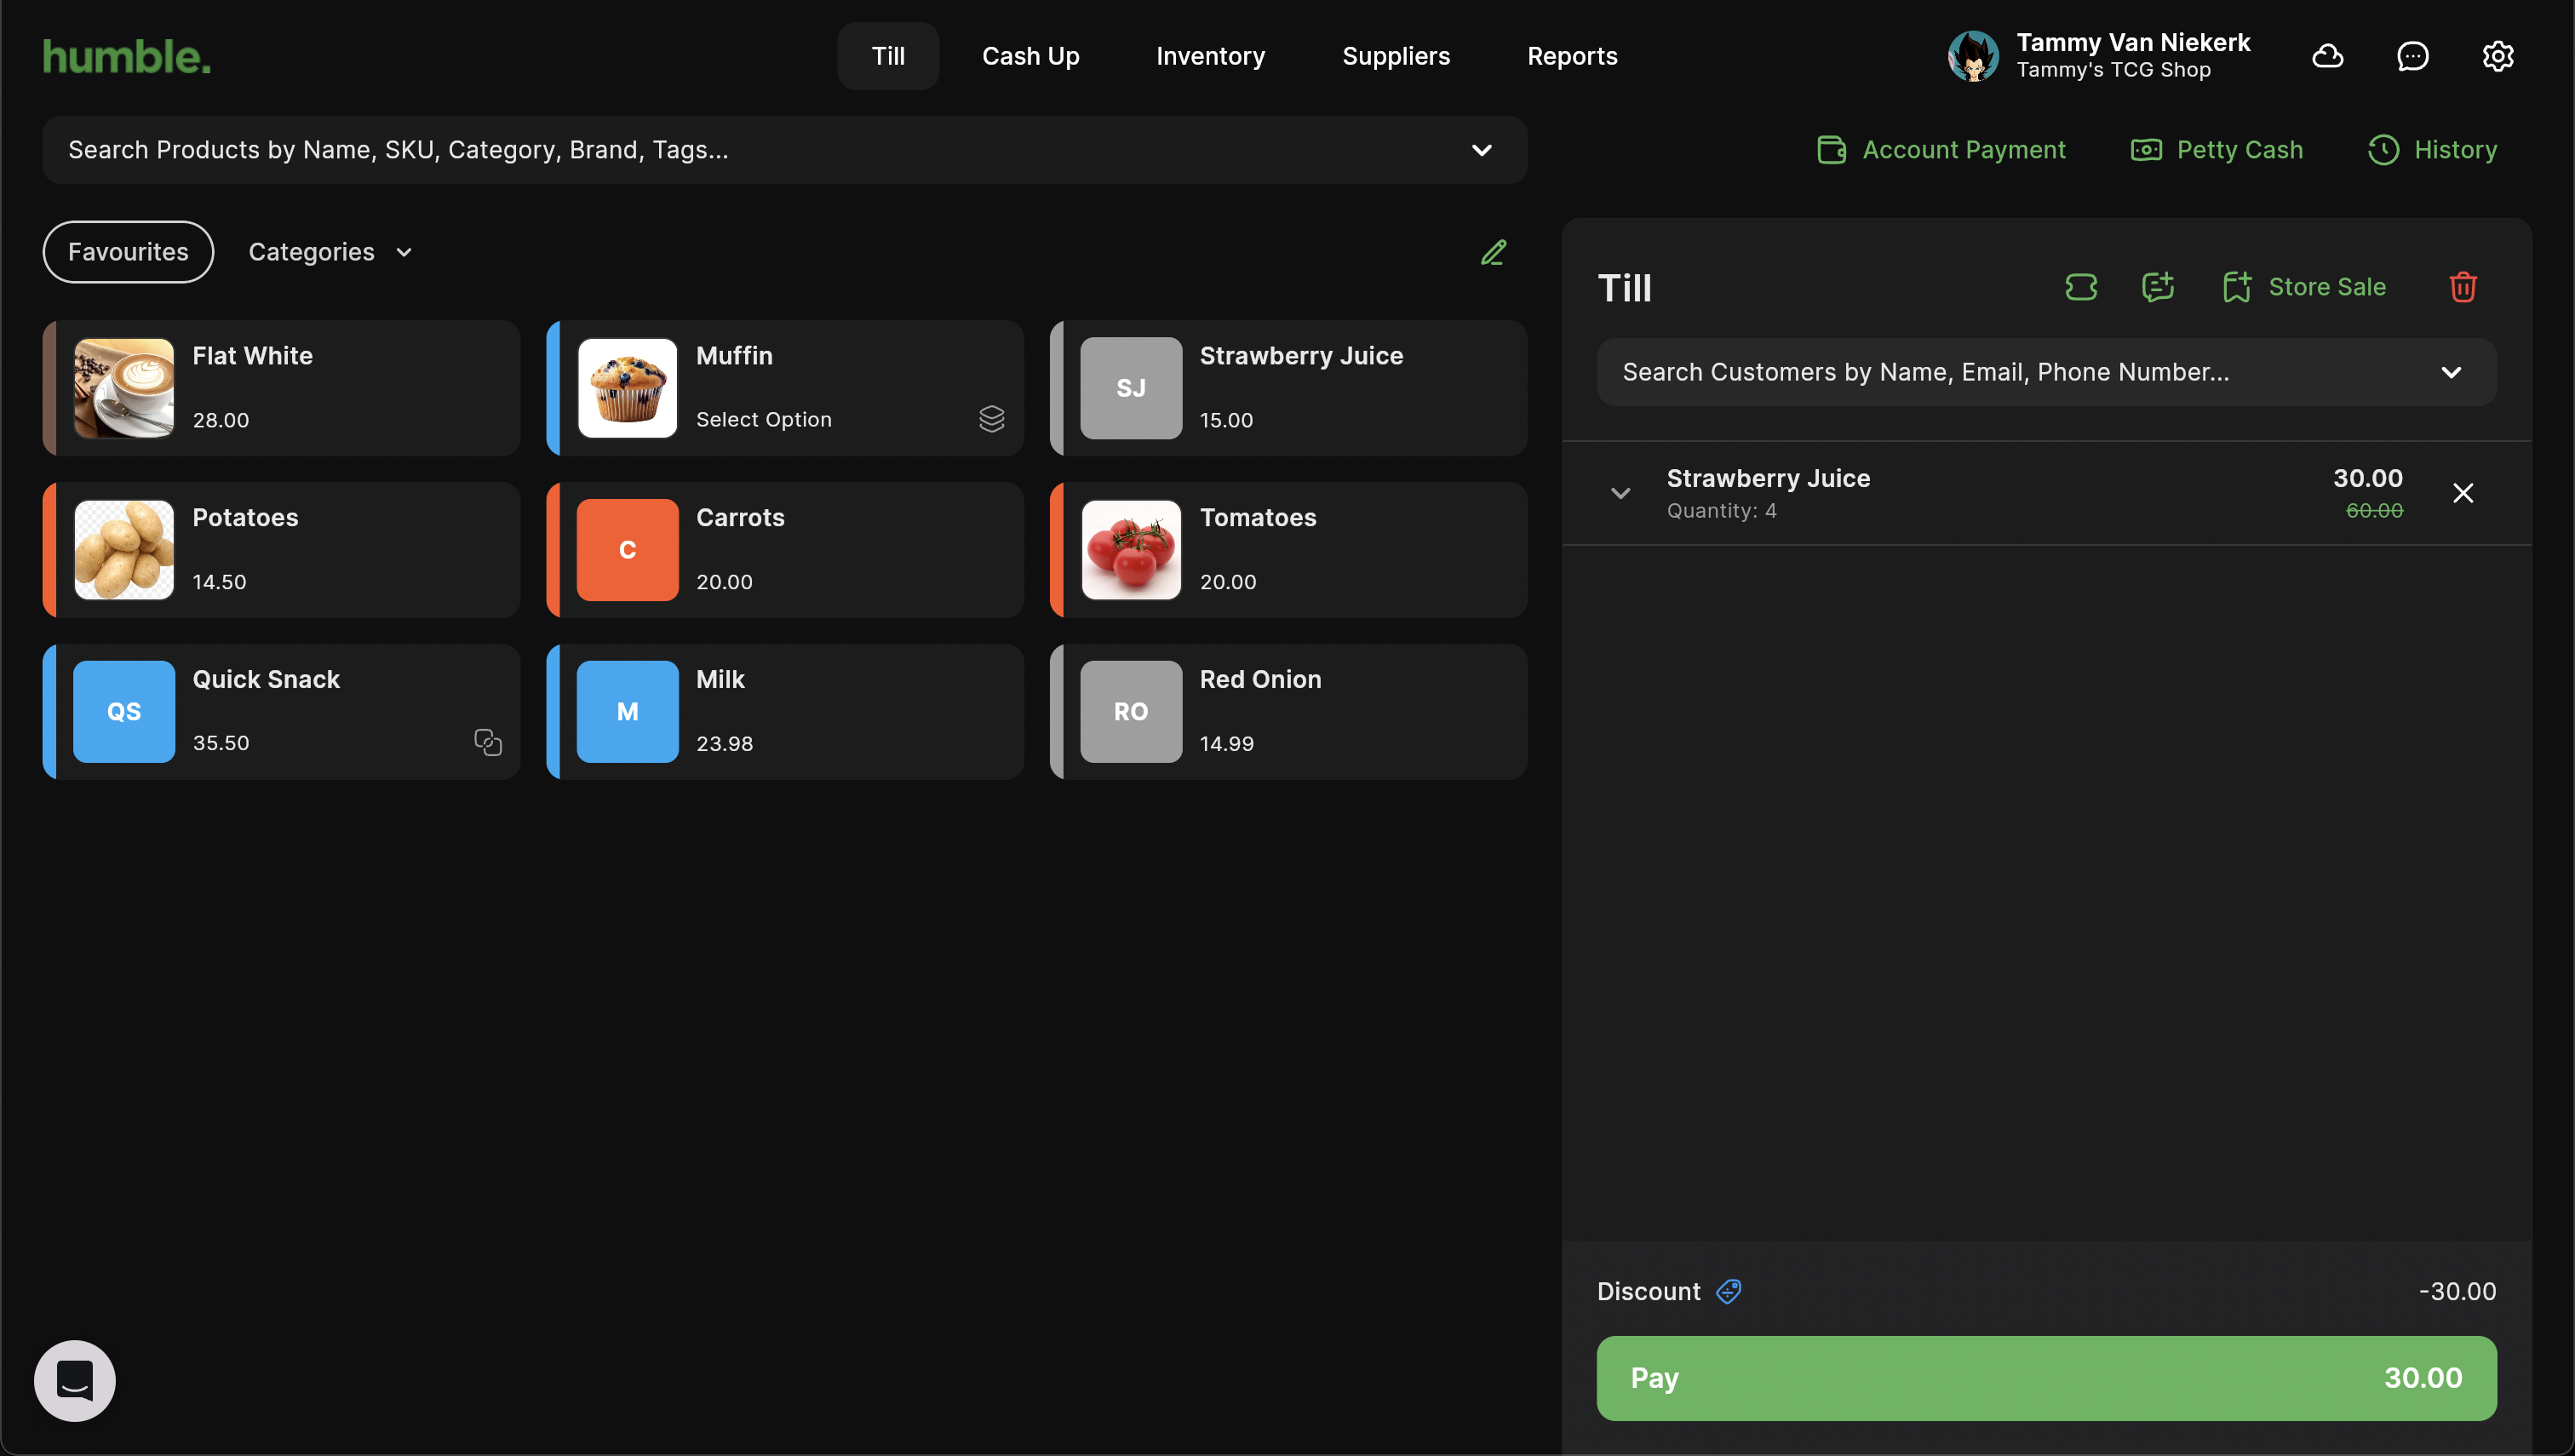
When you sign in you will be directed straight to the Till screen. This allows you to ring out products and start making sales straight away.
There are three ways you can add a product to the basket:
Click on the search bar at the top.
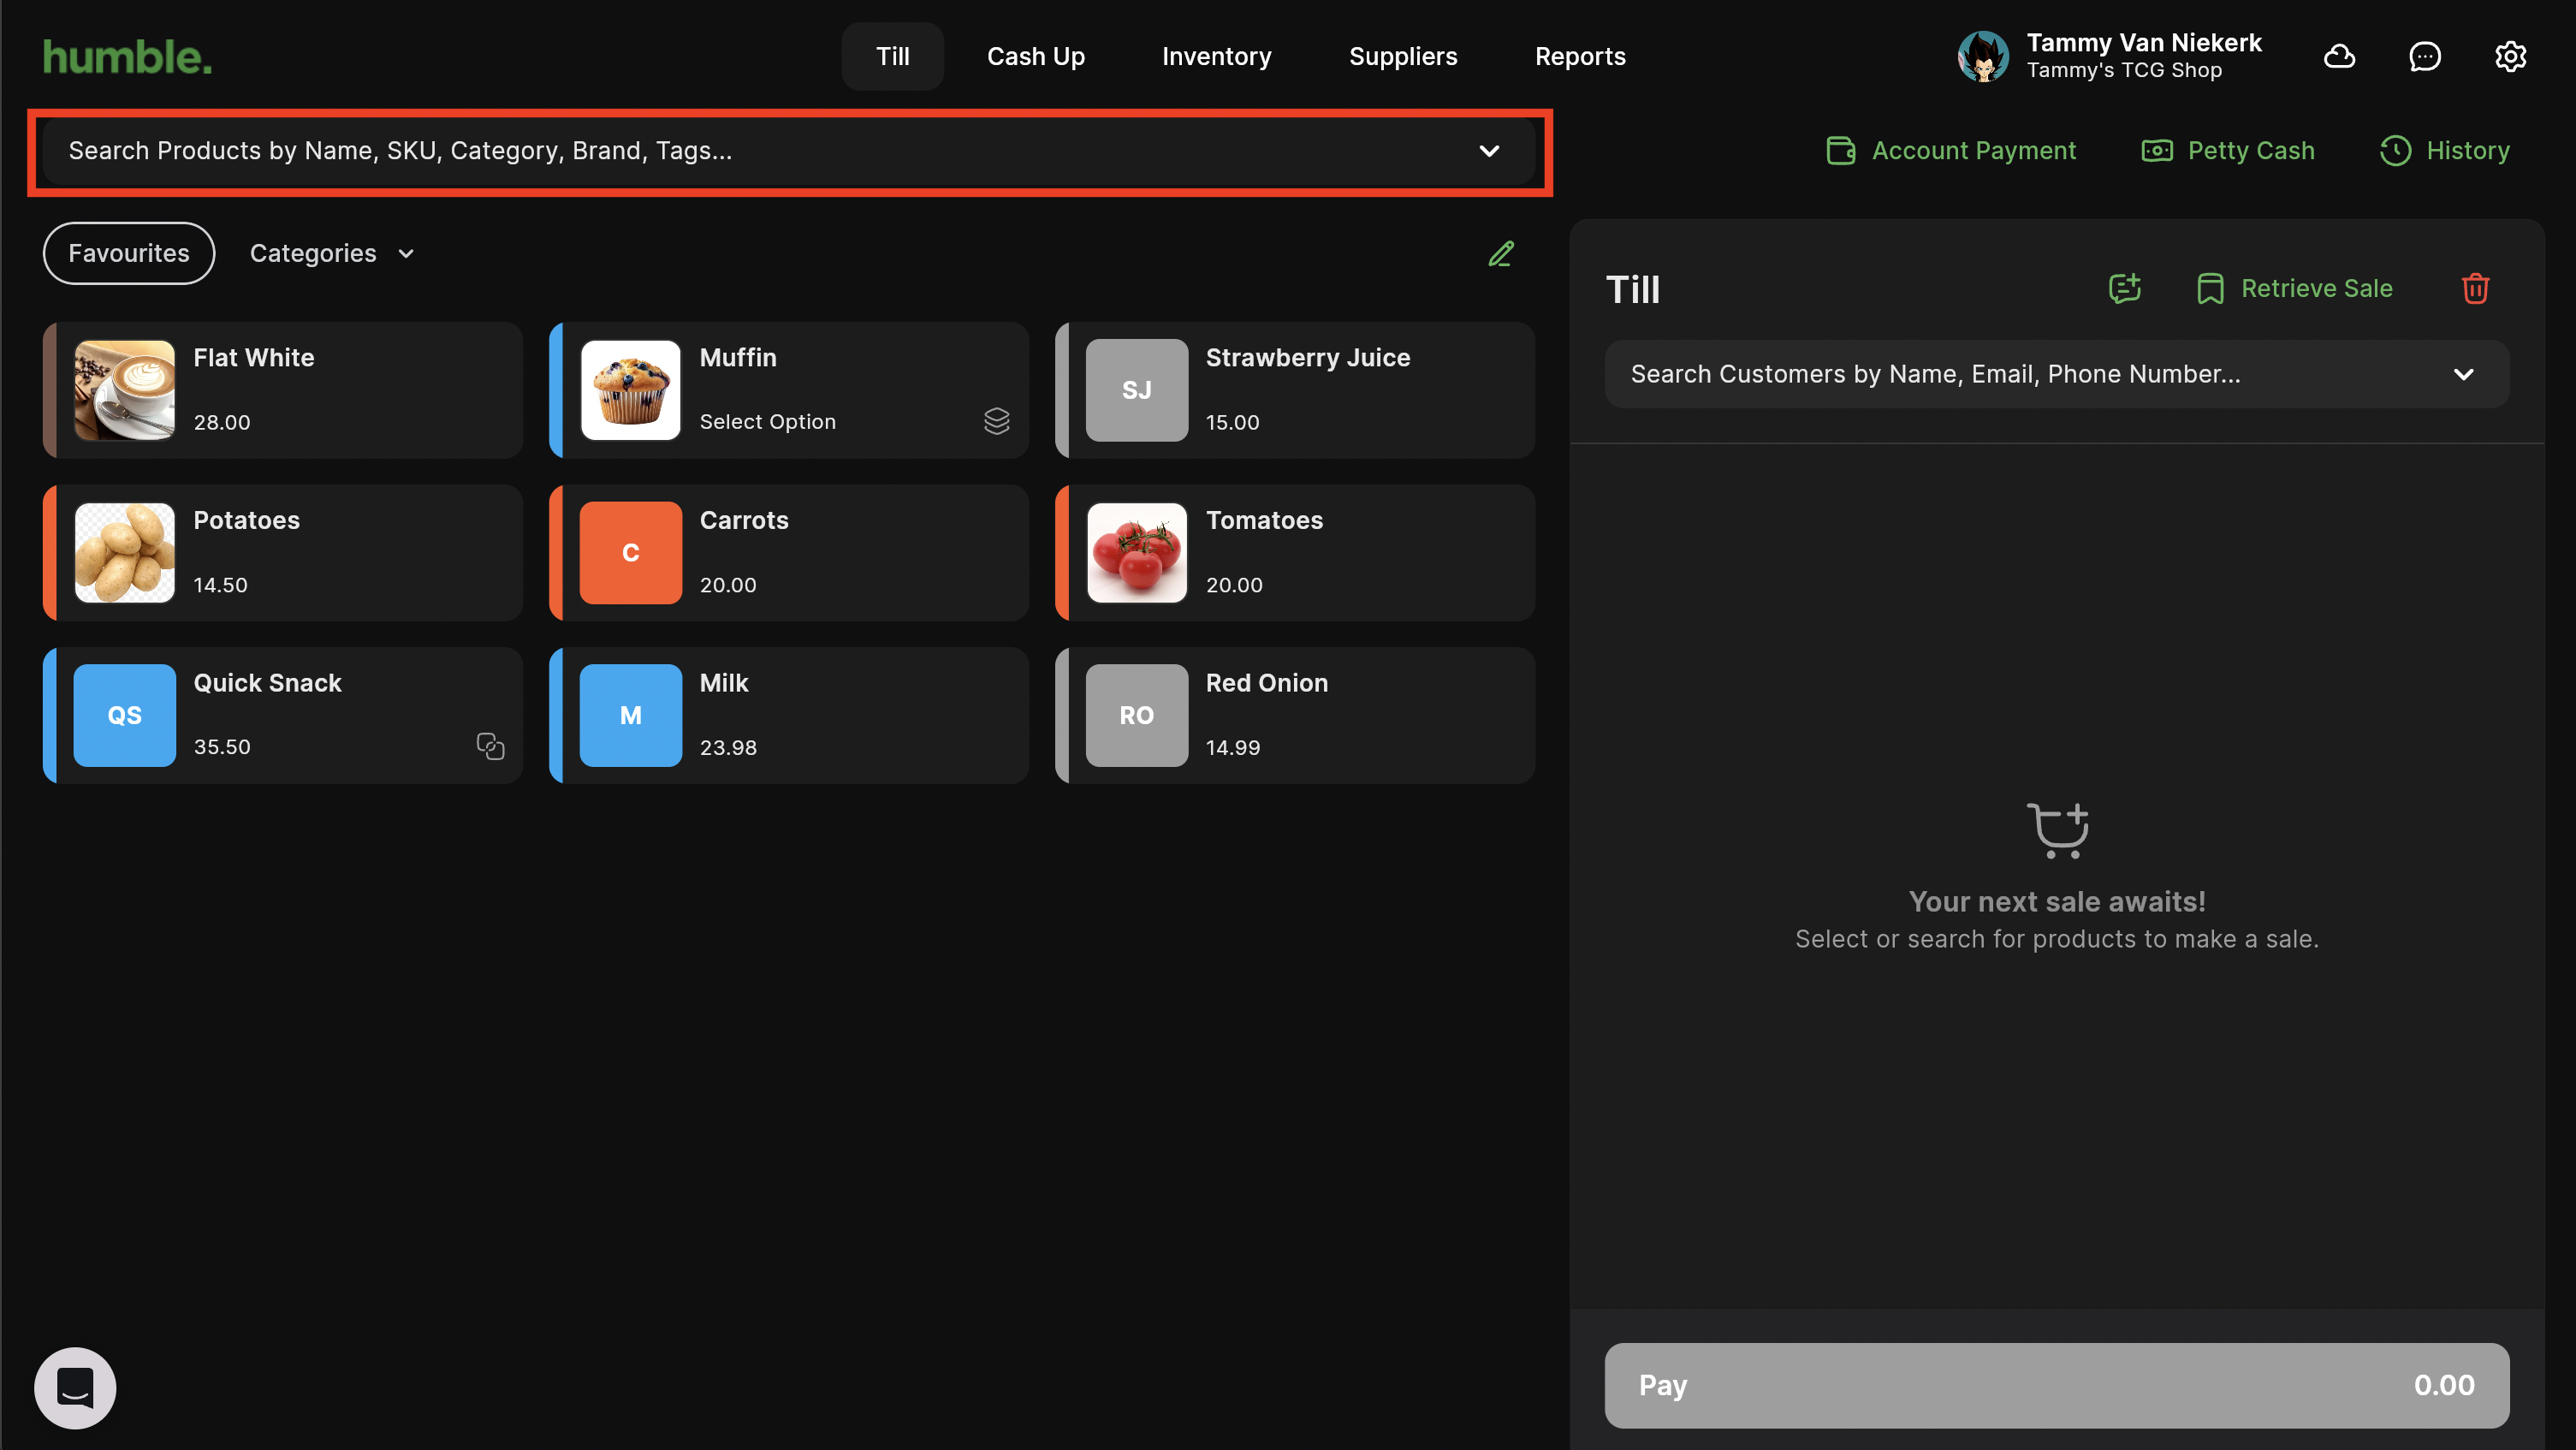
This will open the drop down list of all your current products. You can choose to scroll through your products and select the one you would like to add. This will add your product to the basket.
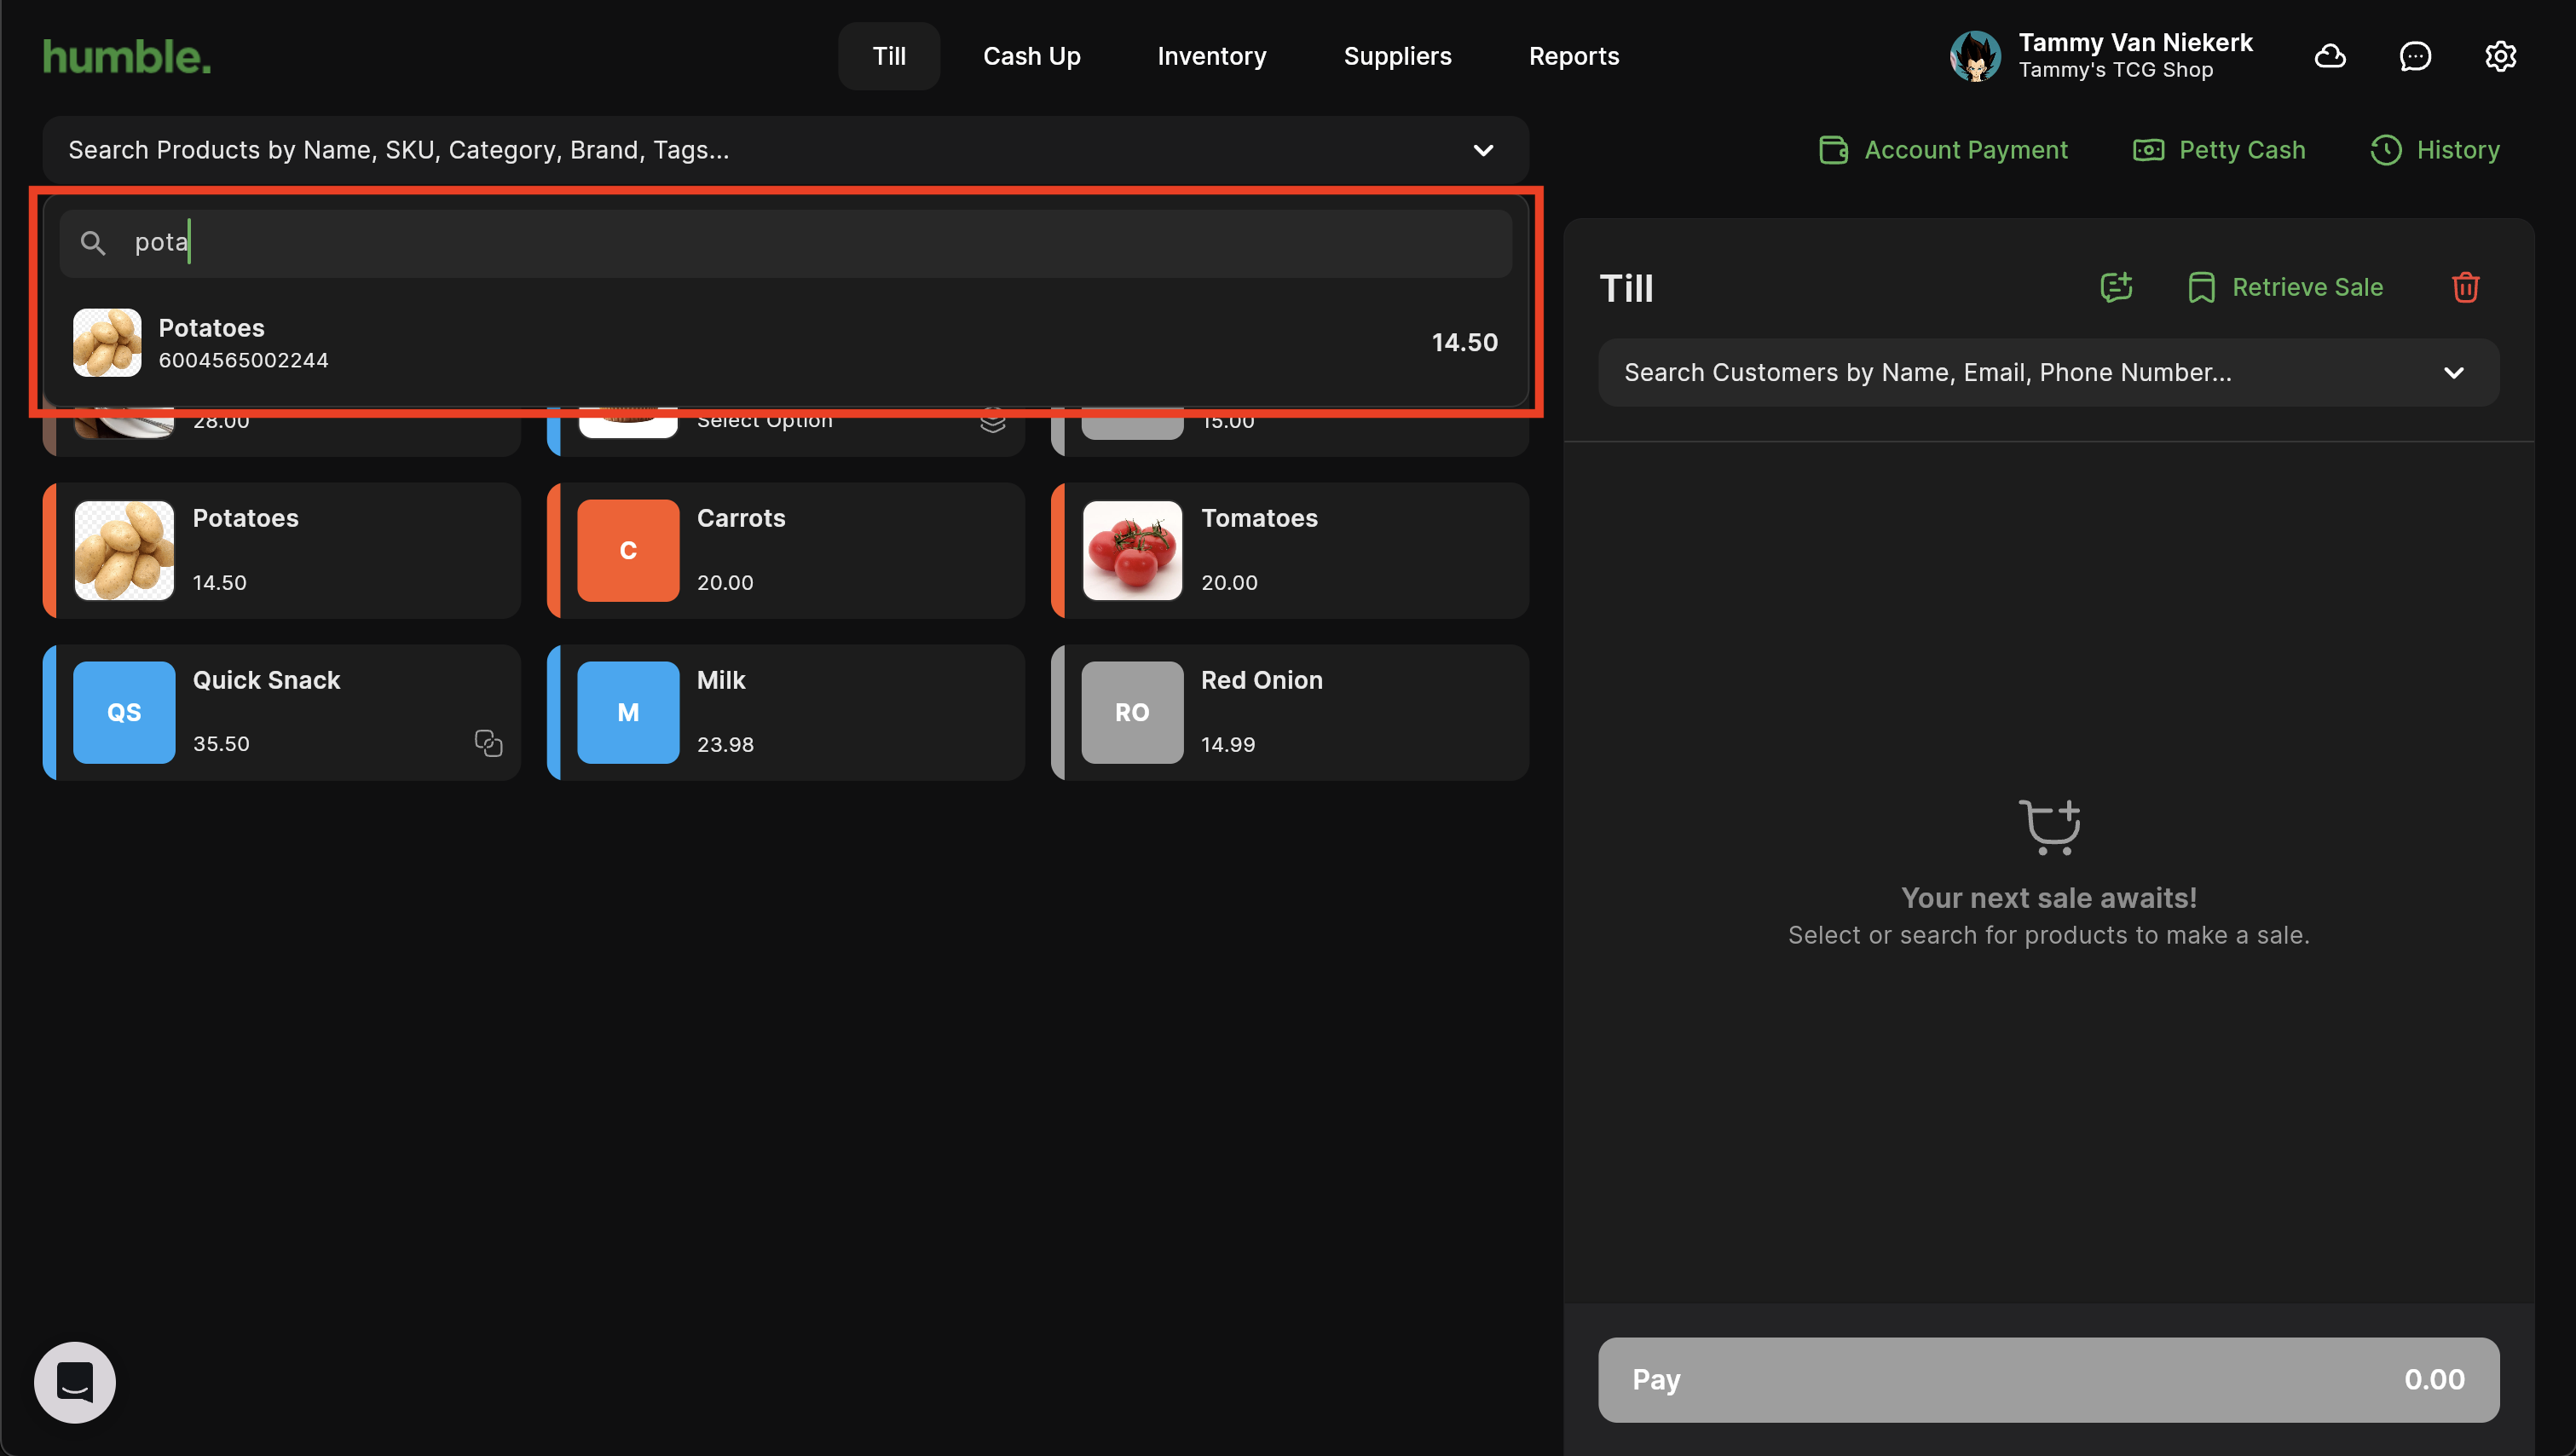
If you don’t feel like scrolling, you can type in the search bar to narrow down the results. Once you’ve found your product you can click on it, and it will get added to your basket.
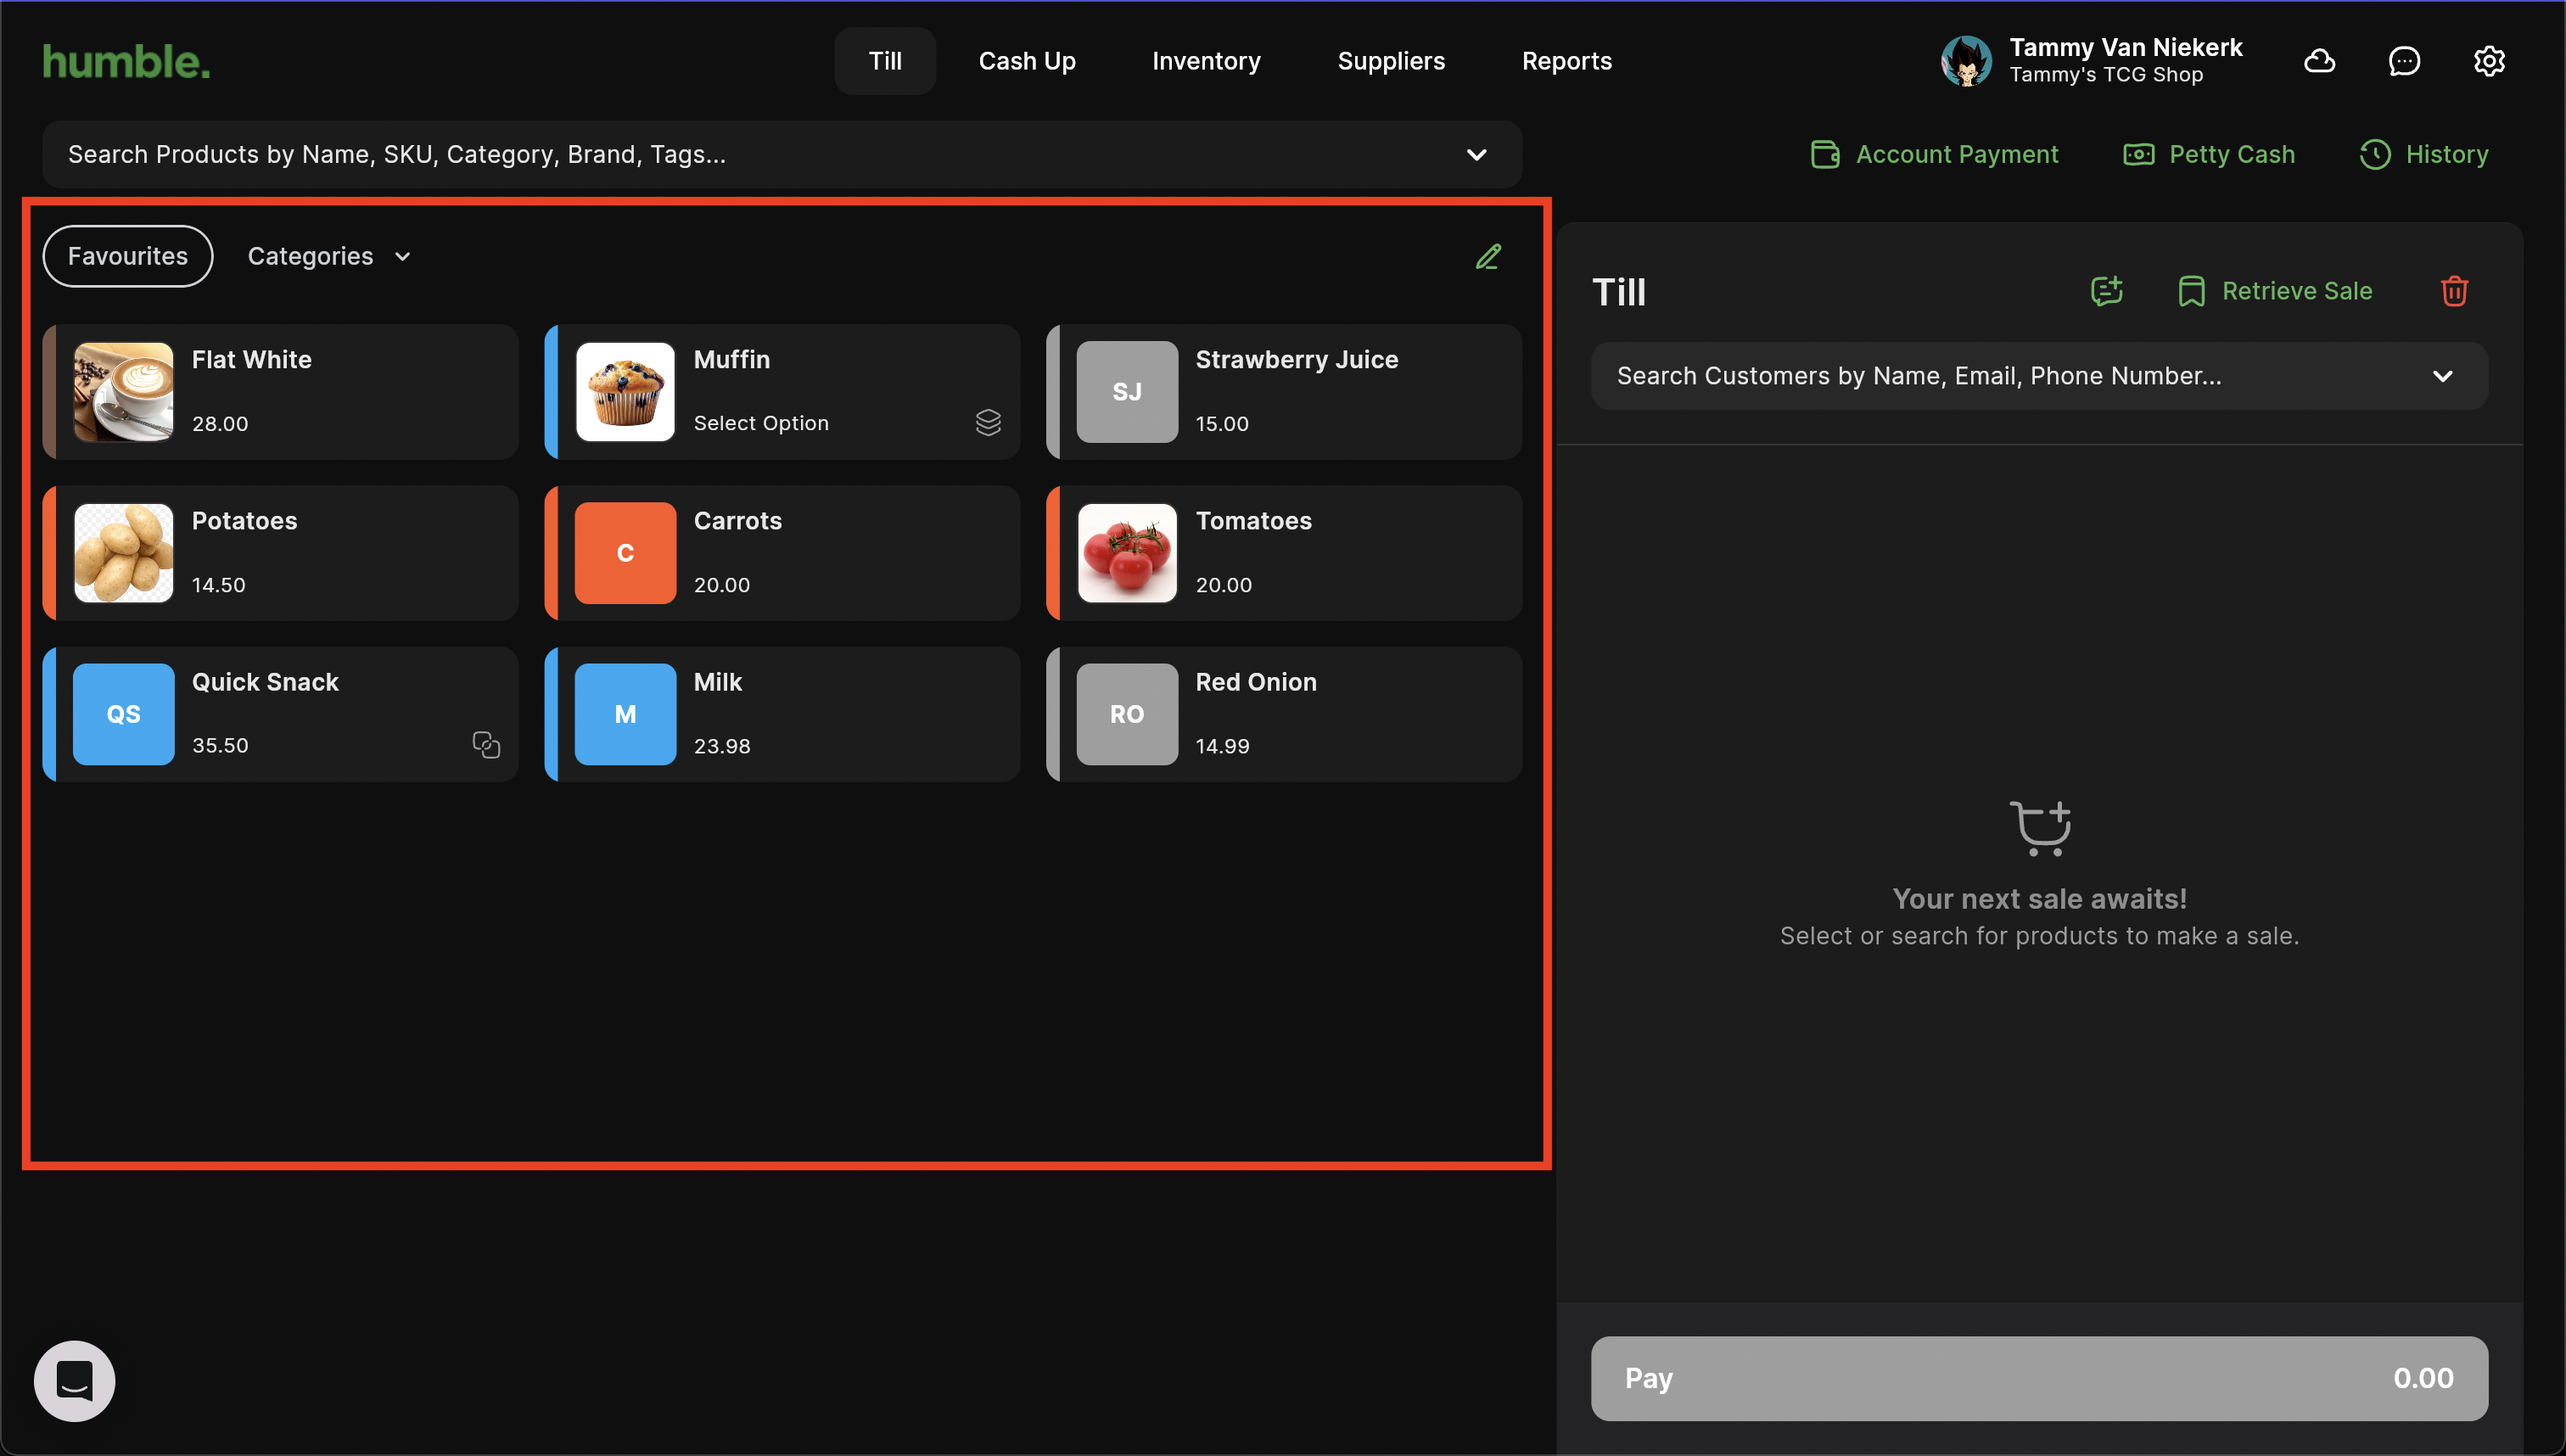
The second way to add a product to the basket is by clicking on a product tile on the left hand side.
If you have a barcode scanner connected, you can simply scan the barcode and the product will be added to the basket.
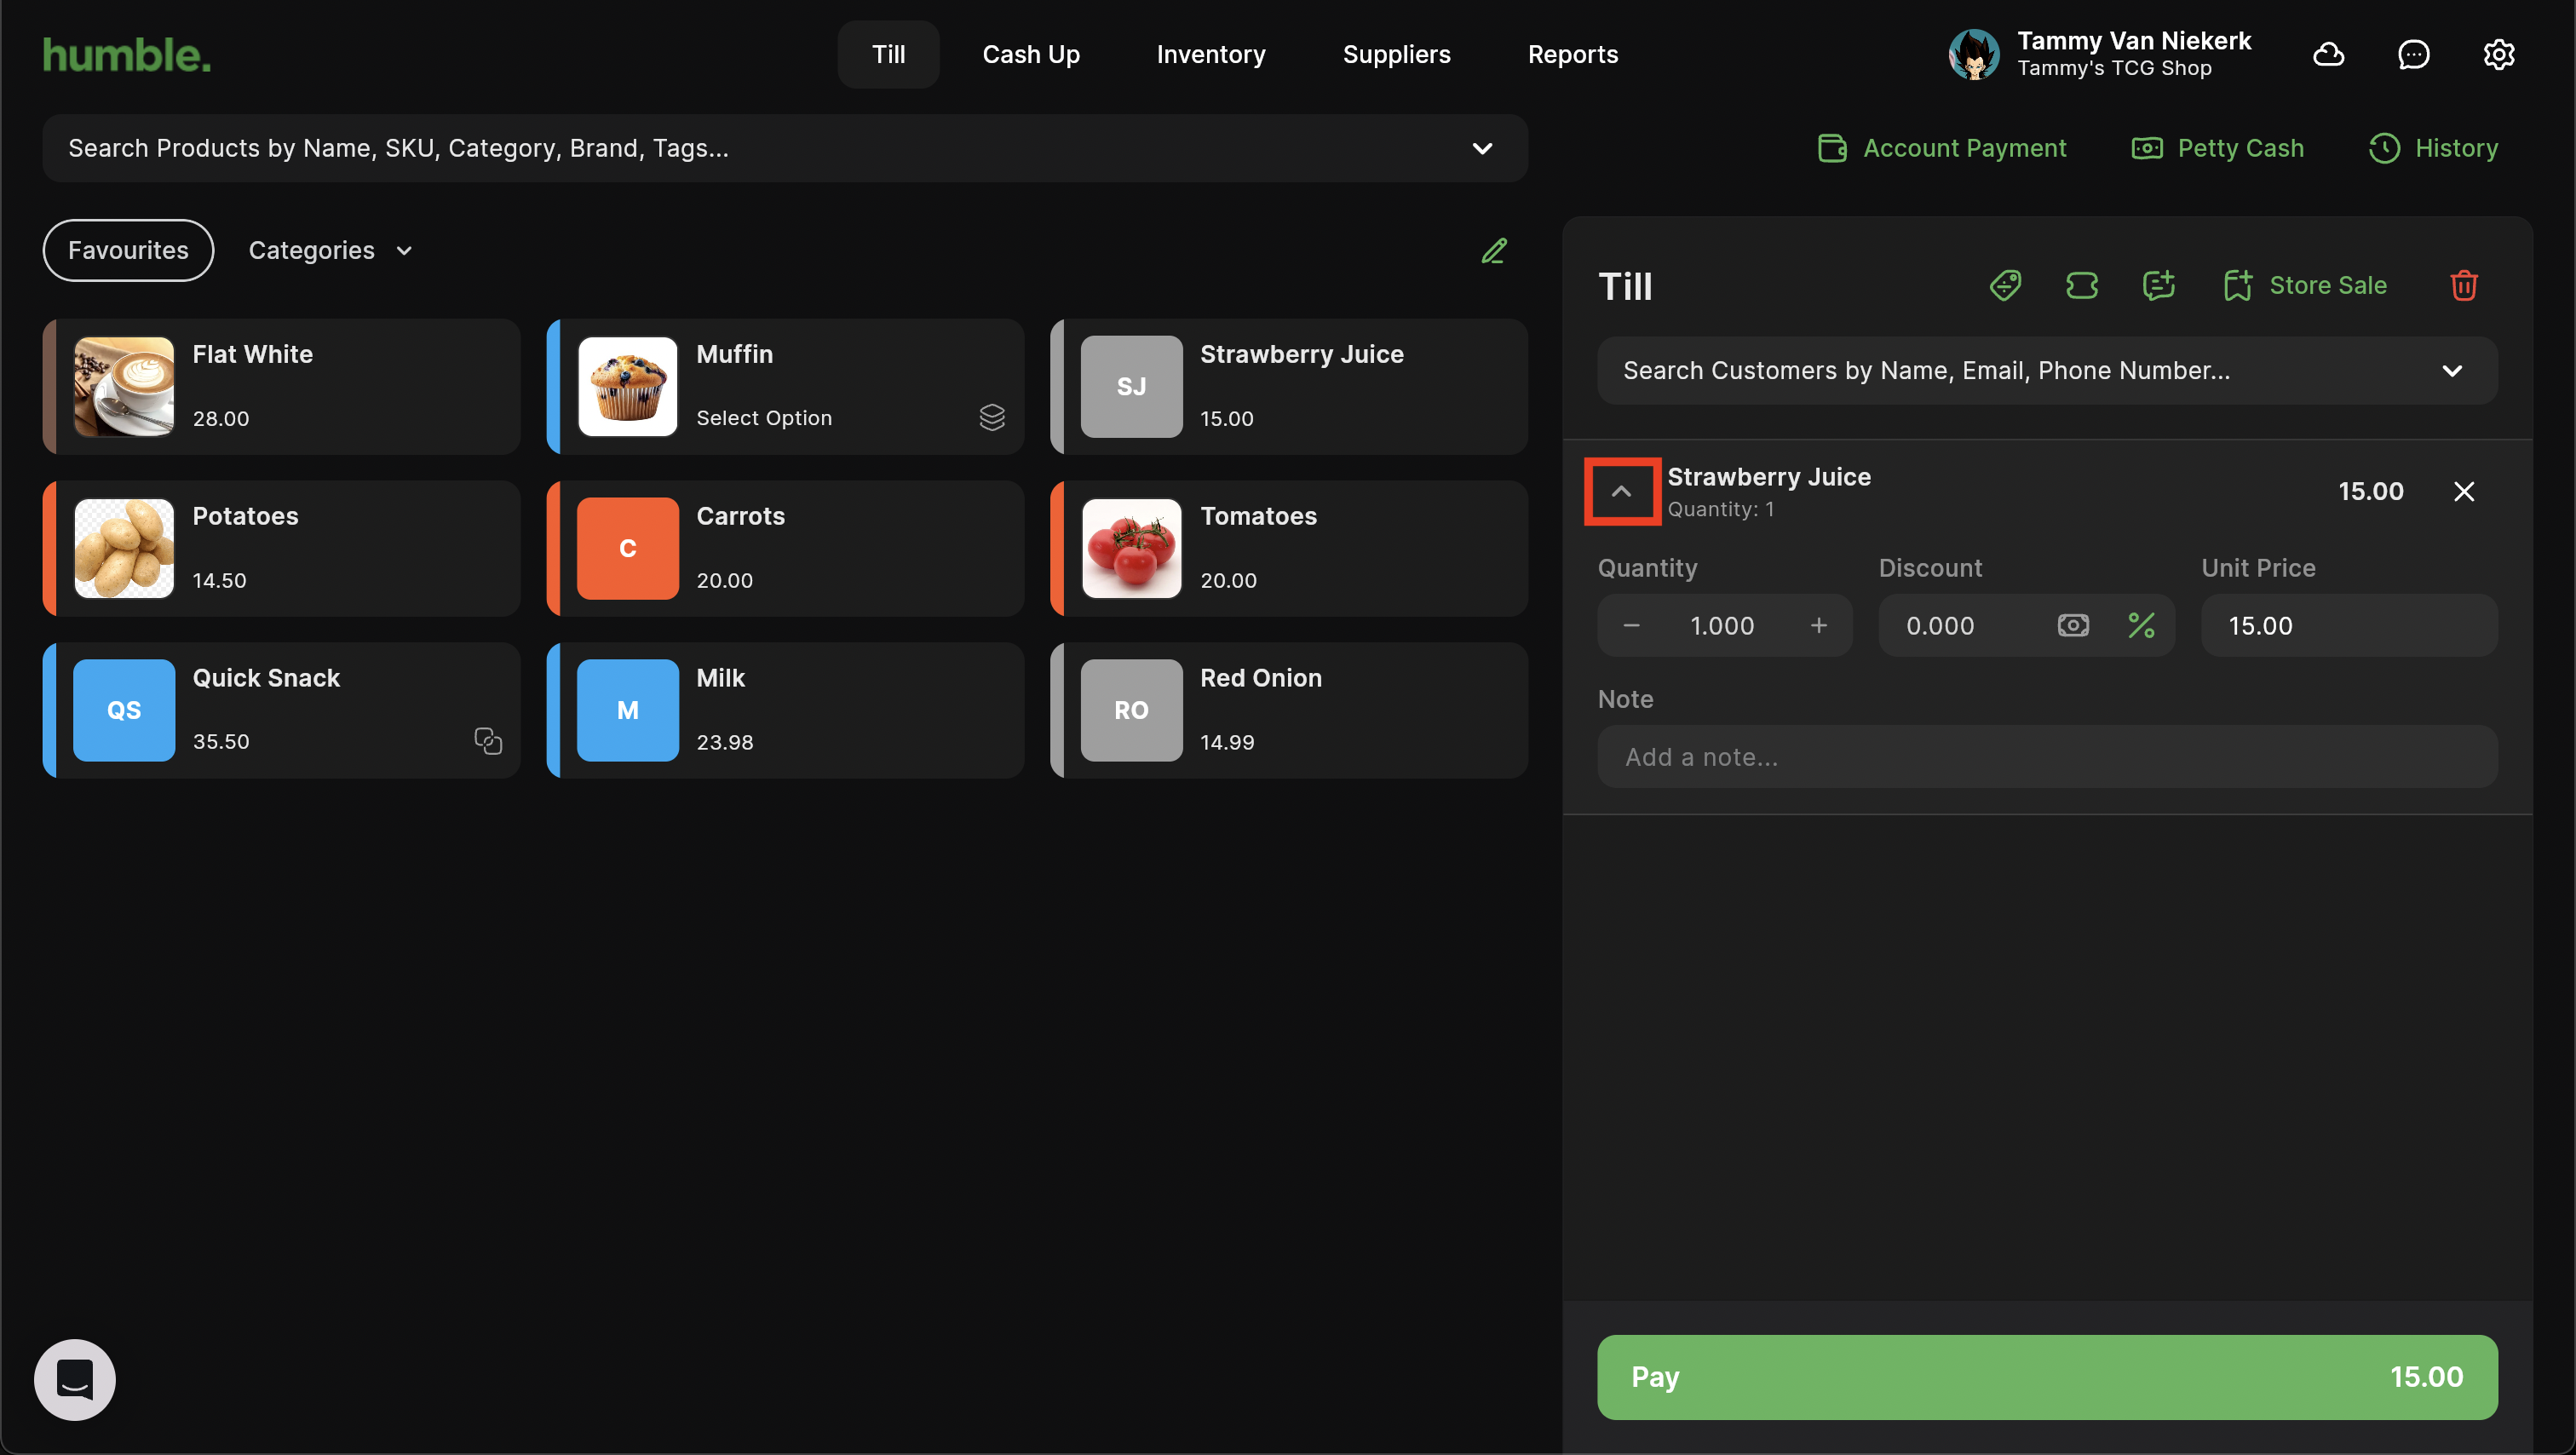
Once the product is in your basket, you are able to adjust the following details of that product by expanding the product details:
Quantity - The number of products that are being sold
Discount - If the product is on discount, you’ll enter the value or percentage (%) here
Unit Price - The price for each unit/product
Note - An optional field to add in extra information e.g. if the product is on discount
To expand the product details, click on the down arrow next to the product in the basket.
To update the quantity, simply click on the + to increase the quantity e.g. 2 and - to decrease the quantity e.g. back to 1. Clicking next to the current quantity will allow you to type in a customer amount e.g. 15
To update the discount, simply type in the value or percentage (%) and press enter.
A Discount cannot be less than 0% or have a 0 value or more than 100% or the total value amount.
To update the unit price, simply type in the price and press enter.
Updating the unit price here will only update it for this sale
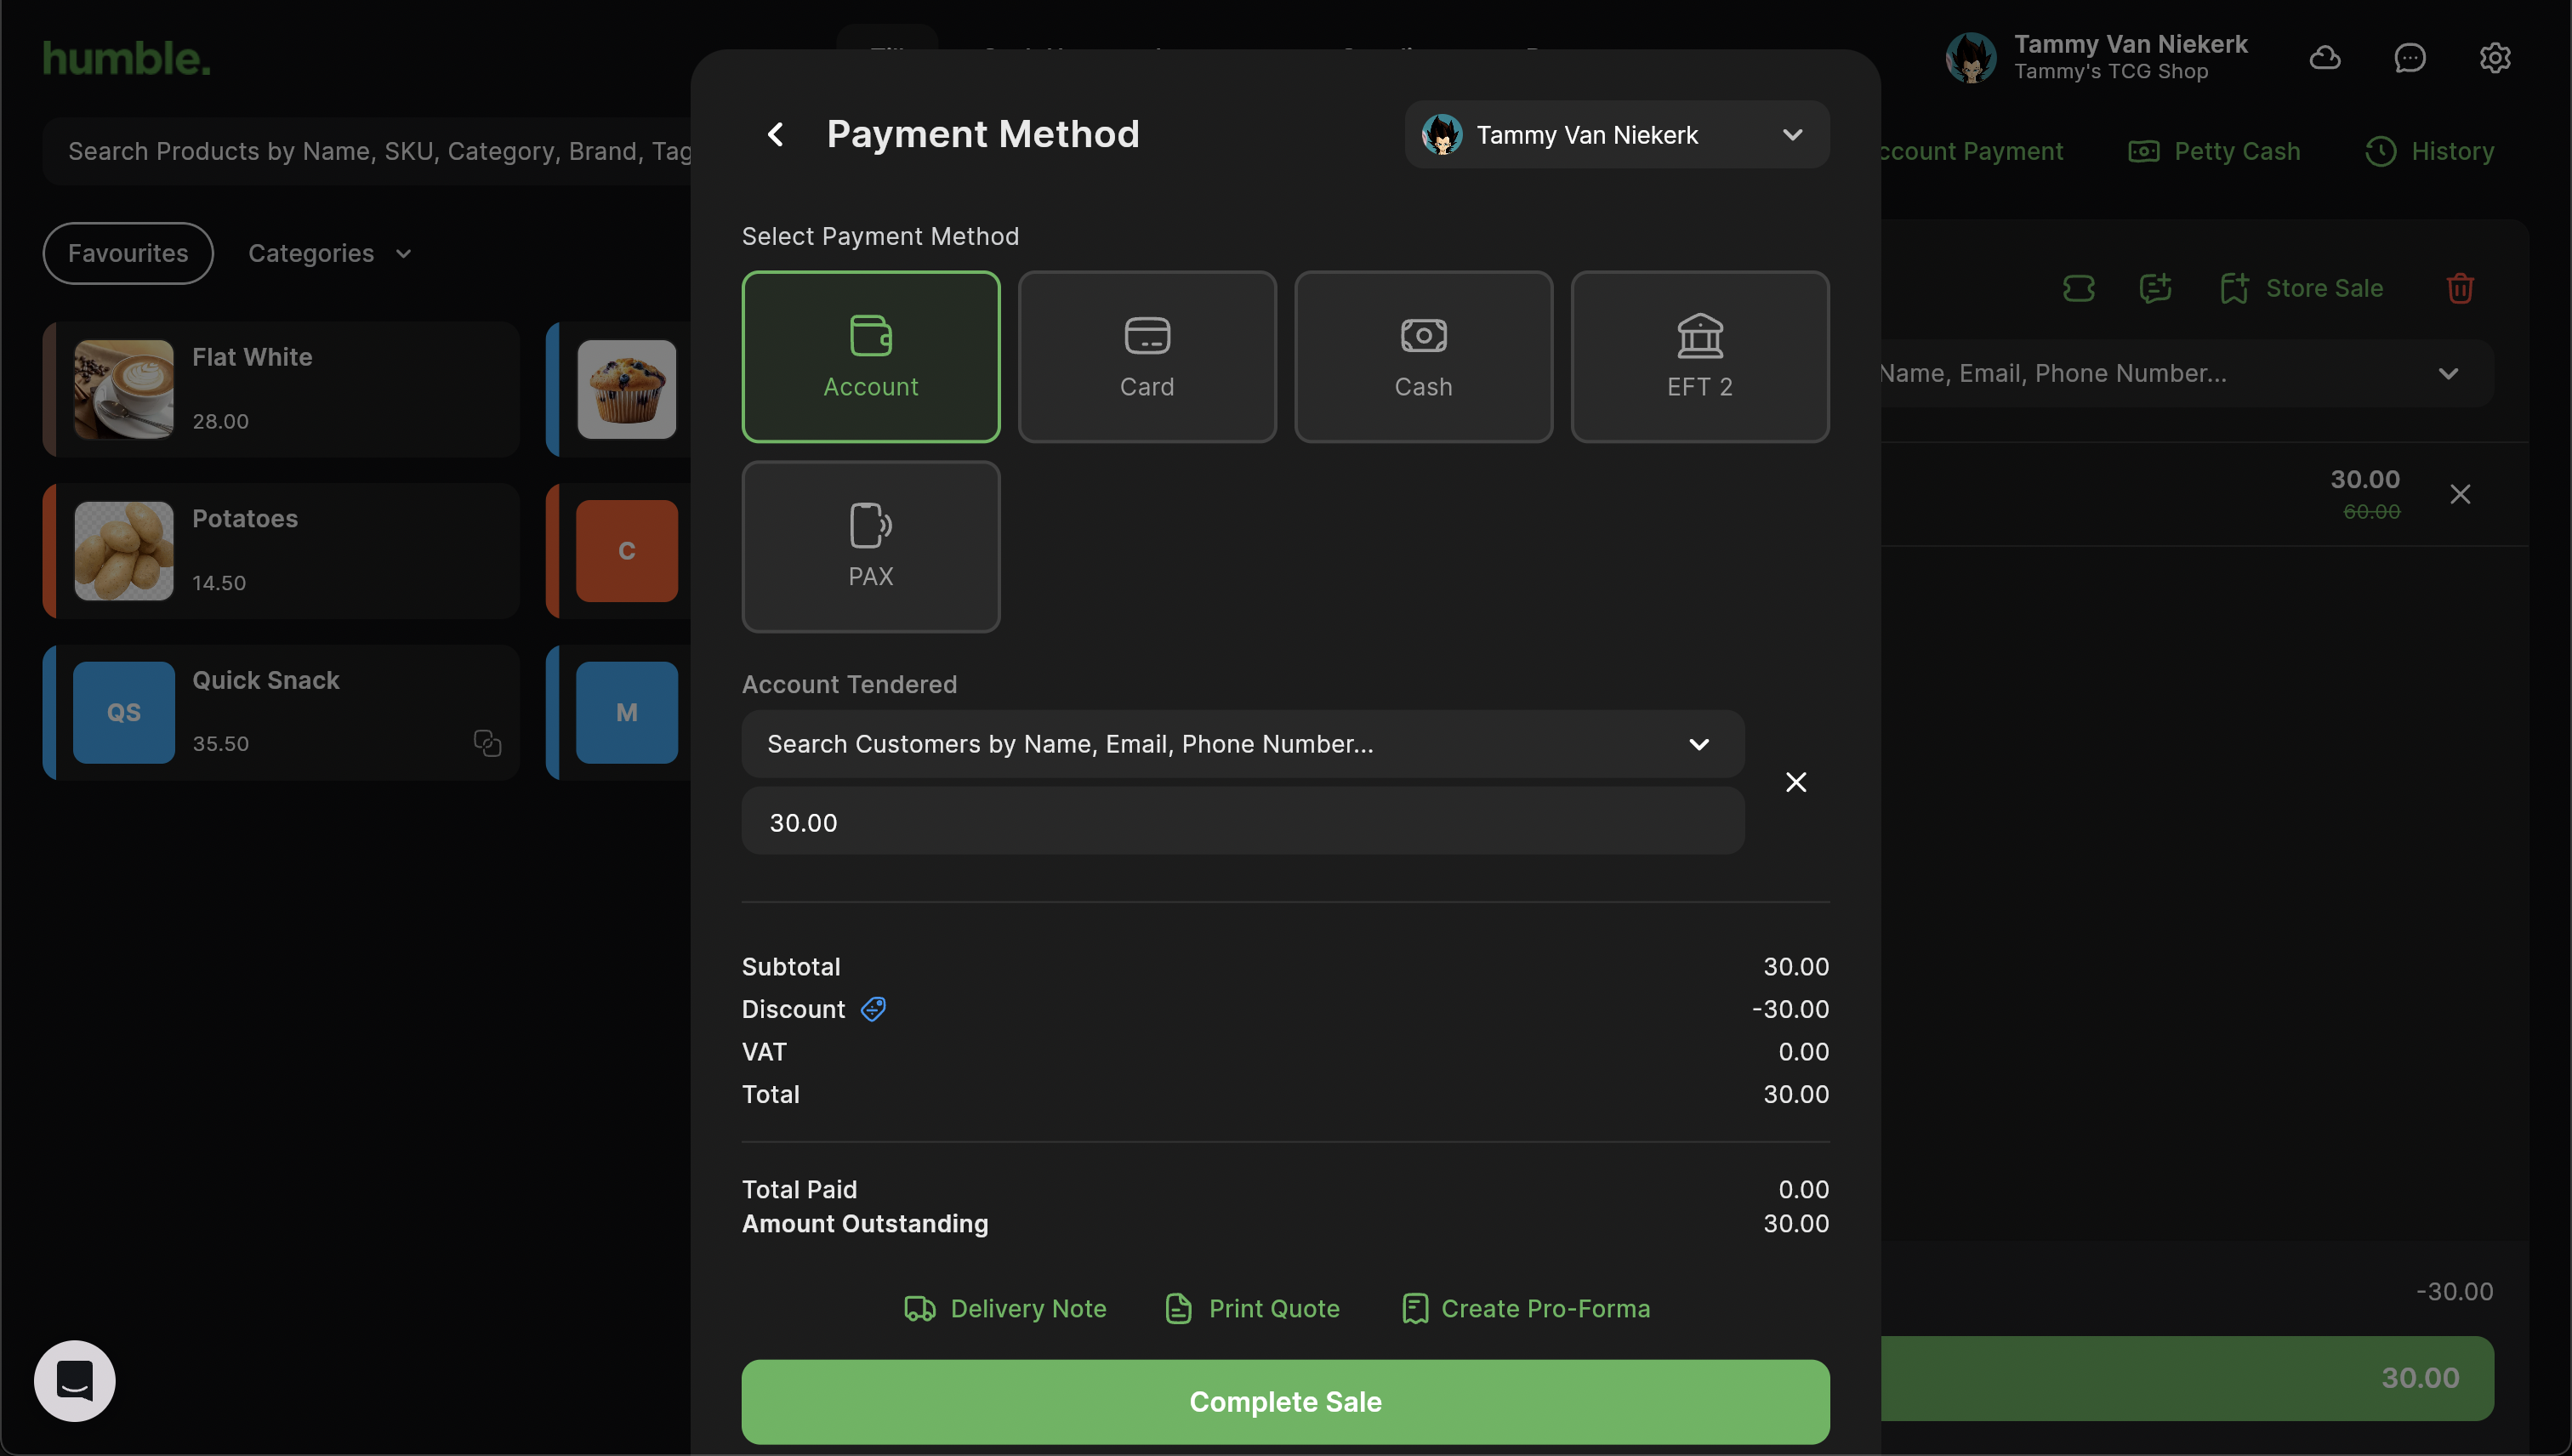
Once you have added all the products to the basket, and would like to conclude the sale, click on Pay.
The Choose a Payment Method modal will appear. Select Account. If you cannot see the Account tender, please click on the drop down to find and select Account.
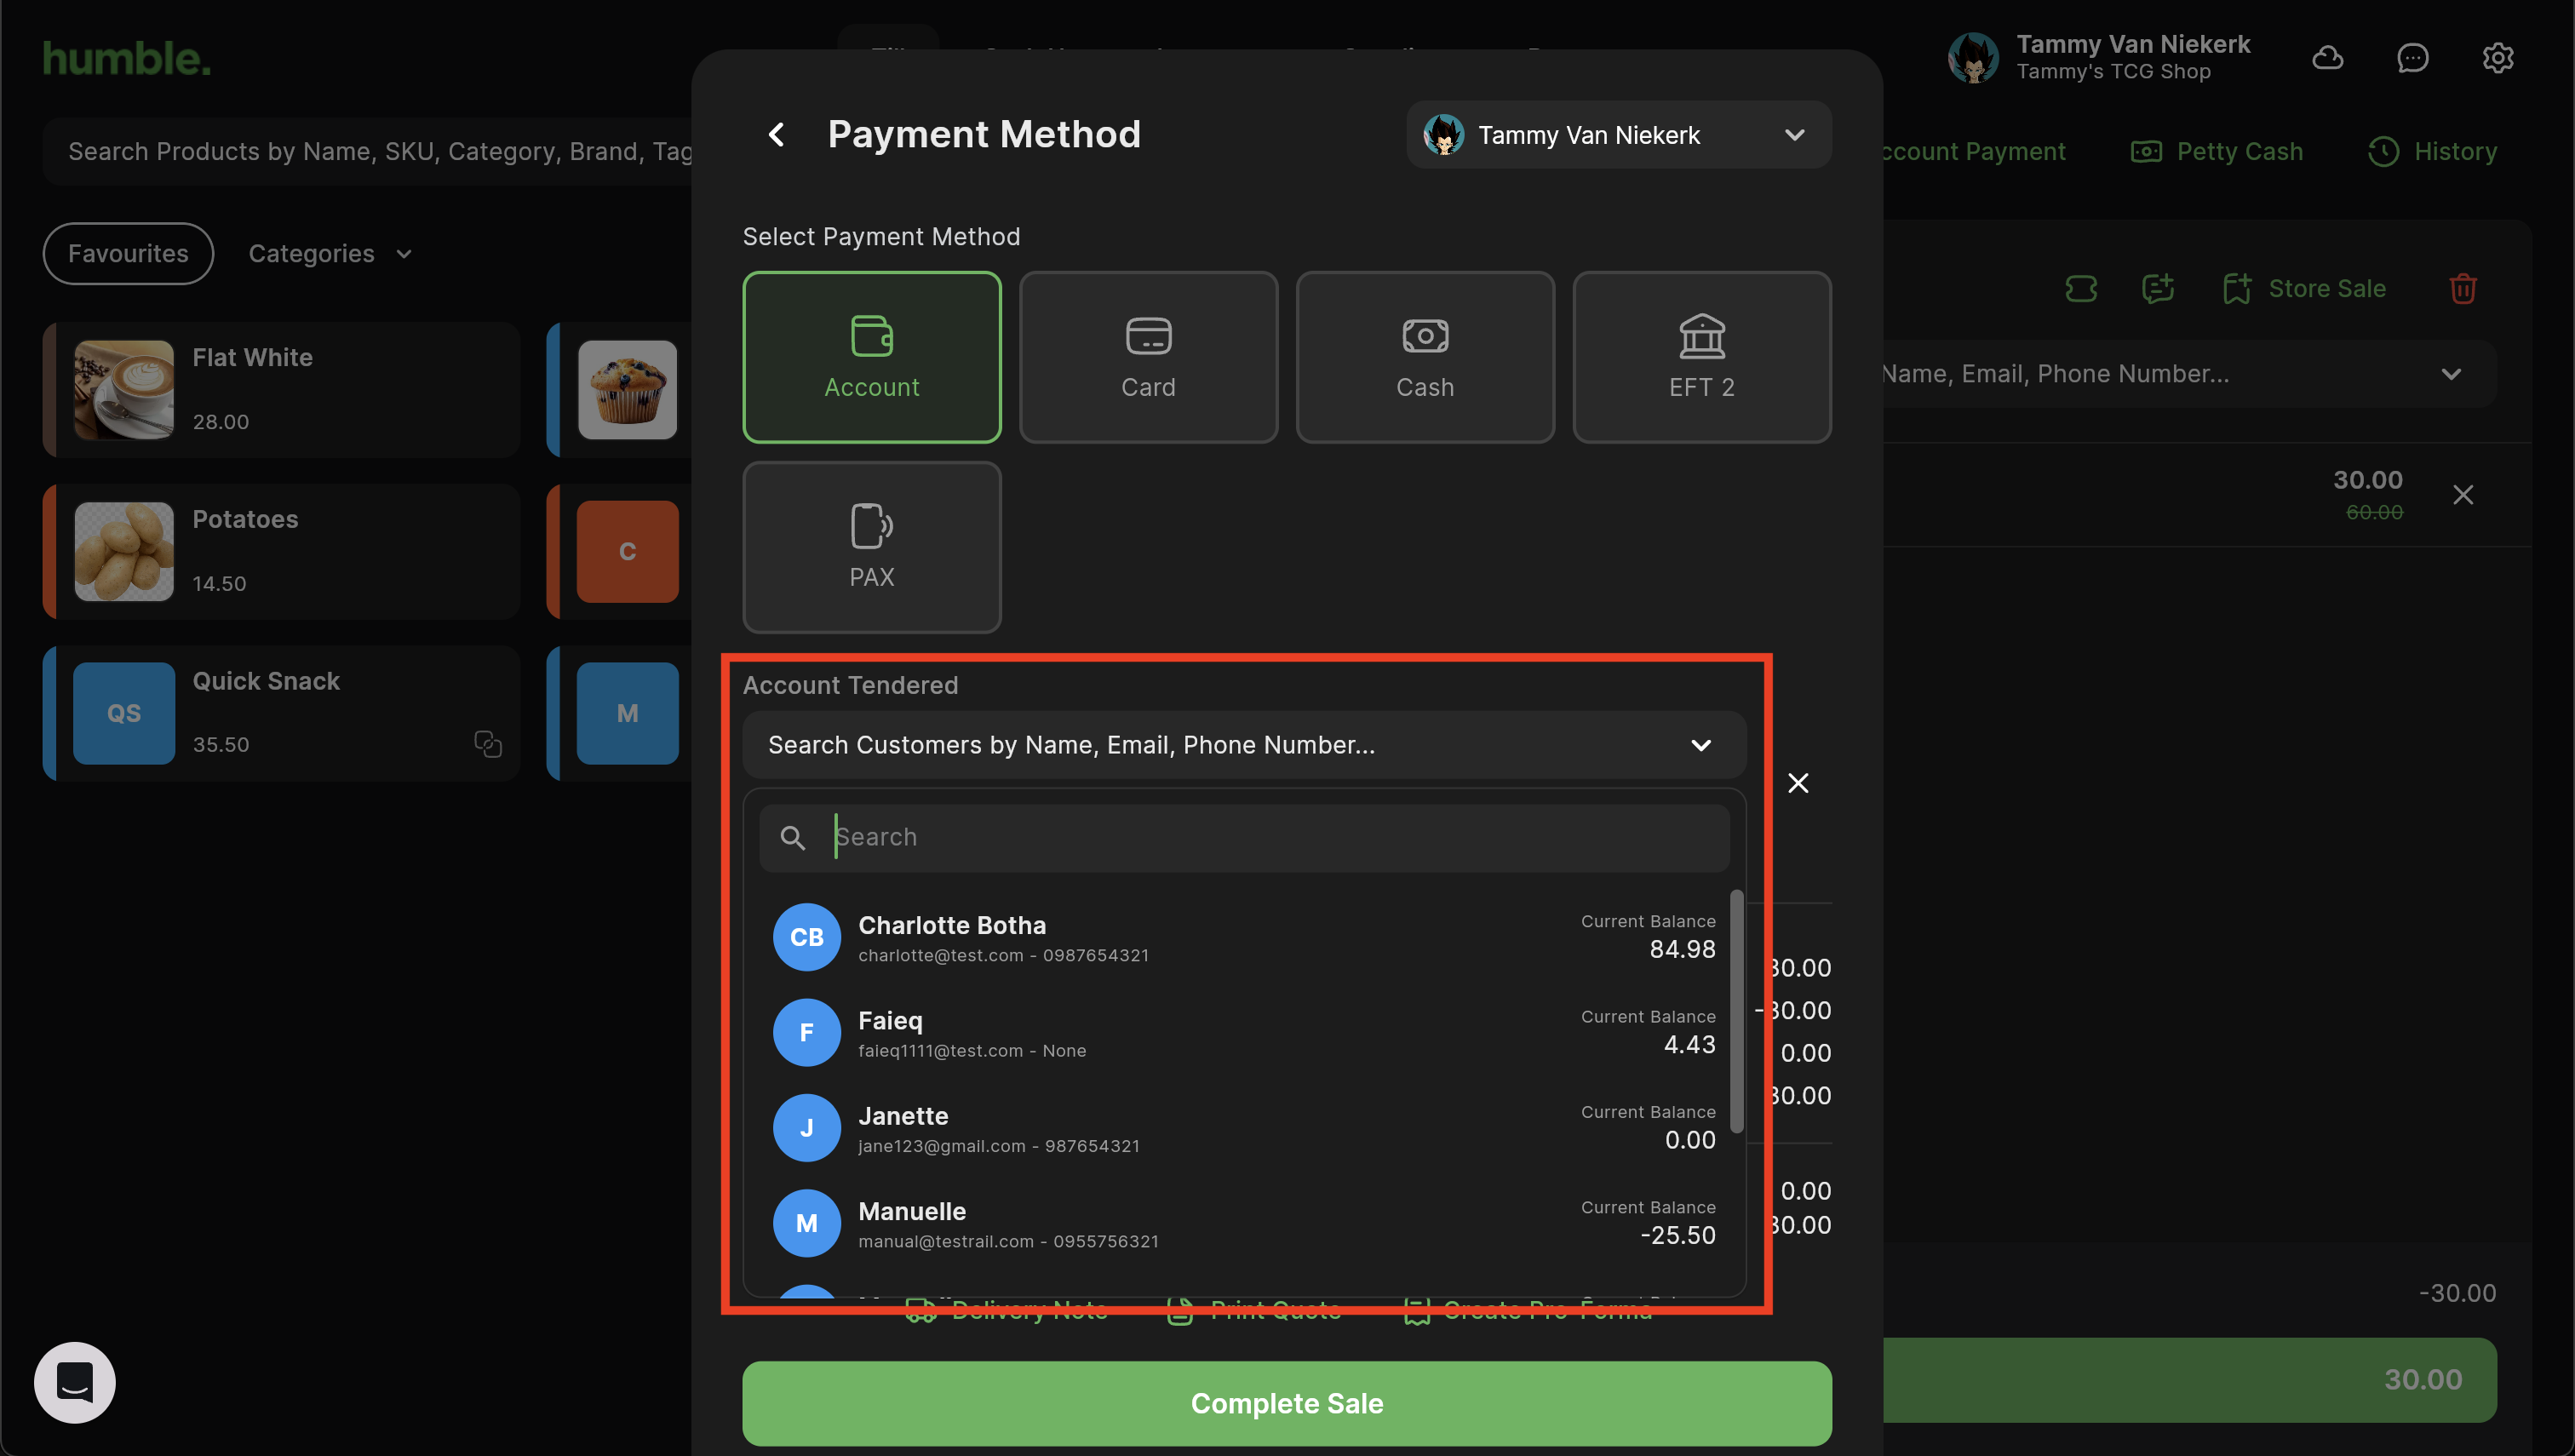
Once the Account tender has been selected, click on the Search Customers drop down to select the customer account.
Only customers set to Account Customer will show in the below list.
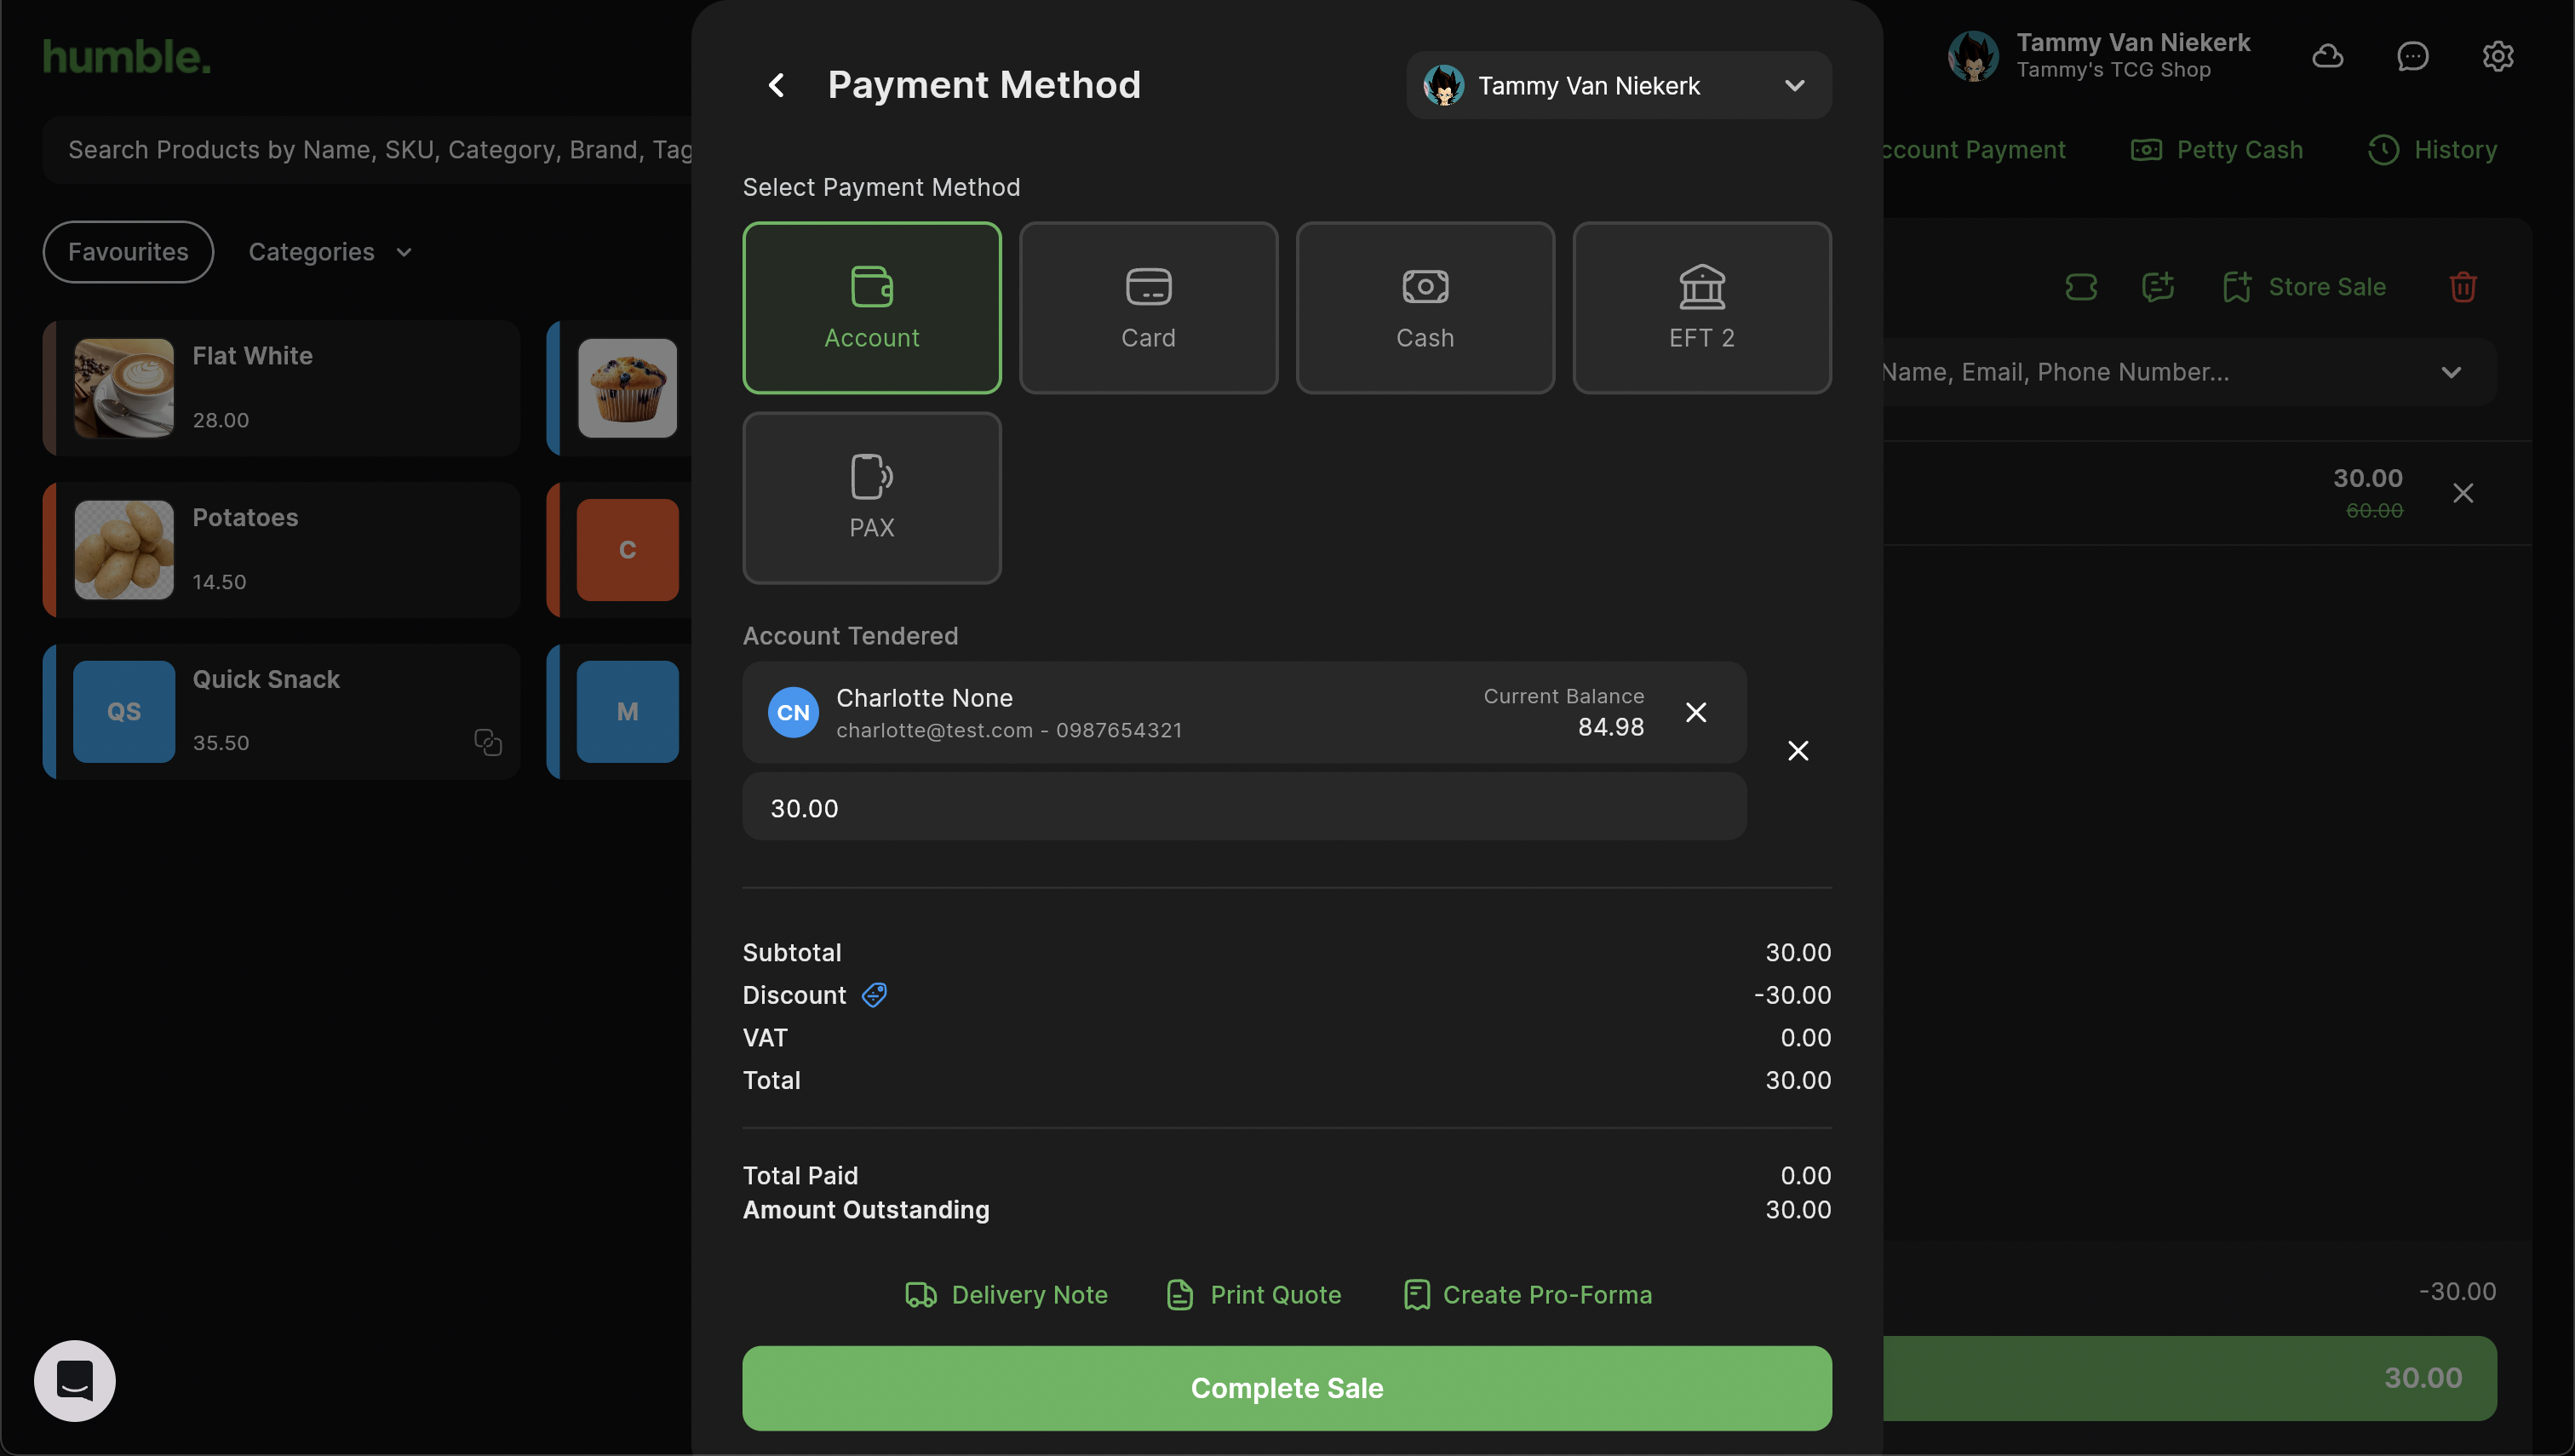
Once the customer has been selected, click on Complete Sale.
The Sale Complete modal will appear next, giving you a summary of the sale. You can choose to Print or Email the Receipt.
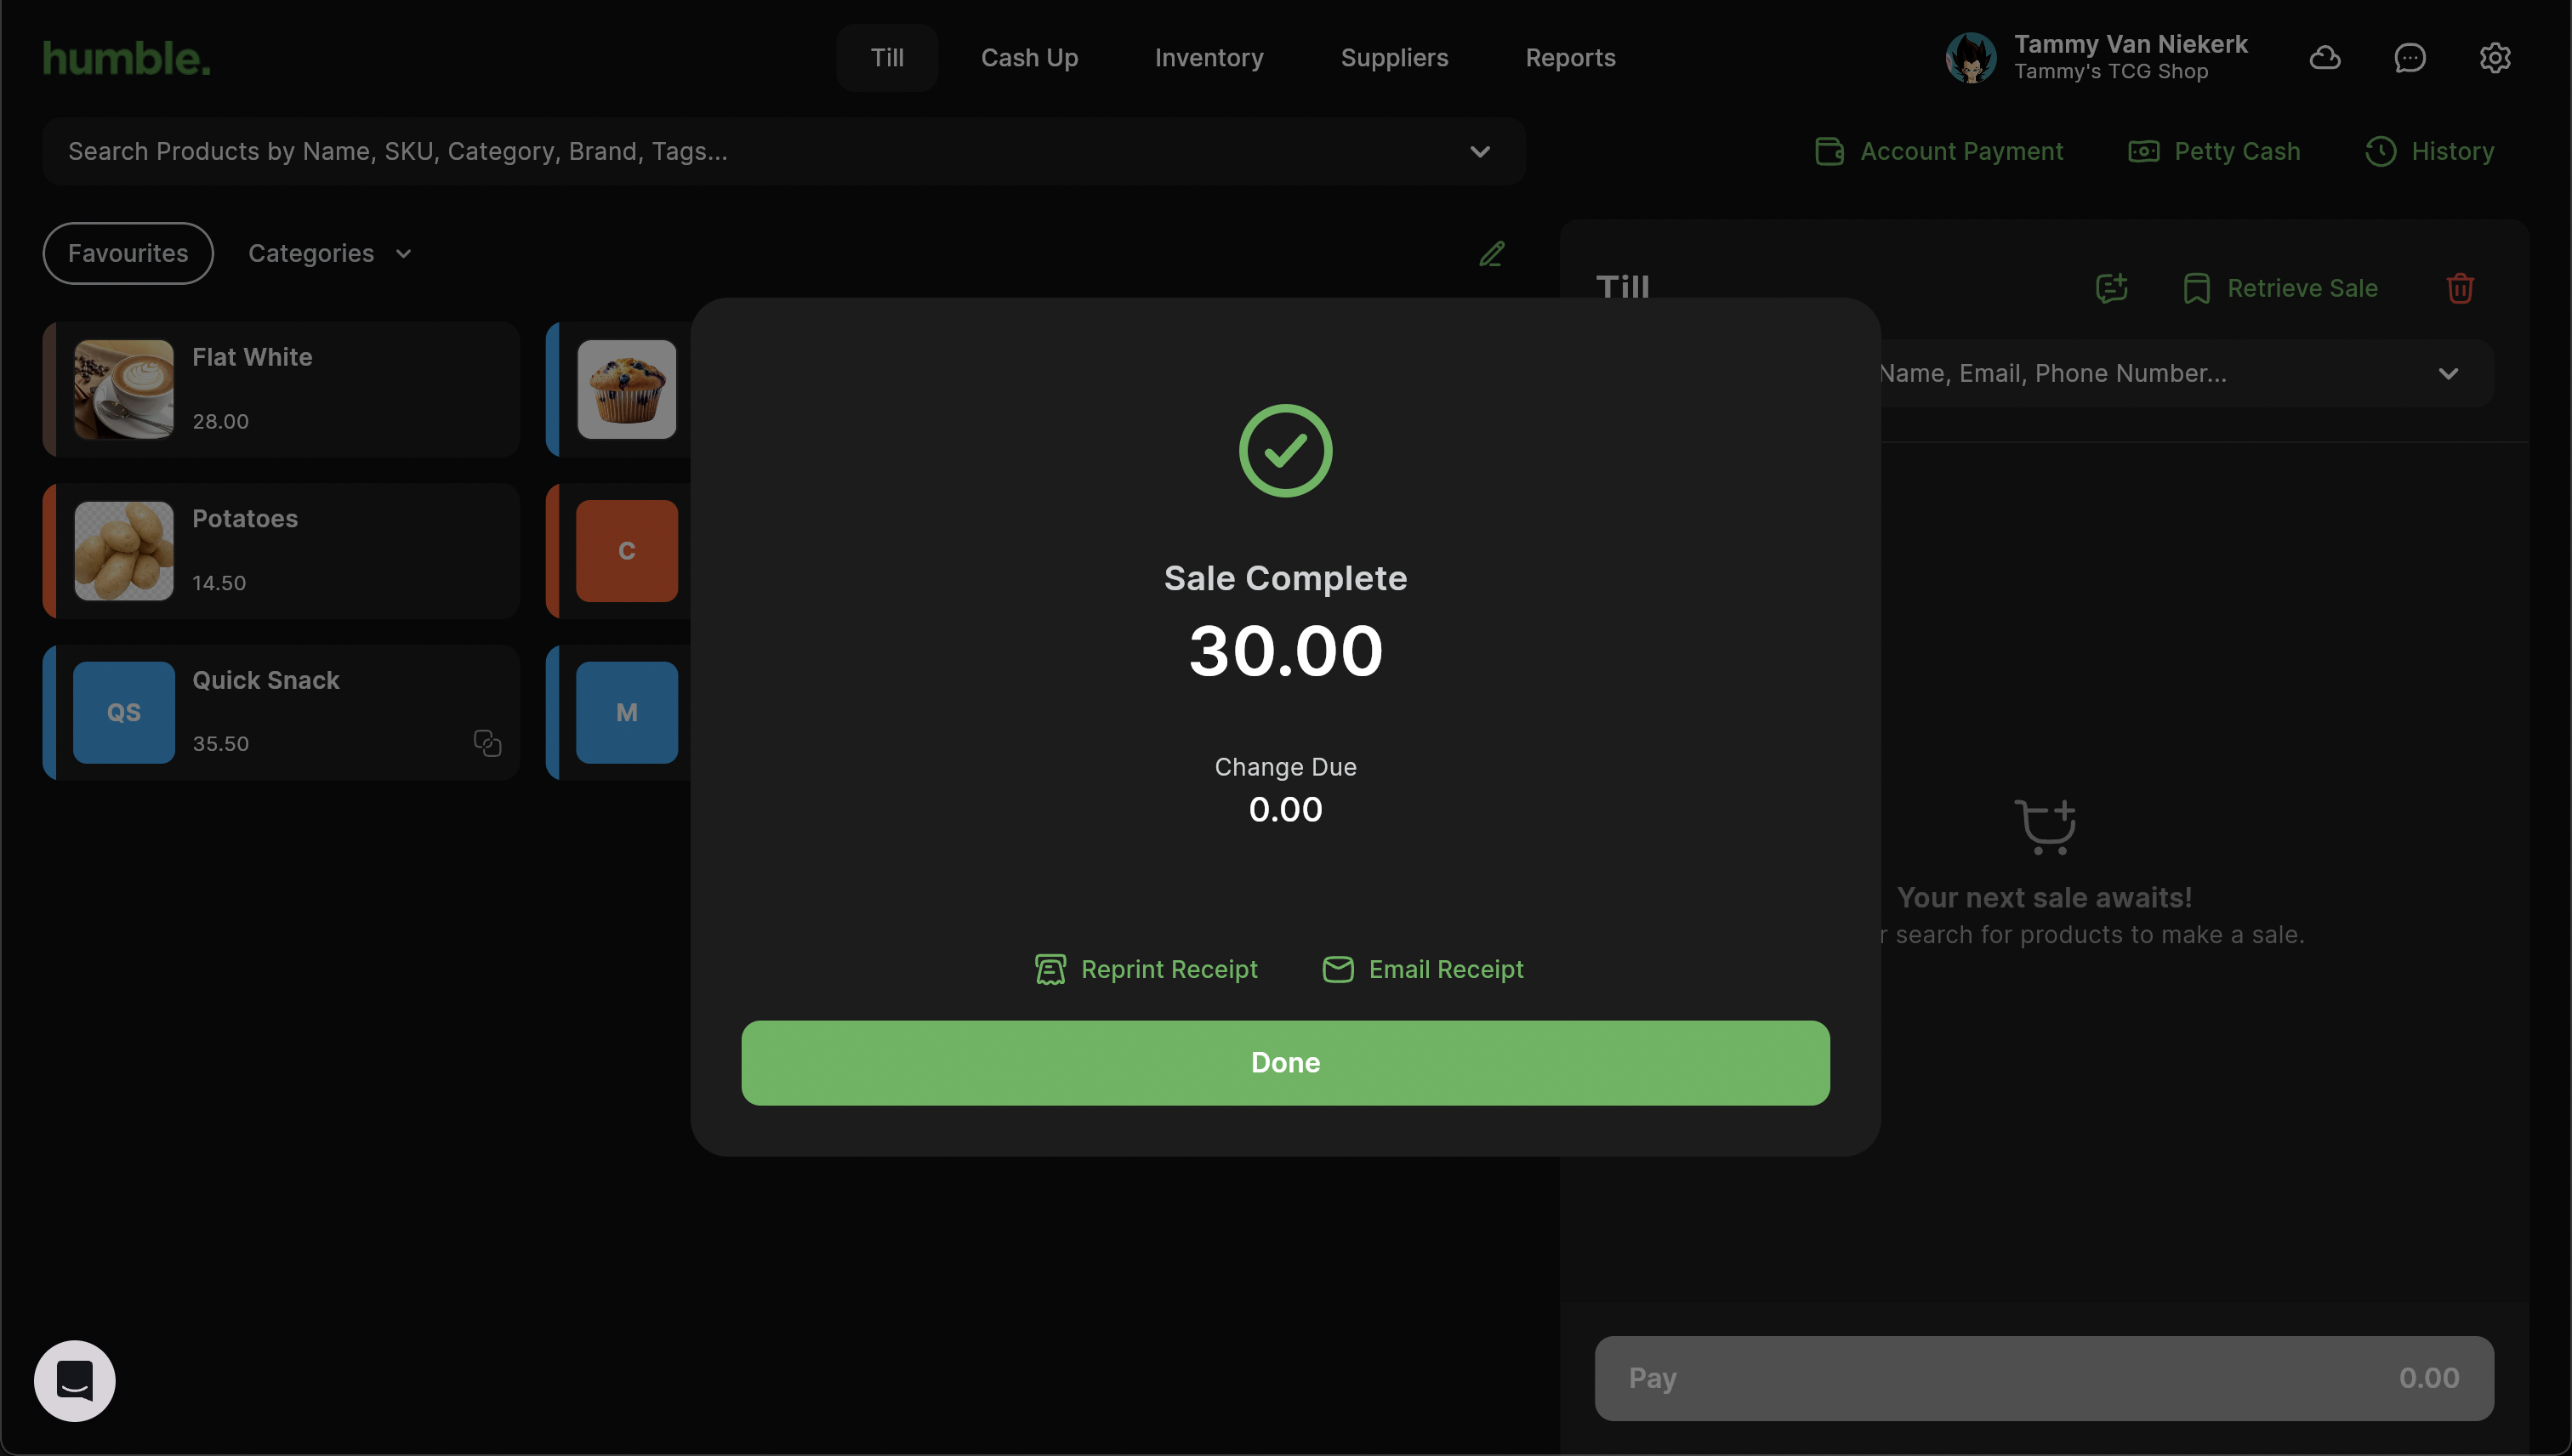
Printing the receipt will print the receipt to your receipt printer if it is set up. If you don’t have a receipt printer, a PDF file of the receipt will be downloaded to your Downloads folder. From there, you can open it and print it to your normal A4 printer.
The following link will assist you with setting up your receipt printer: How to set up your Receipt Printer
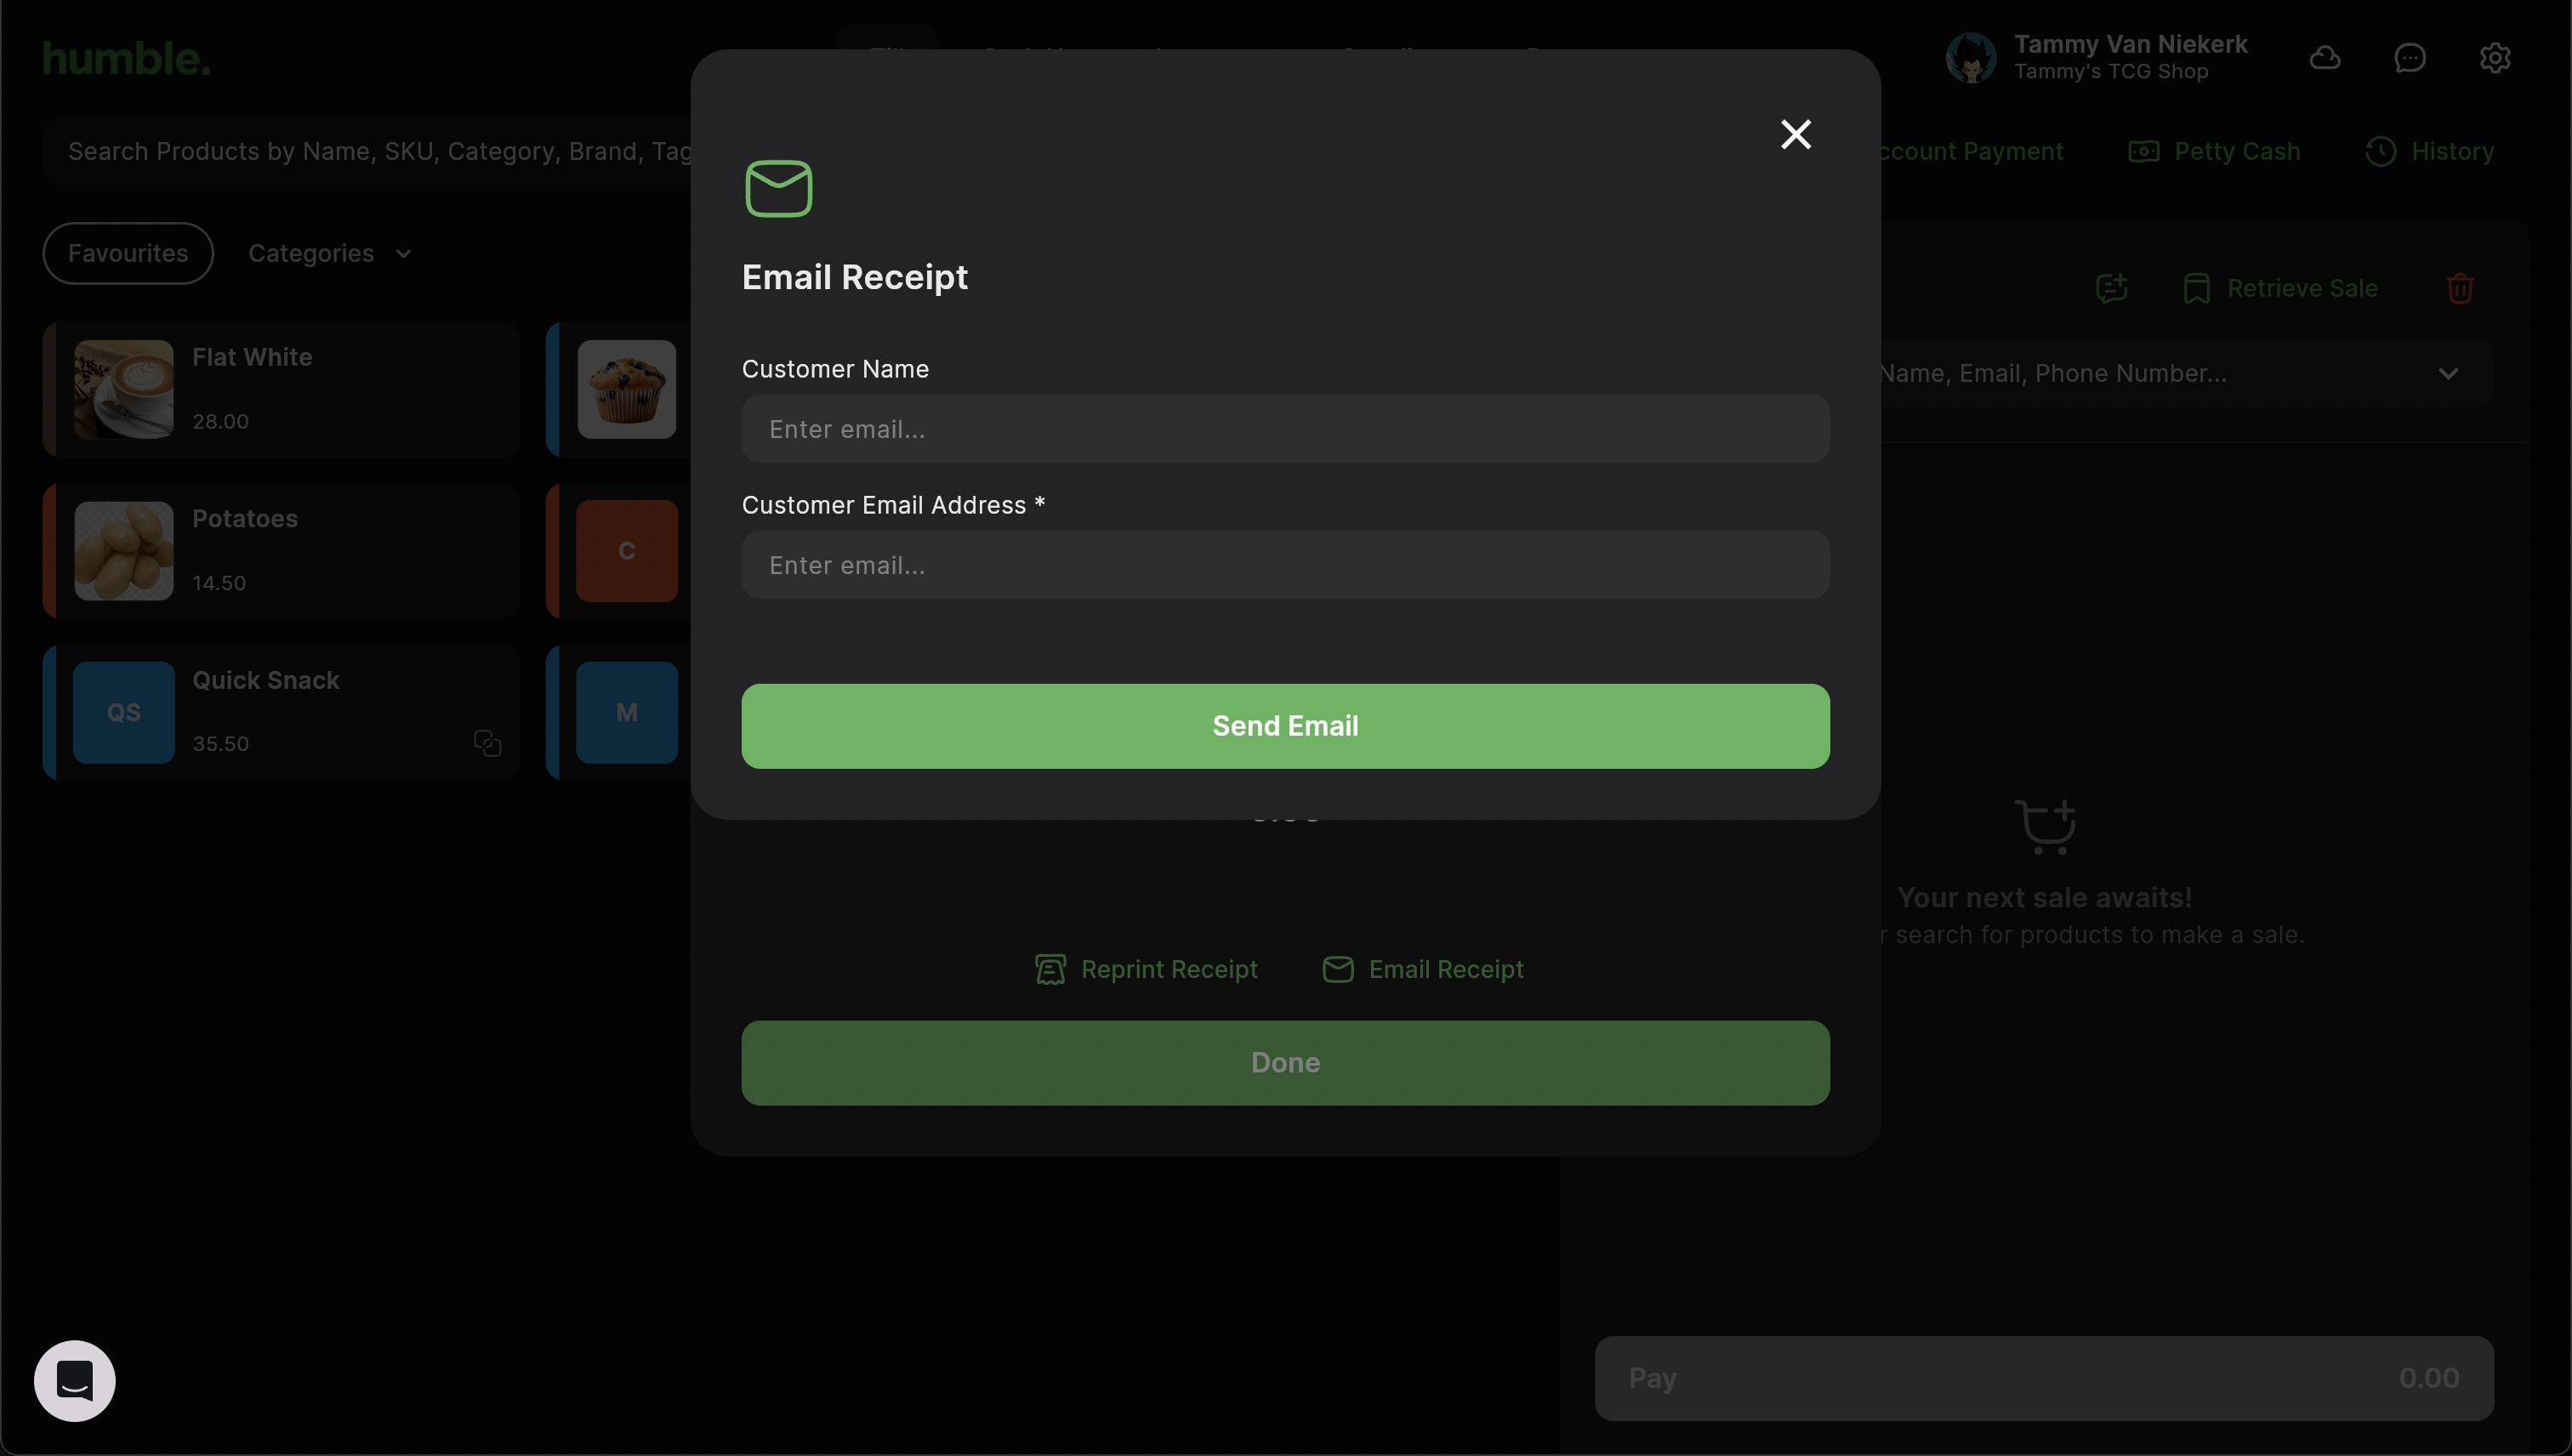
Clicking Email will open the Email Receipt modal. You can then enter in your customer’s email address and click Send Email. The receipt will be emailed to your customer.
Once you are done printing or emailing the receipt, you can click on Done to finish off.
Was this article helpful?
That’s Great!
Thank you for your feedback
Sorry! We couldn't be helpful
Thank you for your feedback
Feedback sent
We appreciate your effort and will try to fix the article